What To Check Before Spotting Uneven Tyre Wear Before It Becomes Expensive
A practical step-by-step guide to what to check before spotting uneven tyre wear before it becomes expensive, including preparation, instructions, common issues, tips, and next steps.
What To Check Before Spotting Uneven Tyre Wear Before It Becomes Expensive
Uneven tyre wear is a silent sign that your vehicle's alignment, suspension, or tyre pressure is off. Spotting it early can prevent premature tyre replacement, improve safety, and save you from costly repairs. This guide walks you through what to inspect, from simple visual checks to understanding wear patterns, so you can catch problems before they become expensive. Learn the fast answers, step-by-step methods, and practical tips to keep your tyres wearing evenly and your driving smooth.
Fast Answer
- Look for smooth spots, cupping, or feathered edges on your tyres, especially on the inner or outer tread edges, and check twice a month.
- Press on the tread with your thumb and use a tread depth gauge monthly; unusual wear patterns that appear quickly signal a real problem.
Before You Start
- Park on a flat surface, turn off the engine, and engage the parking brake. Ensure the car hasn't been driven for at least an hour so tyres are cool.
- Get a clean cloth and a DIY tread depth gauge or a coin with a defined edge to measure the deepest grooves. You'll also need a small flashlight.
- Check your owner's manual or the sticker on the driver's door jamb for the correct tyre pressure, as specified by your vehicle manufacturer.
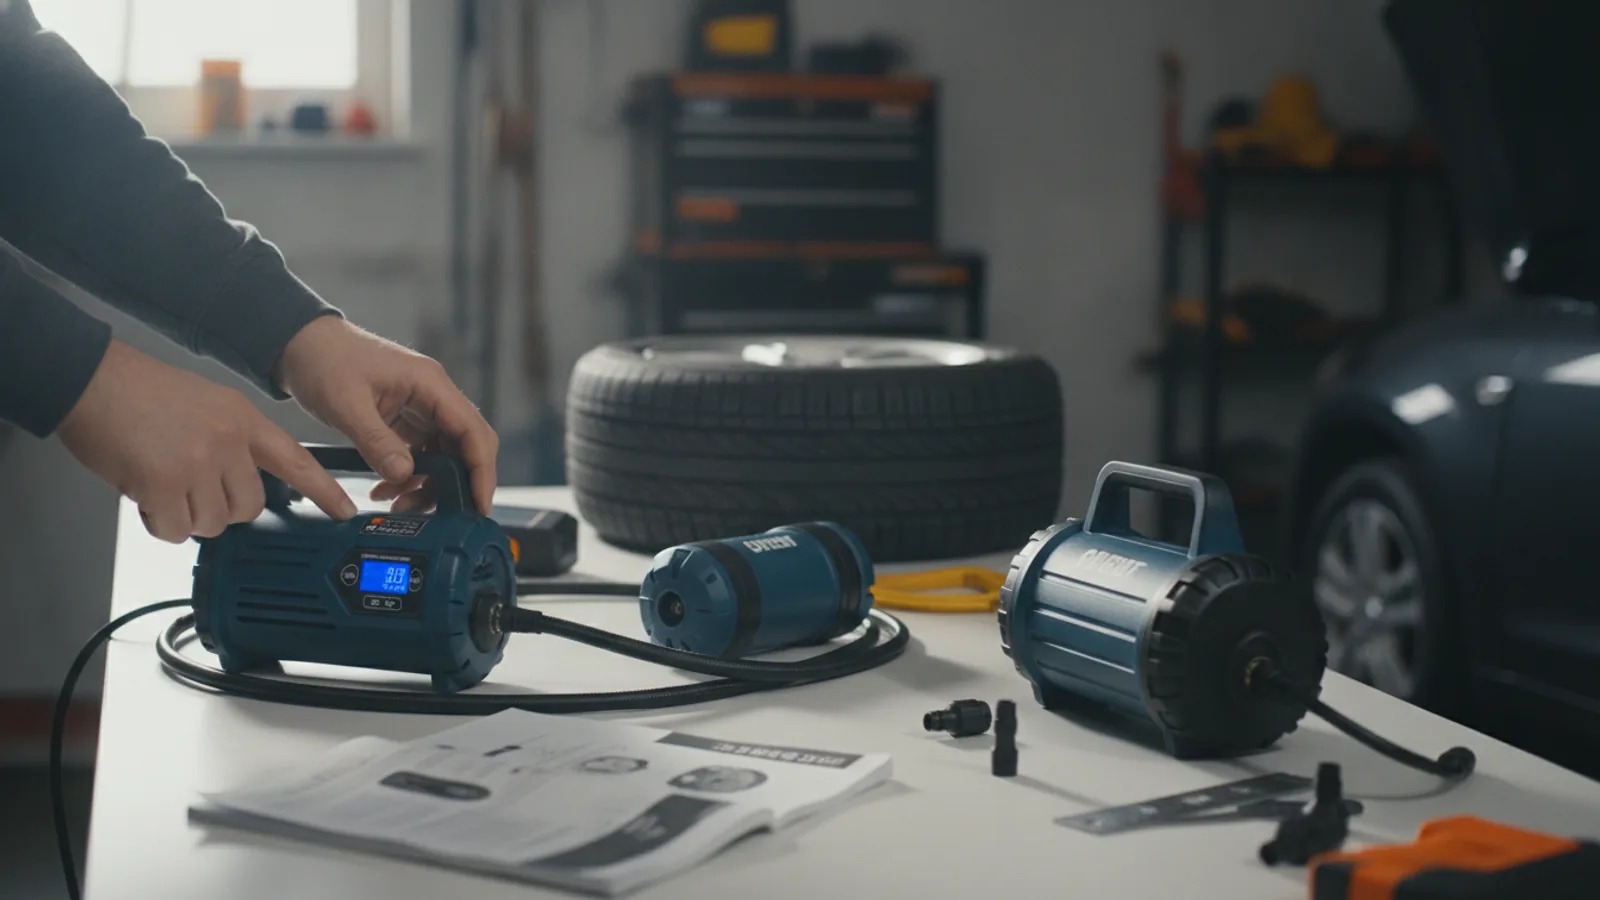
- Have a reliable tyre pressure gauge ready, preferably a digital one for accuracy. Also keep a pressure recorder or paper to note readings.
Step-by-Step Instructions
Park and prepare for a thorough inspection
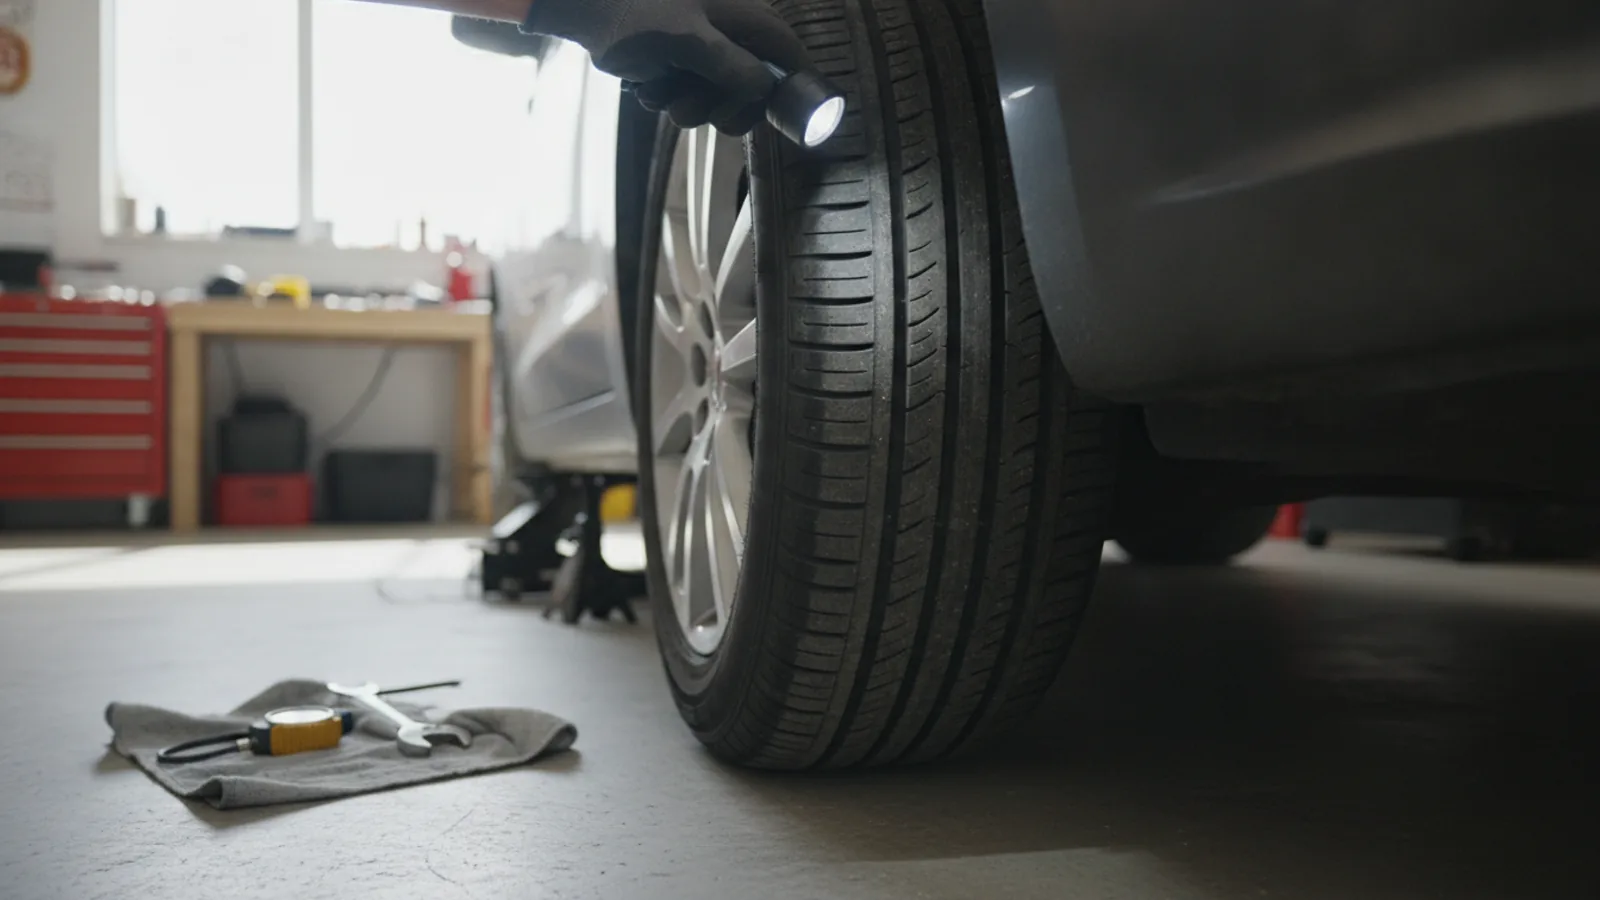
Choose a level, well-lit area and park your vehicle. Make sure the engine is off and the parking brake is firmly set. Wait at least 60 minutes after driving to let the tyres cool completely, because heat can expand the rubber and affect your readings. Visually scan each tyre from the front and side, using a flashlight to illuminate the tread. Look for obvious signs like bulges, cuts, or a flat spot. Check the sidewalls for small cracks or bulges. This initial look gives your baseline condition. Also, gather your tools: a tread depth gauge, a tyre pressure gauge, and a clean cloth. Have your vehicle's manual or the tyre placard (usually on the driver's door pillar) handy for correct inflation specifications. Proper preparation ensures accurate measurement and prevents injury from hot or moving parts. If you notice any severe damage, note it for the next step.
Check tyre pressure on all four tyres
Using a reliable tyre pressure gauge, remove the cap from the valve stem on the first tyre. Press the gauge firmly onto the valve stem and take the reading. Compare it to the manufacturer's recommended pressure found on the placard or in the manual. Note that the pressure should be checked when tyres are cold, as driving warms them and increases pressure. If the pressure is too low or too high, adjust it to the recommended level. Repeat for all four tyres, including the spare if it's practical. Write down these numbers for reference. Incorrect pressure causes uneven tread contact with the road, leading to premature wear on the edges or centre of the tread. For example, over-inflation wears the centre, while under-inflation wears the shoulders. By maintaining proper pressure, you ensure even distribution of the vehicle's weight across the tread. This simple step can extend tyre life significantly and improve fuel efficiency. If one tyre consistently loses pressure, note it for a potential slow puncture.
Measure tread depth across the tyre
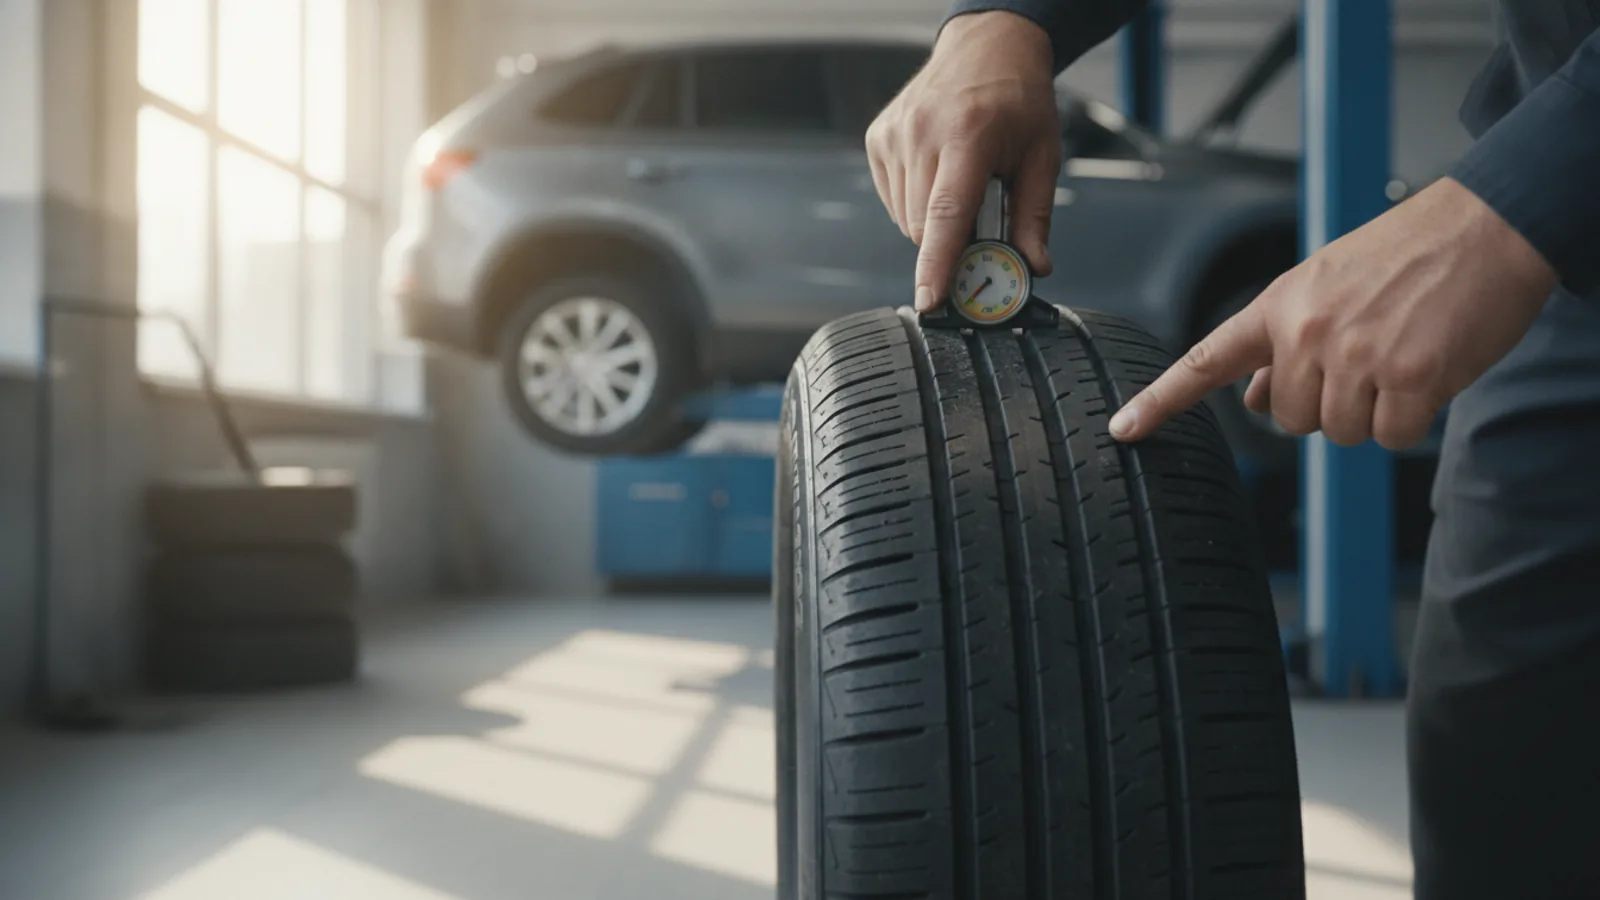
Take your tread depth gauge and insert the probe into the deepest groove of the tread at a spot near the shoulder, about two finger widths from the edge. Push the gauge down until the base sits on the tread blocks, then read the measurement. Record this number. Move to the centre groove and take another measurement. Finally, check the inner shoulder in the same way. Do this for each tyre, and note the measurements. Compare the readings from different parts of the same tyre. If you see a difference of more than 2/32 of an inch (about 1.6 mm) between the centre and edges, that's a sign of uneven wear. Also, look for any areas where the tread is much shallower than elsewhere. This could indicate a worn suspension component or misalignment. Regular tread depth checks reveal how quickly your tyres are wearing. If the tread depth is less than 2/32 of an inch in any groove, the tyre is legally worn out and must be replaced immediately. But even before that, uneven patterns help you diagnose the root cause.
Inspect the tread for specific wear patterns
Now, get down on your knees and look at the tread from the side and across the entire surface. There are four common wear patterns to look for. Centre wear means the middle of the tread is smooth, while the shoulders are still deep, which often indicates over-inflation. Shoulder wear is the opposite: the edges are smooth, but the centre is deeper, pointing to under-inflation. Edge wear on only one side of the tyre usually suggests a camber alignment problem. Cupping or scalloped dips form a wavy pattern along the tread, indicating worn suspension parts like shock absorbers or a misaligned toe. Feathered edges feel smooth one way and sharp the other. Use your fingers to feel across the tread from the outside edge to the inside. If it catches your hand in one direction, it's feathered, a sign of toe misalignment. Identifying these patterns early lets you fix the underlying issue, preventing more expensive damage like blowouts. Each pattern points to a specific part that requires attention.
Look for cupping and other irregular wear
Cupping appears as wavy, or scalloped, dips in the tread surface, often more visible on one side of the tyre. This is a classic sign of worn shock absorbers, worn struts, or other suspension components. To find cupping, run your hand slowly over the tread from the outside to the inside and feel for any bumps or dips that aren't perfectly smooth. Also, check the sidewall for any bulges or blisters, which can indicate internal damage. Pay special attention to the inner edge of the tyre, as wear here can be hidden from a quick glance. Use a flashlight to look into the inner shoulder from behind the tyre. If you see a sawtooth pattern, that's another form of irregular wear. Measuring tread depth in multiple points will help you quantify cupping. If you find any irregular pattern, it's essential to have your suspension checked by a professional, as continued driving can lead to a dangerous tyre failure and damage other parts.
Check for bulges, cracks, or foreign objects
While your tyres are cool and clean, examine each sidewall for any bulges, which look like knots or bubbles. A bulge in the sidewall is a sign of the internal belts separating, and any tyre with a bulge must be replaced immediately because it can burst without warning. Also, look for cracks or cuts in the rubber, especially near the tread or the bead area where the tyre meets the rim. These can be caused by age, sunlight, or impact damage. Use your hand to feel the entire sidewall and the tread for any hard objects like nails, screws, or shards of glass. If you find a nail, do not pull it out—if it's a nail, it might be sealing the hole, and removing it will let air out. Mark the spot with a piece of chalk or a dab of paint and take the tyre to a professional for repair. Foreign objects can create slow leaks, leading to under-inflation and uneven wear. Inspecting for physical damage is key to preventing sudden failure.
Quick Reference
| Situation | Action | Why it helps |
|---|---|---|
| Centre tread wear is significantly lower than shoulder wear across all tyres. | Check the tyre pressure against the manufacturer's spec; reduce it to the recommended level and re-measure after 48 hours. | Over-inflation lifts the shoulders off the road, concentrating the load on the centre, causing rapid centre wear. |
| Both front tyres show cupping on the inner edge, especially at the leading edge. | Inspect the front suspension for worn bushings or dampers; take the car to a mechanic for a full front-end check. | Insufficient damping or worn steering parts allows the tyre to bounce, creating a wavy pattern on the edges. |
| One side of the tread is noticeably smoother than the other on the front left tyre only. | Have the front alignment checked, focusing on camber and caster; rotate tyres to the rear and monitor the wear. | An incorrect camber angle makes one edge grip the road harder than the other, causing uneven shoulder wear on that side. |
Common Issues
- Tyres wear evenly but tread depth is getting low.: Replace the tyre when it reaches 2/32 inch (1.6 mm) at any point; don't wait for a bald spot.
- Vibration comes from the steering wheel at highway speeds.: Get the wheels balanced and check for bent rims or loose suspension parts that can cause premature wear.
- Tyres lose air slowly in one tyre every week.: Submerge that tyre in water or have it leak-tested; patch punctures in the tread area, but replace the tyre for sidewall damage.
Advanced Tips
- Use a torque wrench to tighten lug nuts to the vehicle manufacturer's specification (usually found in the manual) to prevent uneven seating and vibration.
- Record the tread depth for each tyre position in a log every month; tracking the trend helps you identify any abnormal wear quickly.
- If you notice any unusual wear, check the wheel bearing for play by rocking the wheel when it's off the ground; play indicates wear.
Final Checklist
- Check tyre pressure on all four tyres when cold, and adjust to the manual's recommended settings.
- Measure tread depth in at least three spots per tyre, including the centre and both shoulders, and compare readings.
- Look for and touch the entire tread surface to feel for cupping, feathering, bulges, cracks, or punctures.
- Record measurements in a small notebook or phone note, and schedule a professional check if you spot anything unusual.
FAQ
How often should I check my tyres for uneven wear?
You should do a visual and pressure check at least once a month, and do a full tread depth inspection every three months or before a long trip. If you hit a pothole, curb, or feel a new vibration, inspect immediately.
Can I fix minor uneven wear by rotating tyres?
Rotation can help even out normal wear, but it won't fix the root cause if the wear is due to misalignment, pressure issues, or suspension problems. First diagnose and correct the underlying issue, then rotate as per the vehicle's maintenance schedule. If the pattern is severe, consider replacement.
What is the minimum safe tread depth?
Legally, the minimum is 2/32 inch (about 1.6 mm) in most places, but for better safety, replace tyres when they reach 4/32 inch, especially if you drive in wet conditions. Use a gauge or the built-in wear indicators on the tyre to check this.