Spotting Uneven Tyre Wear Before It Becomes Expensive Checklist For First Time Readers
A practical step-by-step guide to spotting uneven tyre wear before it becomes expensive checklist for first-time readers, including preparation, instructions, common issues, tips, and next steps.
Spotting Uneven Tyre Wear Before It Becomes Expensive Checklist For First Time Readers
Tyre wear that is uneven across the tread often signals a problem with alignment, inflation, or suspension, and catching it early can save you from premature replacement and unsafe driving. This guide teaches you a simple visual and tactile inspection you can do at home without special tools, plus how to interpret common wear patterns and what to do next.
Fast Answer
- Check your tyre tread depth and look for smooth patches, feathering, or cups every month, and always before long trips.
- If you see one shoulder worn more than the other, measure air pressure and inspect alignment; if you see cupping, check suspension parts.
Before You Start
- Park on a flat, level surface and turn the steering wheel to full lock so you can see the full tread surface clearly.
- Keep a tread depth gauge or a coin with a fixed reference mark to measure remaining tread across the tyre.
- Have a torch or work light ready to illuminate the tread, especially in shadows or low light.
- Keep a notebook and pen to record measurements and notes, so you can compare changes over time.
Step-by-Step Instructions
Park and Prepare the Car for Inspection
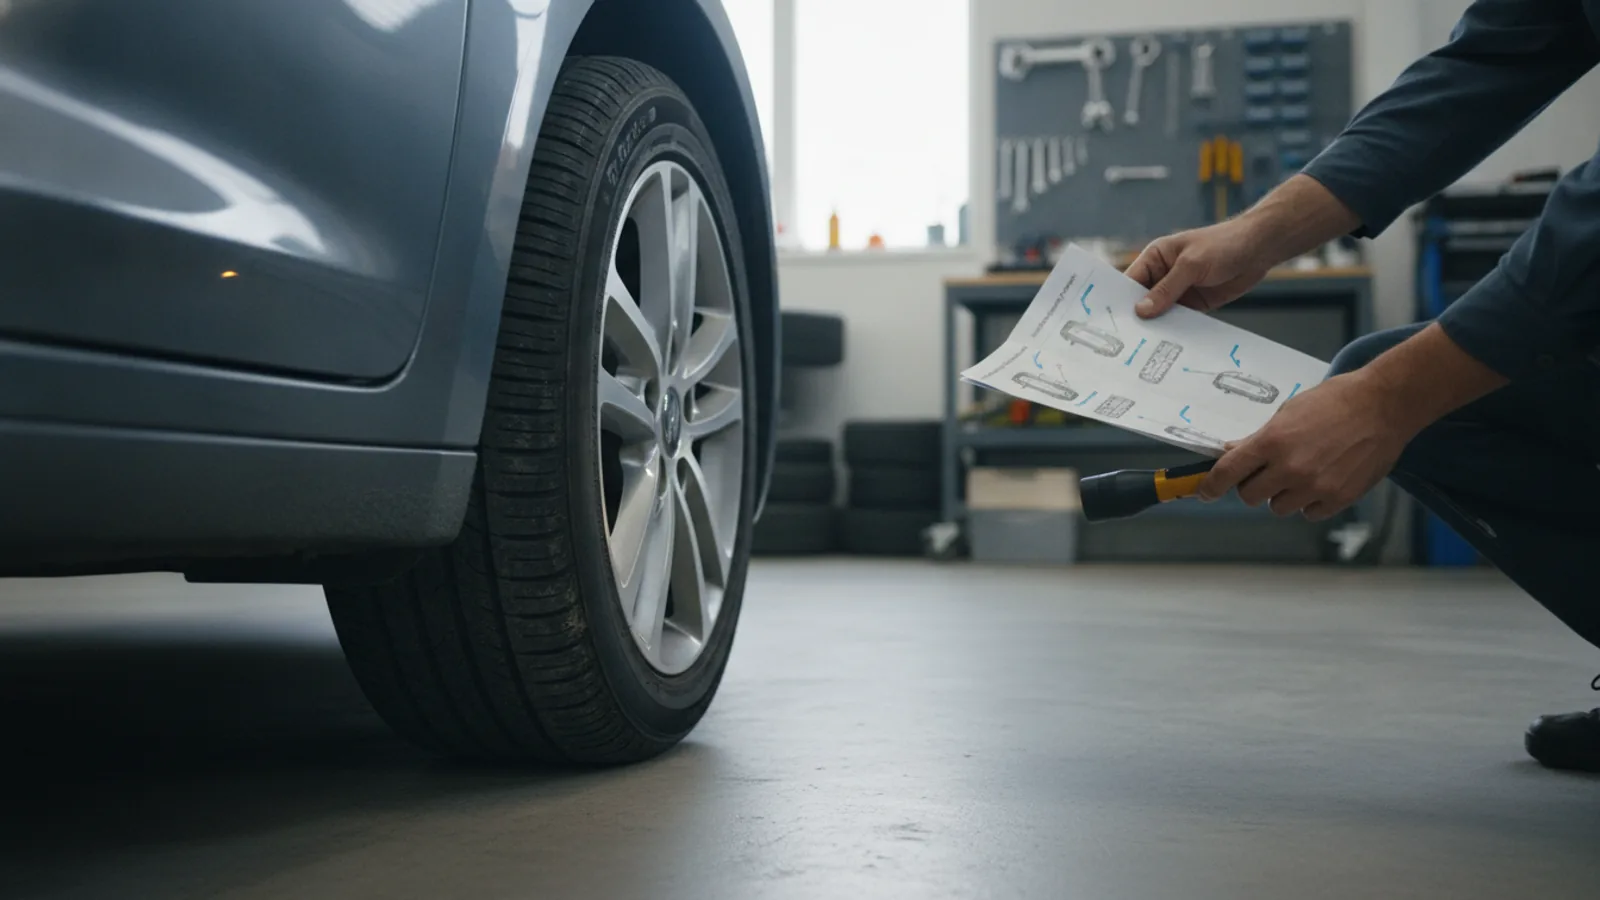
Park the car on a flat, level surface and set the parking brake. Turn the steering wheel to full lock to expose the front tyres' tread; for rear tyres, you may need to roll the car slightly. If the tyres are dirty, wipe the tread with a cloth to remove stones and mud. Make sure you have good lighting—use a torch if necessary. This preparation makes every following check easier to see and measure. Remember that tyre wear often appears uneven only on one side, so you must look at the entire tread, from the outer shoulder to the inner shoulder. A quick visual scan while the car is parked will not reveal subtle patterns, so take your time and use the torch. Also, note the current date and mileage in your notebook, as this will help you track wear rates later.
Measure Tread Depth Across the Tyre
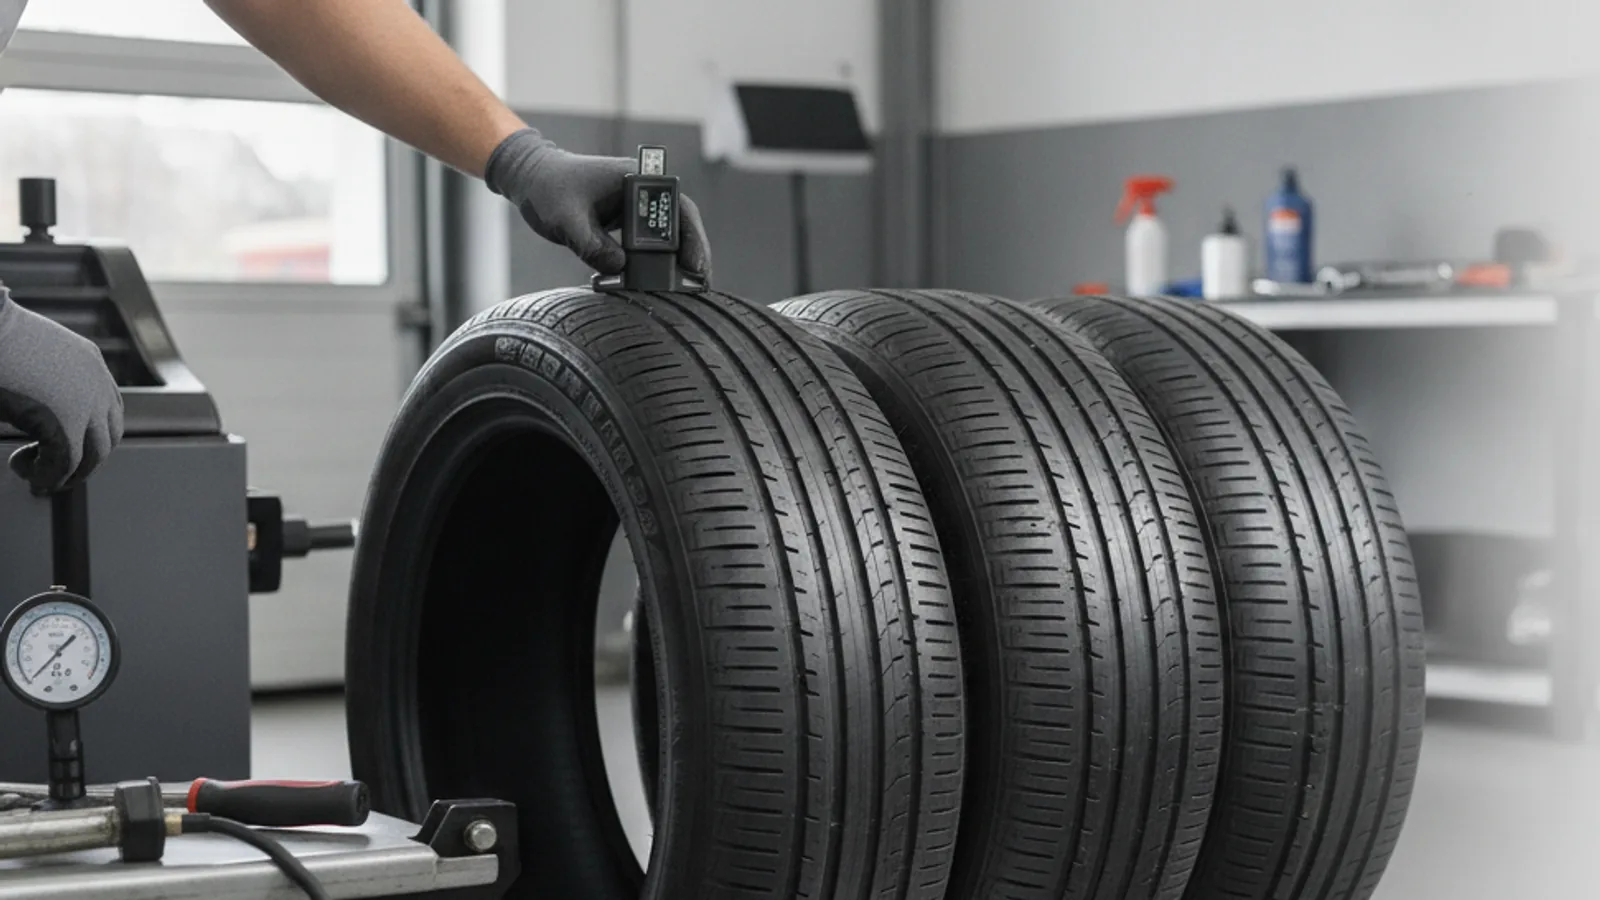
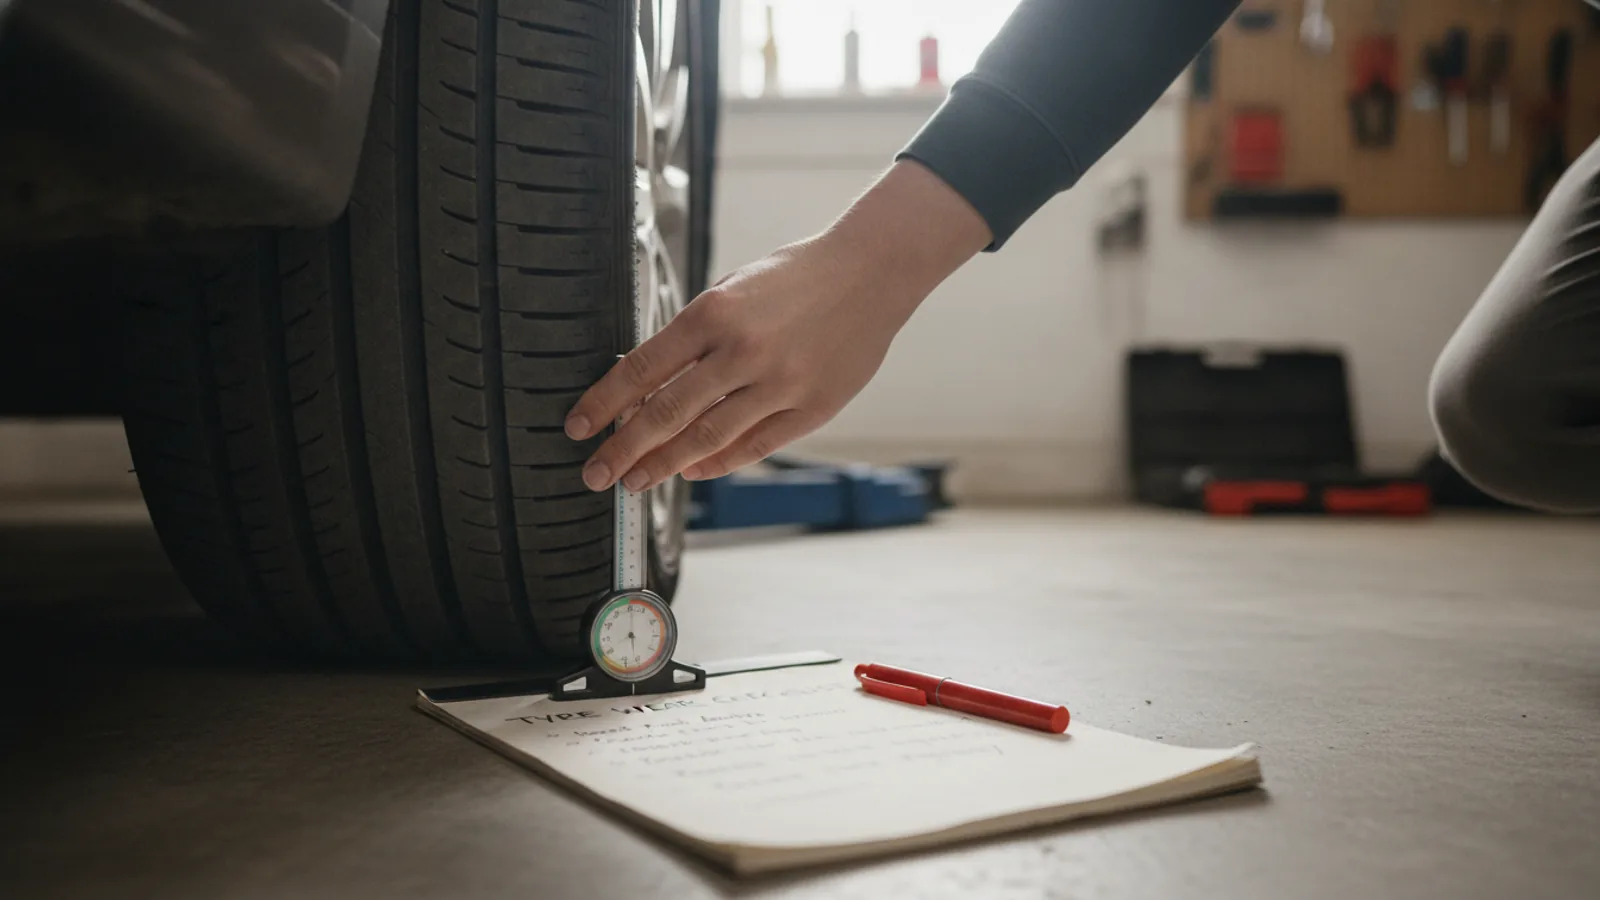
Use a tread depth gauge and measure at three locations across the tyre: the outer shoulder, the centre, and the inner shoulder. Place the gauge in the main grooves and press down firmly until the base sits on the tread. Record each measurement in your notebook. Repeat this for all four tyres, and also measure the same positions on the opposite side of the car. Compare the numbers: if the difference between the deepest and shallowest point on any single tyre is more than 2 millimetres, you have uneven wear. This measurement is essential because your eyes alone cannot judge depth reliably, and a few millimetres of difference affects braking and handling, especially in the wet. Regular measurements give you a numerical baseline to spot changes before they become expensive problems.
Look for Wear on the Outer and Inner Shoulders
Inspect the outer shoulder of the tyre (the side that faces the car's body) and the inner shoulder (the side that faces the centre of the car). Run your fingers along the shoulder blocks to feel for any smoothness or a sharp edge. If the outer shoulder is worn more than the centre, the wheels likely have too much positive camber, causing the outside edge to carry more load. If the inner shoulder is worn more, the camber is negative. This shoulder wear often means the suspension geometry is out of spec, and driving on such tyres reduces grip in corners and can lead to a blowout. Make a note of which shoulders show wear and their severity. Also check the opposite tyre on the same axle, because a single worn shoulder might indicate a bent steering arm or a worn bearing, not just alignment.
Check for Feathering Across the Tread Ribs
Place your palm flat on the tread surface and slide it from the centre towards each shoulder, then do the reverse. If you feel a smooth surface in one direction and a rough, saw-tooth feel in the other, you have feathering. Feathering happens when the tread blocks are bent slightly by misalignment or a suspension issue, causing one edge of each block to wear faster. To confirm, run your hand in both directions on every rib. If you feel a difference, the alignment is likely toe-related—either toe-in or toe-out is excessive. This condition creates constant scrubbing while driving straight, which increases tyre temperature and reduces fuel economy. Write down whether the feathering is on the inside or outside ribs, as that helps a technician diagnose the exact misalignment.
Look for Cupping or Scalloping on the Tread
Run your fingers over the tread surface to detect a series of low spots, like a scalloped or cupped pattern, often appearing on one shoulder or across the whole tread. These are signs of a suspension problem, typically worn shock absorbers, or wheels that are out of balance. Cupping creates a rhythmic thumping at speed, and it worsens if you ignore it. To check, press your thumb at several points across the tread and feel for dips. If you notice any low spots, inspect the shock absorbers by pushing down on each corner of the car and releasing; the car should settle within one or two bounces. Excessive bouncing means the struts are weak and need attention. Do not drive long distances with cupped tyres because they compromise braking and can cause vibration that damages other parts.
Record Findings and Plan a Consequent Action
After completing the visual and tactile checks, compile your notes. Look at the pattern for each tyre: single-shoulder wear, feathering, cupping, or a combination. For any unusual wear, first check your owner's manual for the correct air pressure, then inflate or deflate to spec and re-measure after two weeks of normal driving. If pressure is fine and the pattern does not change, schedule an alignment check—uneven wear is often caused by incorrect toe or camber angles. Also, if the tyre is worn below 2 millimetres of tread in any groove, replace it immediately for safety, regardless of the evenness. Even if the wear seems minor, acting early prevents uneven tyres from causing a vibration or a blowout, and it maintains fuel efficiency. Finally, rotate your tyres according to the vehicle manual, which helps even out wear.
Quick Reference
| Situation | Action | Why it helps |
|---|---|---|
| Outer shoulder is significantly smoother than the centre. | Check tyre pressure and adjust to vehicle spec, then book an alignment check to verify camber angle. | Too much positive camber increases load on the outside edge, causing premature wear and reduced cornering grip. |
| Feeling a saw-tooth edge when sliding hand from inside to outside. | Have a workshop measure the toe angle and adjust it to factory settings as soon as possible. | Excessive toe causes the tread blocks to scrub sideways, creating a feathered edge and accelerated wear. |
| Cupped or scalloped low spots appear on the tread. | Inspect the shock absorbers for leaks or bouncing, and replace them if they fail the bounce test. | Dampers that no longer control wheel movement cause the tyre to bounce, leading to cupping and vibration. |
Common Issues
- Tyre pressure is often overlooked because it is not a visible component of wear.: Check and adjust pressure at least once a month and before long drives, using the vehicle manufacturer's recommended values.
- Feathering is mistaken for normal wear and ignored, so the alignment problem gets worse.: Perform the hand-palm test every two weeks; if you feel roughness in one direction, get an alignment within a week.
- Cupping is blamed on tyres, but the true cause lies in worn suspension parts.: Test the car's bounce on each corner and have a technician inspect the shocks, struts, and bushings if bouncing persists after three cycles.
Advanced Tips
- To catch uneven wear early, measure tyre temperature with a non-contact infrared thermometer after a 20-minute drive; hotter areas indicate extra friction and potential misalignment.
- When you buy new tyres, ask the fitter to record the alignment measurements and keep them for future comparison, rather than just rotating tyres.
- Monitor your tyre pressure at the same time of day and in similar weather, because temperature changes can alter readings and mask slow leaks.
Final Checklist
- Park on level ground, set the brake, and turn the steering to full lock for full tread access.
- Measure tread depth at three points per tyre and note differences greater than 2 millimetres.
- Run your hand across the tread in both directions to detect feathering, and check shoulders for excessive wear.
- Look and feel for cupping, and if present, test the bounce of each corner and schedule a suspension inspection.
FAQ
How often should I inspect my tyres for uneven wear?
Perform a quick visual and tactile check every month, and always before a long trip. Additionally, take tread depth measurements every two to three months so you can spot changes over time. Frequent checks catch issues early, before they become costly.
Can I correct uneven tyre wear by just inflating the tyres more?
Sometimes. If the wear is caused by under-inflation, the shoulders will wear excessively, and bringing pressure to spec may stop further damage. However, if the wear is already visible, the tyre may not recover, and you should also check alignment and suspension. Over-inflation is not a fix and can wear the centre faster.
Is it safe to drive with one tyre that has uneven wear?
Only if the wear is minor and there is still above 2 millimetres of tread across the whole surface. If the wear is severe, or you have cupping, feathering, or exposed cords, it is unsafe because of reduced grip and risk of a blowout. In such cases, replace the tyre or have a professional assess it promptly.