How To Plan Checking Wheel Alignment After Pothole Damage
A practical step-by-step guide to how to plan checking wheel alignment after pothole damage, including preparation, instructions, common issues, tips, and next steps.
How To Plan Checking Wheel Alignment After Pothole Damage
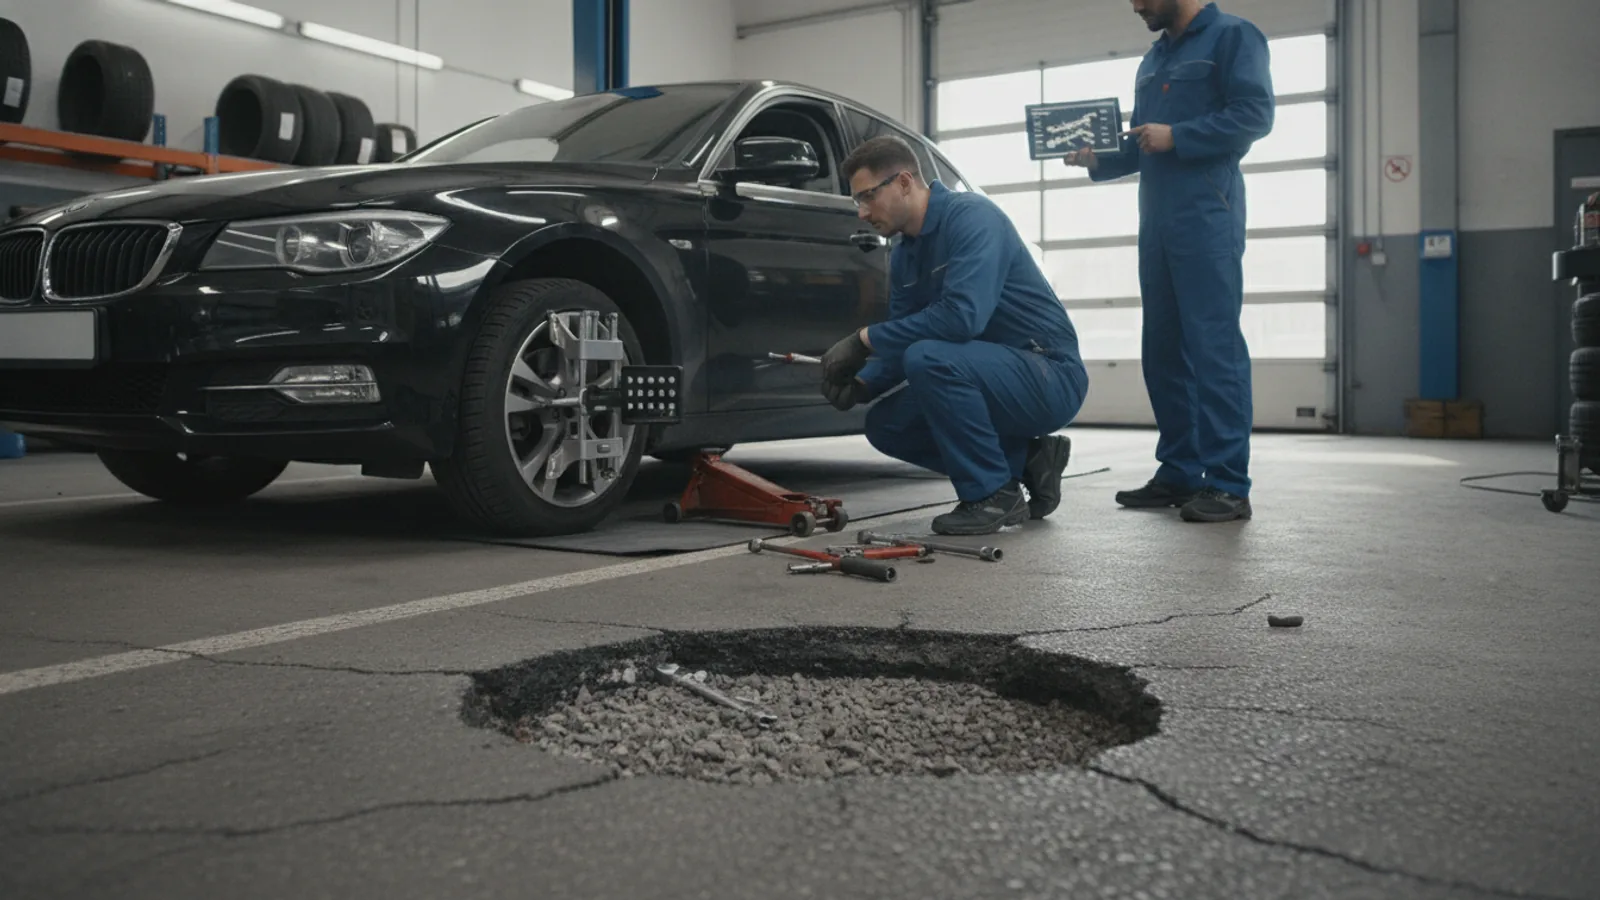
This guide explains how to inspect your vehicle for potential wheel alignment issues after hitting a pothole. You will learn warning signs to watch for, essential preparation steps, a detailed method for measuring alignment with simple tools, and how to interpret results. It also covers when to seek professional help and how to prevent future damage. By following these steps, you can decide whether a wheel alignment service is necessary, saving time and money while ensuring your safety and tire longevity.
Fast Answer
- After hitting a pothole, check for uneven or rapid tire wear, a steering wheel that pulls to one side, or a crooked steering wheel when driving straight. These are signs of misalignment.
- To get a preliminary reading, park on a level surface, ensure tires are inflated to the recommended pressure, measure the distance between front and rear tire treads on both sides, and compare the measurements.
Before You Start
- Park your vehicle on a flat, level surface and engage the parking brake. This ensures consistent measurements and prevents the car from moving.
- Check and adjust all four tires to the manufacturer's recommended pressure, which can be found in the owner's manual or on the driver's side door jamb. Proper inflation is vital for accurate readings.
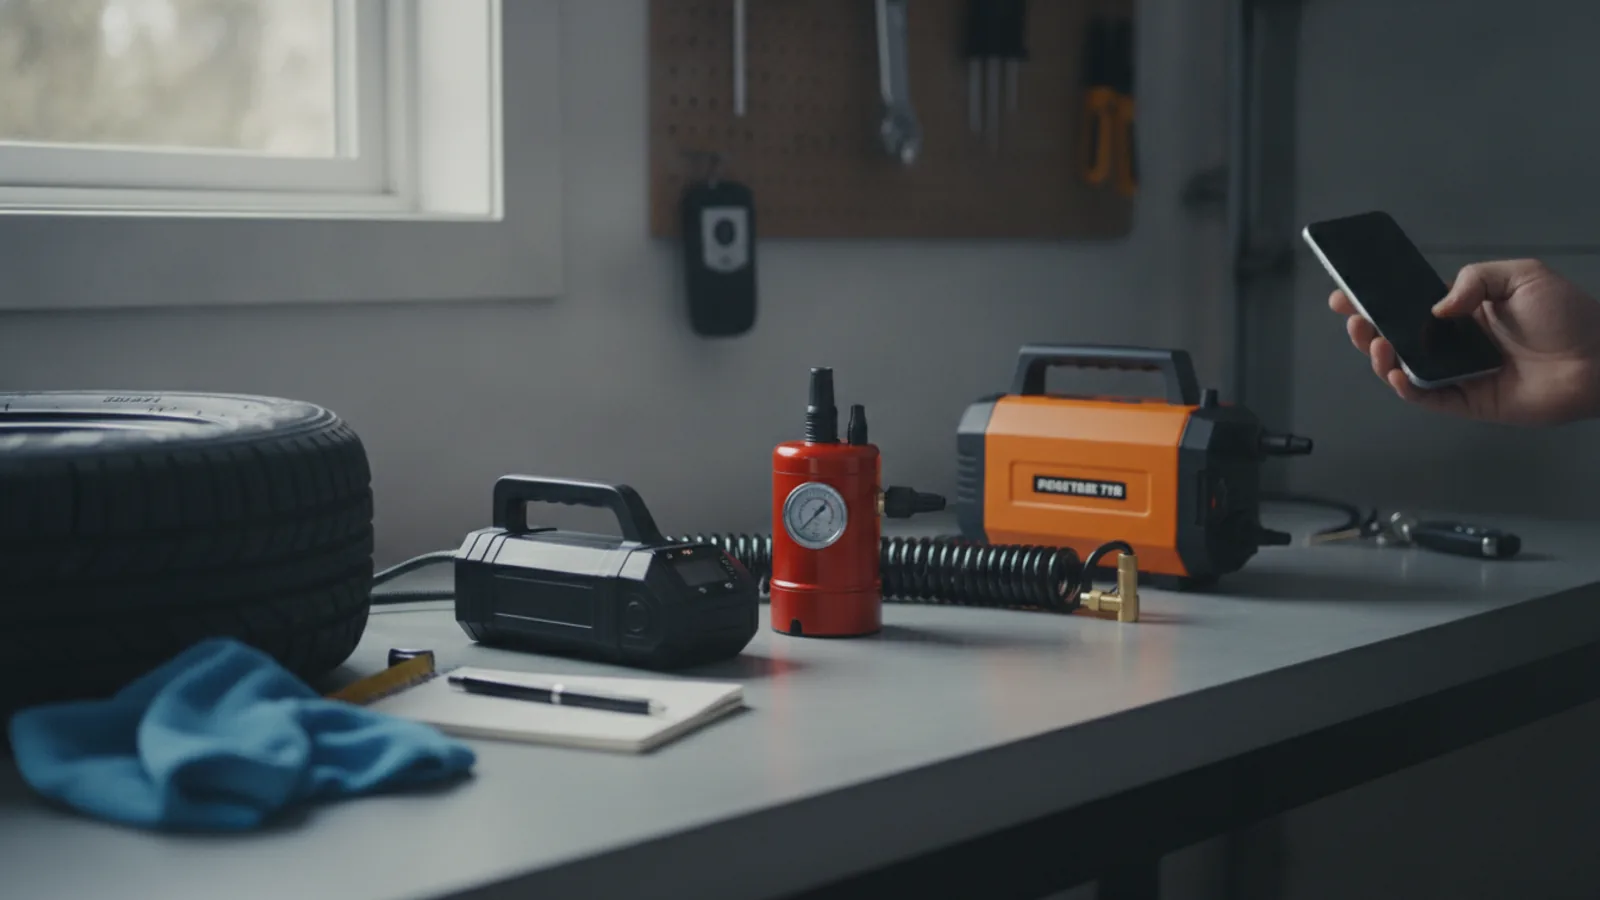
- Gather a tape measure that can read at least to the nearest 1/16 of an inch (or half a millimeter), a chalk or marker, and a notepad to record measurements.
- Read your vehicle's owner's manual for any specific alignment specifications or recommended procedures. Some vehicles may have unique requirements.
Step-by-Step Instructions
Document Immediate Symptoms
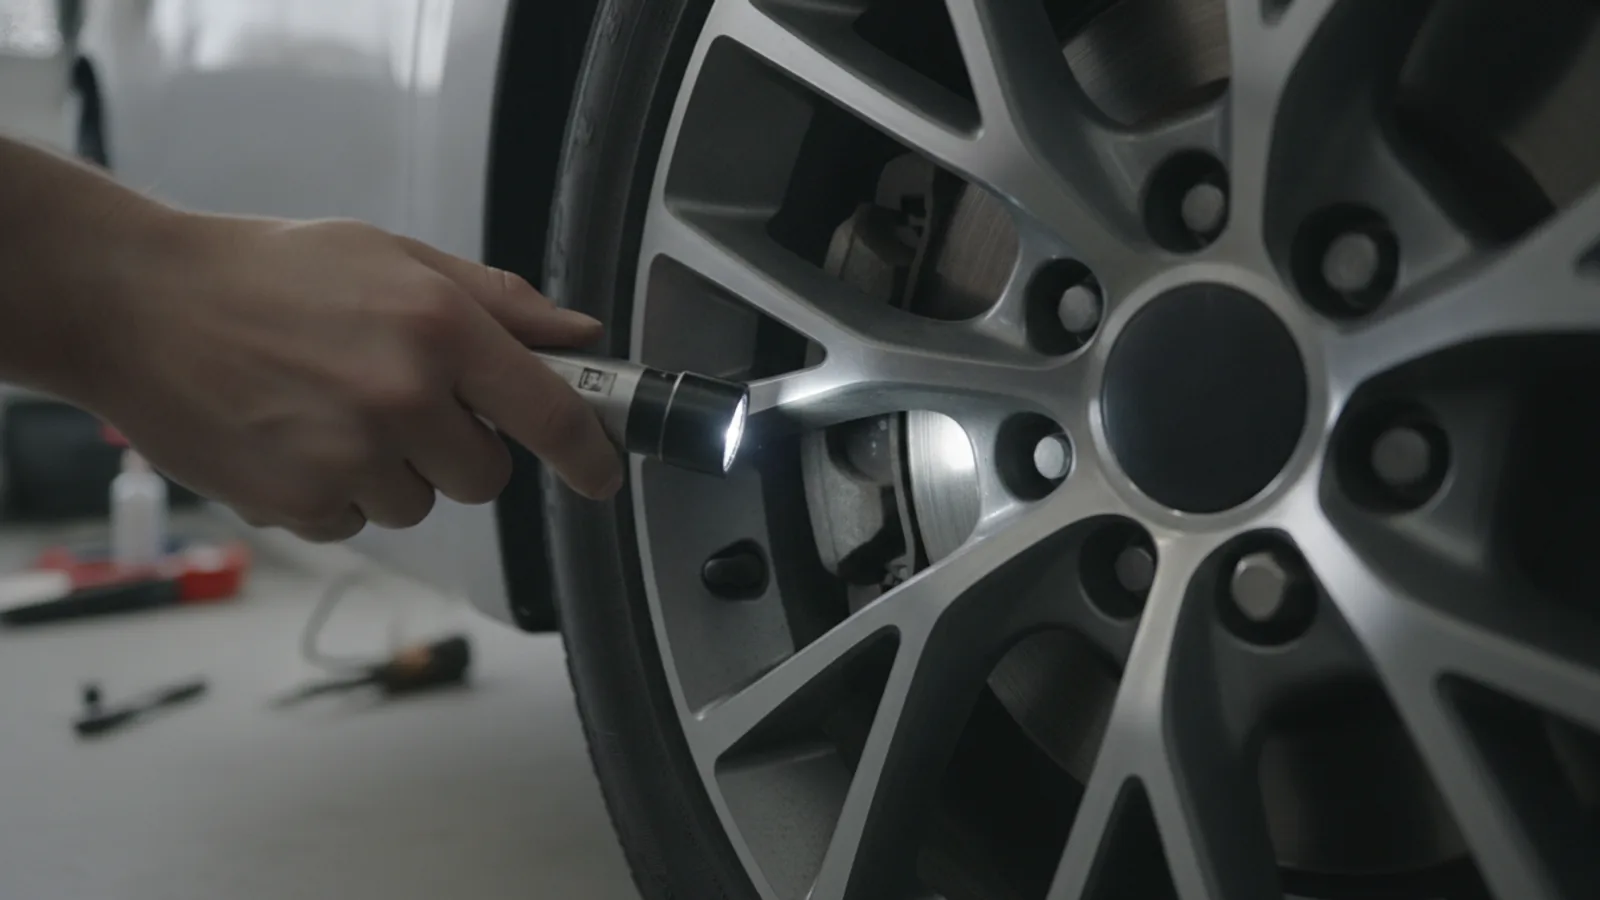
After hitting a pothole, first notice how the vehicle feels as you drive. Write down any vibrations, noises, or pulling to one side. Also, check if the steering wheel is centered when you drive straight or if it sits at an angle. These symptoms might not appear right away, so drive at various speeds and on straight, level roads to gather more information. Pay attention to any changes in brake feel or stability. This record will help you monitor whether symptoms worsen or resolve. Also, visually inspect your tires for cuts, bulges, or punctures, and note any signs of damage. This step gives you a baseline to compare later after you've taken measurements, and it's crucial for explaining the problem to a mechanic if needed. The check matters because early detection can prevent further tire damage or suspension wear.
Measure Tire Tread Depth
Use a tread depth gauge or a simple penny test to measure the tread on each tire. Insert a penny into the tread groove with Lincoln's head upside down; if you see the top of his head, your tires have less than 2/32 inch of tread and may need replacement soon. Ideally, you want more than 4/32 inch for safe driving. Measure at least three spots across each tire: the inside edge, the center, and the outside edge. Write down all measurements. This check is vital because an alignment problem often causes uneven wear—for example, the inside edge may be worn more than the outside. By comparing the measurements, you can identify patterns that point to misalignment. Remember to measure all four tires, as rear wheel alignment can also be affected by a pothole impact. Accurate tread depth helps you decide if a rotation or tire replacement is also needed.
Prepare Vehicle for Measurement
Ensure the vehicle is parked on a flat, level surface, then shift into neutral or park, and set the parking brake. Check that the tires are inflated to the recommended pressure, as underinflated tires can skew measurements. Place the steering wheel in the straight-ahead position and gently rock the vehicle side to side to settle the suspension. Next, clean a spot on the center of each tire tread where you'll place your tape measure; remove any stones or debris. Also, measure the distance from the ground to the center of the wheel hub on both front and rear sides to ensure the vehicle is sitting evenly. This preparation is critical because any incline, tire pressure difference, or suspension tension will distort the readings, leading you to believe an alignment problem exists when it doesn't, or vice versa. A stable setup gives you confidence in the data you collect.
Measure Front Toe
Using a tape measure, position it horizontally between the front of the left front tire and the front of the right front tire, at the same height (mid-center of the tire). Record the distance. Then, push the vehicle forward about half a wheel revolution (until the same points are at the rear) and measure the distance between the rear of the same two tires. Compare these two measurements: if the front distance is less than the rear by about 1/16 inch, it's within normal toe-in; if greater, that might indicate toe-out. Because potholes can knock the steering linkage out of adjustment, this simple check can reveal a significant toe change. The difference, if any, is your toe measurement. This method works best if you have an assistant to hold the tape. This measurement helps you spot a misalignment that can cause accelerated tire wear.
Assess Semi-Axle Alignment (Camber)
For camber, which is the tilt of the tire relative to vertical, you can use a simple carpenter's level and a straight edge. Place the straight edge vertically against the tire's sidewall, making sure it contacts the upper and lower sidewalls. Then, place the level on the straight edge. If the bubble is centered, the camber is roughly zero. If it leans inward, that's negative camber; outward, positive. While you can't get a precise angle this way, you can often detect a gross deviation. A severe pothole hit can bend a strut or control arm, causing excessive camber. Record whether the level indicates a clear tilt left or right on each wheel. This check is important because an exaggerated camber leads to tire wear on one edge and affects handling. If the level shows significant tilt, professional measurement is needed.
Check Steering Wheel and Drive Test
After the static measurements, take the vehicle for a short test drive on a flat, straight, and traffic-free road. Drive at about 25-30 mph (40-48 km/h) and then gently release the steering wheel for a few seconds to see if the car pulls to one side. Also, note if the steering wheel is centered while driving straight; if it's angled, that indicates an alignment issue. Then, drive over a smooth surface and listen for any new noises or vibrations. Finally, stop in a parking lot and check if the steering wheel returns to center after turning. This drive test is the ultimate real-world check because static measurements might not reveal all problems. Compare your observations to the symptoms you noted in Step 1. If pulling or drifting is obvious, professional alignment is definitely needed.
Quick Reference
| Situation | Action | Why it helps |
|---|---|---|
| The vehicle pulls consistently to the right or left when driving on a straight, level road. | Check and adjust tire pressure; then measure front toe and camber as described. If the discrepancy exceeds 1/8 inch for toe, schedule a professional alignment. | Persistent pulling can be caused by misalignment of toe or camber, which will also cause uneven tire wear if left uncorrected. |
| Tire wear is noticeably greater on one edge (inside or outside) than the other edge on the front tires. | Perform tread depth measurements across all four tires. Compare inside vs. outside edges. If the difference is greater than 1/32 inch, take the vehicle to a shop for a thorough alignment and also rotate tires if needed. | Uneven tire wear is a classic sign of camber or toe misalignment. Addressing it early can extend tire life and improve handling. |
| The steering wheel is off-center (tilted) when driving straight. | Before driving, mark the steering wheel's center position at the top. During a test drive on a flat road, note the angle. If it's more than 15 degrees off center, have the alignment checked and adjusted so the steering wheel sits straight. | A crooked steering wheel usually indicates that the toe settings are uneven between left and right wheels, which can also cause pulling. |
Common Issues
- Pothole impact bends a tie rod or control arm, causing the alignment to be severely off.: Do not attempt to fix structural components yourself. Have a professional mechanic inspect all steering and suspension parts, replace any bent parts, and then perform a full wheel alignment using a laser alignment machine.
- Tires are worn unevenly due to prior misalignment, but the driver only thinks about alignment now.: After fixing any alignment issues, check tire tread depth. If the tread is below 2/32 inch, consider replacing the tires. Otherwise, plan to rotate the tires according to the owner's manual to promote even wear in the future.
- The driver assumes alignment is fixed after adjusting tire pressure, but the symptoms persist.: Tire pressure can influence symptoms but doesn't fix alignment. If your DIY checks show no obvious misalignment, yet the car still pulls, visit a professional who can measure camber, caster, and toe precisely with specialized equipment.
Advanced Tips
- To get a more precise camber measurement, use a digital angle finder placed on the wheel hub, but this requires the car to be level and the suspension settled.
- If you frequently drive on rough roads, consider installing aftermarket or upgraded suspension components that are more robust, but ensure they are compatible with your vehicle.
- After any alignment service, ask for the before and after specifications to see exactly how far off your alignment was, and keep these records for future reference.
Final Checklist
- Confirm all tires are inflated to the manufacturer's recommended PSI found on the door placard.
- Measure tire tread depth on all four tires and compare inside, center, and outside readings.
- Perform a front toe measurement using a tape measure and compare front/rear distances.
- Take a test drive on a flat road to verify no pulling, no vibration, and that the steering wheel is centered.
FAQ
How often should I check wheel alignment after a pothole impact?
It's best to check within the first week after the impact or as soon as you notice any symptoms like pulling, vibrations, or uneven tire wear. If you don't notice any issues, you can do a simple eyeball check of your tires for wear every month, but a professional alignment check every year or 12,000 miles is still recommended to catch gradual misalignment.
Can a pothole cause damage that isn't immediately visible?
Yes, a hard pothole hit can bend suspension parts, cause a bubble in the tire sidewall, or create hairline cracks in wheels or struts that are not obvious at first. Over time, these can cause alignment to shift gradually, so it's wise to have a mechanic inspect your suspension components if the impact was severe, even if you don't notice symptoms immediately.
What is the approximate cost of a professional wheel alignment?
The cost varies widely depending on location, vehicle type, and whether additional repairs are needed. It's not appropriate to quote a price here, but you can expect a typical two-wheel alignment to be less than a four-wheel alignment. It's best to get quotes from several shops and ask if they offer a warranty on their work.