How To Plan A Safe Alloy Wheel Cleaning Routine
A practical step-by-step guide to how to plan a safe alloy-wheel cleaning routine, including preparation, instructions, common issues, tips, and next steps.
How To Plan A Safe Alloy Wheel Cleaning Routine
A safe alloy-wheel cleaning routine protects your wheels from damage and keeps them looking their best. This guide provides a step-by-step plan from initial rinsing to final waxing, emphasizing safe practices and regular maintenance. It covers necessary tools, techniques, and common pitfalls, ensuring you clean your alloy wheels effectively without causing harm. The routine is designed for various wheel types and brake dust levels, offering flexibility while maintaining safety and quality. By following these steps, you'll preserve your wheels' finish and ensure long-term durability.
Fast Answer
- Start by rinsing the wheels with cool water to remove loose dirt, then apply a pH-balanced wheel cleaner designed for alloy wheels, allowing it to dwell briefly before agitating with a soft brush.
- Rinse thoroughly, dry with a microfiber towel, and apply a wheel sealant or wax to protect against brake dust and contaminants.
Before You Start
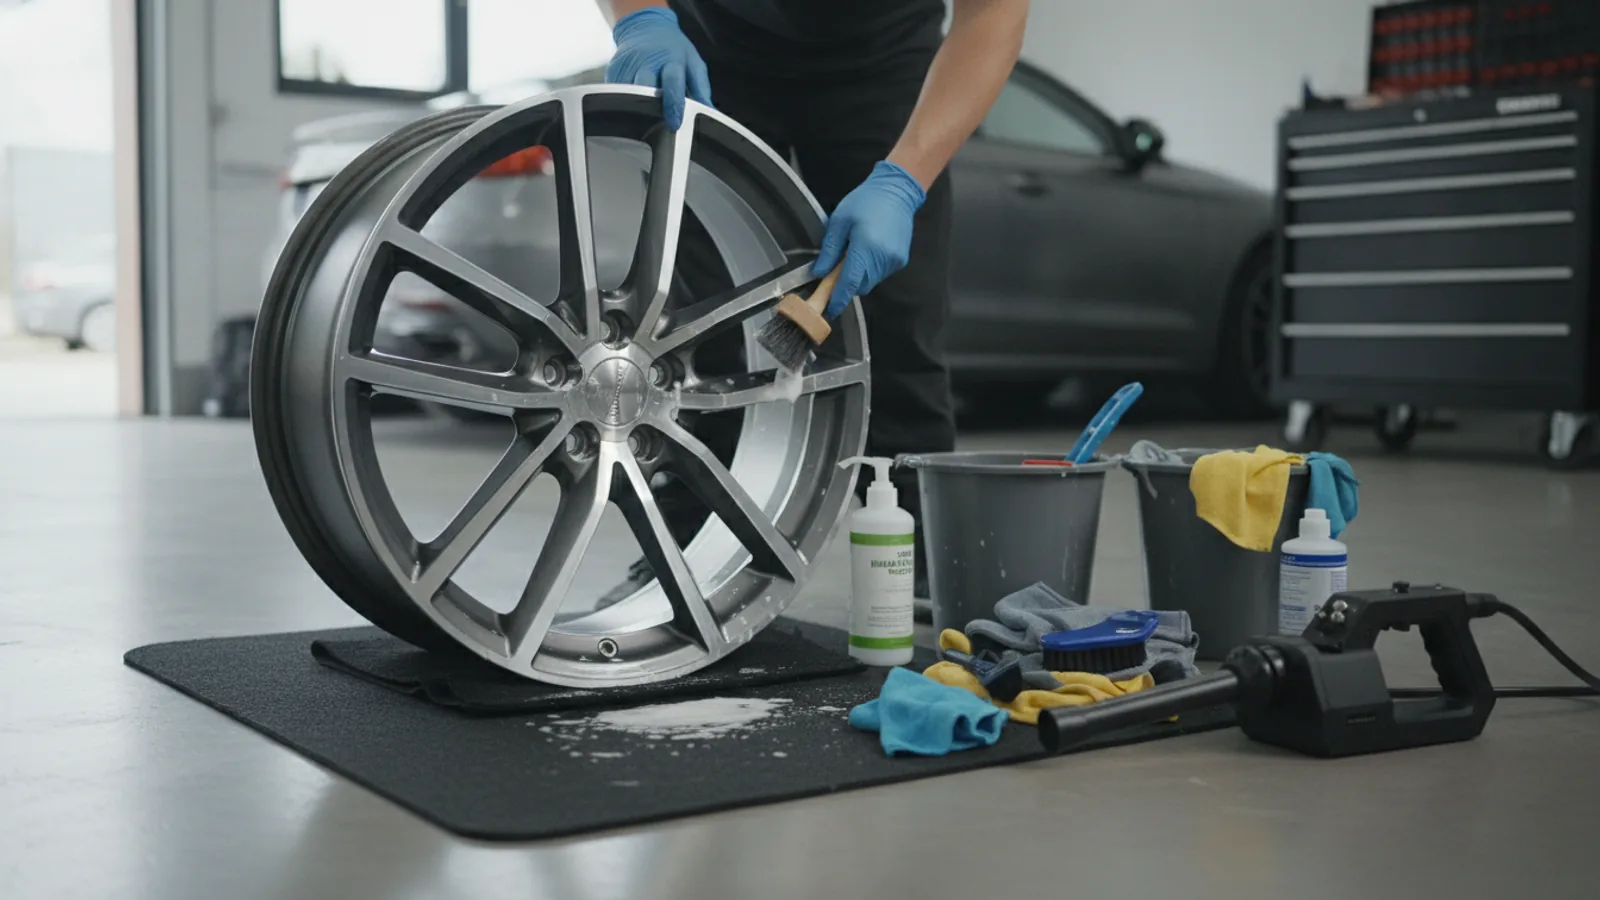
- Gather supplies: pH-balanced wheel cleaner suitable for alloy wheels, a soft-bristled brush (preferably with a long handle), a separate wash mitt or sponge, a bucket of clean water, a hose or pressure washer on a gentle setting, and several microfiber towels.
- Ensure the wheels are cool to the touch. Avoid cleaning hot wheels as sudden temperature changes can damage the finish or cause the cleaner to dry too quickly and leave residue.
- Check with your wheel manufacturer or vehicle manual for any specific cleaning recommendations, especially if you have coated, painted, or machined surfaces that may require special care.
- Park on a level surface and engage the parking brake. If cleaning only the front wheels, consider using wheel chocks on the rear wheels for added safety, especially on a slope.
Step-by-Step Instructions
Initial Rinse to Remove Loose Debris
Begin by thoroughly rinsing the wheel and tire with a steady stream of cool water from a hose or a pressure washer set to a low-pressure, wide spray pattern. Angle the spray to flush out loose dirt, dust, and small debris from the wheel's face, between the spokes, and around the brake caliper. Pay special attention to crevices and the barrel area behind the spokes, as these often harbor grime. This initial rinse is crucial because it removes larger particles that could act as abrasives during the washing process, causing microscopic scratches on the alloy surface. Continue rinsing until the runoff water appears clear. If the wheels are extremely dirty, you may need to repeat this step or use a gentle stream to dislodge stubborn deposits. Avoid aiming the spray directly at the wheel bearing or any exposed electrical connectors, and keep the nozzle a few inches away to prevent forcing water into sensitive components. This step sets the foundation for a safe, scratch-free cleaning routine.
Apply a pH-Balanced Wheel Cleaner
Once the wheel is thoroughly rinsed, spray a generous amount of alloy-wheel-specific cleaner onto the face and tires, ensuring even coverage over the entire wheel surface. Choose a cleaner labeled as pH-balanced, meaning it is neither highly acidic nor highly alkaline, as these can damage the protective clear coat or the alloy itself. Apply the cleaner when the wheel is still wet to help it spread evenly and prevent it from drying too quickly. Allow the product to dwell for the time specified on the label, typically two to five minutes, so it can break down brake dust and road grime. Brake dust is often metallic particles that stick to the wheel, and allowing the cleaner to react with them makes the next agitation step much more effective. Do not let the cleaner dry, as that can leave a residue that requires extra effort to remove. Work on one wheel at a time to maintain control, and consider using a separate tire cleaner if your product doesn't cover tires, but never mix products without knowing their compatibility.
Agitate with a Soft Brush
Using a soft-bristled brush with synthetic fibers, gently scrub the wheel's surface in a circular motion, starting from the center and working outward. Use a brush with a long handle to reach between the spokes and a smaller brush for tight areas like the lug nut recesses. Focus on areas with built-up brake dust, but do not press hard; let the cleaner and brush do the work. For intricate wheel designs, you may need a softer brush or a boars-hair brush to avoid scratching. After agitating the entire wheel, rinse thoroughly with clean water from a gentle spray, ensuring all cleaner and loosened dirt are washed away. A practical check is to run a finger across the wheel surface; it should feel smooth, with no gritty particles remaining. This agitation step is essential to lift the dirt that the cleaner loosened, but it must be done with non-abrasive tools to prevent scratches. The circular motion helps avoid straight-line scratches that are more visible, and working in one direction ensures you cover the entire surface uniformly.
Rinse Thoroughly and Inspect
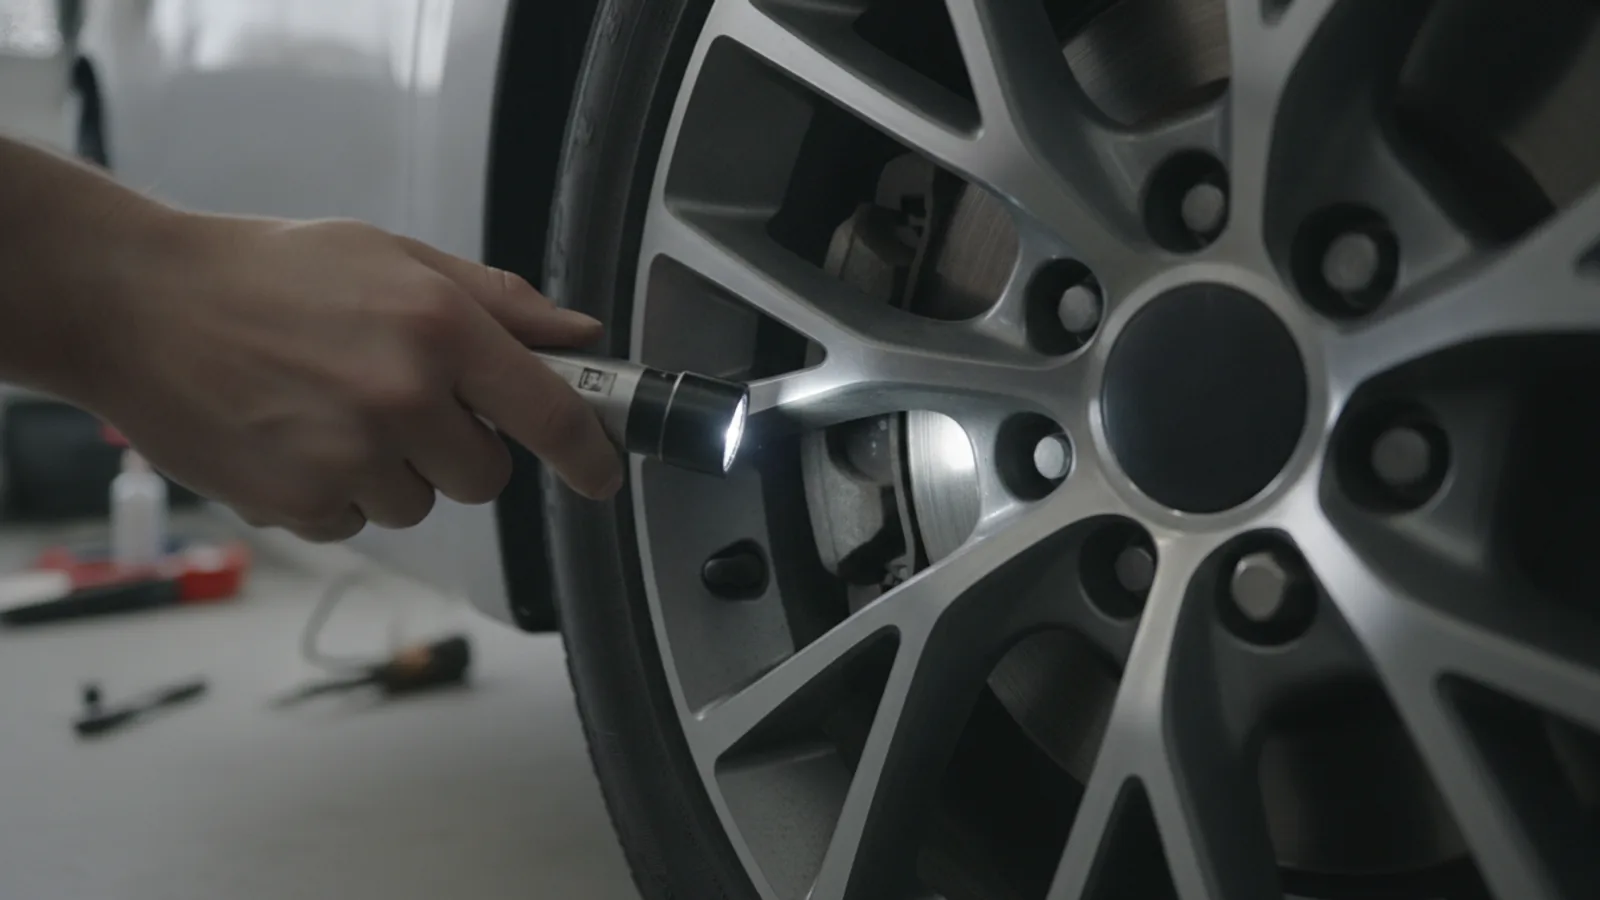
After scrubbing, give the wheel a final rinse with a steady stream of clean water, from top to bottom, to remove all traces of the cleaner and any loosened dirt. Use a low-pressure setting to avoid splashing water into the wheel hub or under the car. After rinsing, visually inspect the wheel for any remaining areas of brake dust or grime. If you notice patches, repeat the cleaning process on those areas with a fresh application of cleaner and a gentle scrub. Once you are satisfied, dry the wheel immediately with a clean, soft microfiber towel to prevent water spots, which can etch into the finish if left to dry on their own. Water spots occur when minerals in the water are left behind after evaporation, so drying is critical. As you dry, also check for any signs of damage, such as scratches, chips, or discoloration, which you can address later. This inspection step helps you catch any missed spots and ensures you don't proceed to protecting a dirty surface, which would seal in contaminants and degrade the protective layer.
Dry and Apply Protectant or Sealant
Thoroughly dry the wheel using a clean, dry microfiber towel, ensuring there are no streaks or water droplets left. This step prevents water spots and ensures that any protective layer you apply will adhere properly. Once the wheel is completely dry, apply a wheel sealant or wax designed for alloy wheels. These products create a sacrificial barrier that repels brake dust, dirt, and water, making future cleaning easier. Use a foam applicator pad to apply the sealant in a thin, even layer, following the product's instructions. Allow it to dry to a haze, then buff it off with a clean microfiber towel. A practical check is to notice a slick finish that beads water. The sealant not only adds shine but also reduces the amount of brake dust that clings to the wheel, extending the time between deep cleans. Apply the sealant to all wheels, and reapply every few months or as directed by the product manufacturer. This step is optional but highly recommended for long-term protection.
Perform Regular Maintenance and Touch-Ups
Establish a routine for weekly maintenance to keep your alloy wheels in top condition. At minimum, rinse the wheels with water during your regular car wash to remove loose dust and brake dust. For a more thorough clean, use the above method every two to four weeks, depending on your driving conditions and the amount of brake dust you accumulate. If you notice brake dust building up between cleanings, perform a quick clean with a mild spray and a soft cloth. Inspect your wheels regularly for any curb rash, chips, or corrosion, and address these issues promptly to prevent them from worsening. When replacing tires or performing brake work, take the opportunity to clean the back of the wheel and the hub area. Checking your tire pressure monthly also gives you a chance to look for any brake dust accumulation. This proactive approach not only keeps your wheels looking good but also protects the metal from corrosion and preserves the finish, extending their lifespan.
Quick Reference
| Situation | Action | Why it helps |
|---|---|---|
| Brake dust has already baked onto the wheel due to long intervals between cleanings. | Use a dedicated alloy wheel cleaner that is formulated to break down baked-on brake dust, applying it generously and letting it dwell longer (as per label) before agitating with a soft brush. Rinse thoroughly. | Baked-on brake dust requires a stronger chemical reaction to loosen it, and a longer dwell time allows the cleaner to penetrate the deposit without the need for aggressive scrubbing, which could scratch the wheel. |
| You just drove through a muddy area and the wheels are caked with dried mud and dirt. | Begin with a gentle pressure rinse to soften and remove the bulk of the mud, avoiding direct high-pressure spray on the wheel surface to prevent forcing mud into crevices. Then proceed with the standard cleaning routine. | Dried mud can contain abrasive particles that might scratch the wheel if scrubbed while dry. Rinsing first loosens the dirt, making it easier to remove with a brush and cleaner without damaging the finish. |
| You notice water spots after drying that seem stuck despite regular cleaning. | Apply a water spot remover specifically designed for automotive surfaces, using a soft cloth to gently rub the affected area in a circular motion. Rinse and dry, then apply a fresh layer of sealant to protect the area. | Water spots are mineral deposits that can etch into the clear coat if left untreated. A dedicated remover chemically dissolves the minerals without harsh scrubbing, and a new sealant prevents future spots from adhering. |
Common Issues
- Wheel cleaner has left a white residue that is difficult to wipe off: Rinse the wheel with a mild solution of water and pH-neutral soap, then use a microfiber towel to wipe off the residue. Avoid using abrasives, which can scratch. To prevent residue, always follow the product's dwell time and rinse thoroughly. If residue persists, use a dedicated tar or residue remover.
- Scratches appear on the wheel surface after cleaning: If scratches are shallow, they may be in the clear coat and can be polished out with a fine, non-abrasive polish and a soft cloth. For deep scratches that expose bare metal, consult a professional. To prevent future scratches, always use soft brushes and mitts, and rinse the wheel before touching the surface with any tool.
- Brake dust is not completely removed even after cleaning: Use an iron-removing cleaner that chemically reacts with brake dust, turning it purple, then rinse. If that doesn't work, consider clay barring the wheel with a lubricant to pull remaining contaminants. After cleaning, apply a sealant to reduce future adhesion. Ensure you are using a cleaner specifically for alloy wheels.
Advanced Tips
- Consider using a wheel coating that provides a more durable, long-lasting protection than traditional waxes, reducing the frequency of deep cleaning.
- Invest in a detailing brush set with various sizes and softness levels to reach every nook and cranny without scratching, and wash these brushes regularly to avoid introducing dirt back onto the wheel.
- Use a leaf blower or compressed air to dry hard-to-reach areas like the brake caliper and wheel wells after cleaning, preventing water spots in spots you can't easily wipe.
Final Checklist
- Have you pre-rinsed the wheel to remove loose dirt before applying any product? (prevent scratching)
- Did you use a pH-balanced cleaner and rinse it off completely, without letting it dry? (protect finish)
- Have you dried the wheel immediately with a clean microfiber towel to avoid water spots? (preserve gloss)
- Did you apply a sealant or wax to protect the wheel and make future cleaning easier? (long-term care)
FAQ
How often should I clean my alloy wheels to keep them safe from damage?
For most drivers, a thorough cleaning using this method every two to four weeks is sufficient to prevent brake dust and grime from building up and corroding the finish. If you notice a significant accumulation of brake dust sooner, or if you drive in wintery or dusty conditions, you may need to clean them weekly. Regular maintenance rinses during car washes can help extend the interval between deep cleans. Always follow the manufacturer’s recommendations for your specific wheels, and inspect them monthly for any signs of damage that may require immediate attention.
Can I use dish soap to clean alloy wheels if I don't have a dedicated wheel cleaner?
While it is possible to use a mild dish soap in a pinch, it is not recommended as a regular practice. Dish soaps are often formulated with degreasers that can strip waxes and sealants from the wheel’s protective clear coat, leaving it more vulnerable to staining and corrosion. If you must use dish soap, ensure it is a gentle formula and dilute it well. However, for the safety and longevity of your wheels, invest in a pH-balanced cleaner designed specifically for alloy wheels, as these are formulated to remove brake dust without damaging components.
What should I do if my alloy wheels are heavily covered in brake dust and haven't been cleaned for months?
For heavily soiled wheels, start by rinsing with water to remove loose dust. Then, apply a strong but safe wheel cleaner that is designed to dissolve brake dust, such as one containing iron-active chemicals. Spray generously, allow it to dwell for a few minutes until you see the cleaner turn purple as it reacts with the brake dust particles, but do not let it dry. Agitate with a soft brush, focusing on the built-up areas, then rinse thoroughly. Repeat if necessary. After cleaning, dry and apply a sealant to protect the now-clean surface. If brake dust is baked on, you may need to repeat the process a couple of times, but avoid using harsh abrasives.