How To Choose Checking Wheel Alignment After Pothole Damage
A practical step-by-step guide to how to choose checking wheel alignment after pothole damage, including preparation, instructions, common issues, tips, and next steps.
How To Choose Checking Wheel Alignment After Pothole Damage
This guide explains how to check your vehicle's wheel alignment after hitting a pothole. It covers the signs of misalignment, the tools you need, a step-by-step walk-through of a DIY visual inspection, how to perform a basic measurement at home, and when to seek professional help. You'll also find quick-reference actions, common issues, advanced tips, and a final checklist to ensure you don't miss anything. The goal is to help you assess potential damage early, avoid uneven tire wear, and maintain safe handling, all while giving you confidence in your own observations.
Fast Answer
- After pothole impact, park on a flat surface and visually inspect the tires for uneven wear, bulges, or cuts; then check if the steering wheel is centered when driving straight.
- If you suspect misalignment, measure the distance between the front and rear of the front tires using a tape measure to compare toe-in or toe-out; a difference larger than 3 mm suggests you need a professional alignment.
Before You Start
- Find a flat, level surface like a parking lot or quiet street where you can safely park and measure without traffic.
- Gather a tape measure, chalk or masking tape, a tire pressure gauge, and a friend to help you read measurements accurately.
- Ensure your tires are inflated to the pressure recommended in your owner's manual; incorrect pressure affects measurement.
- Warm up your tires by driving for about 10 minutes; this makes the rubber more flexible for accurate visual inspection of the tread.
Step-by-Step Instructions
Inspect Your Tires Visually
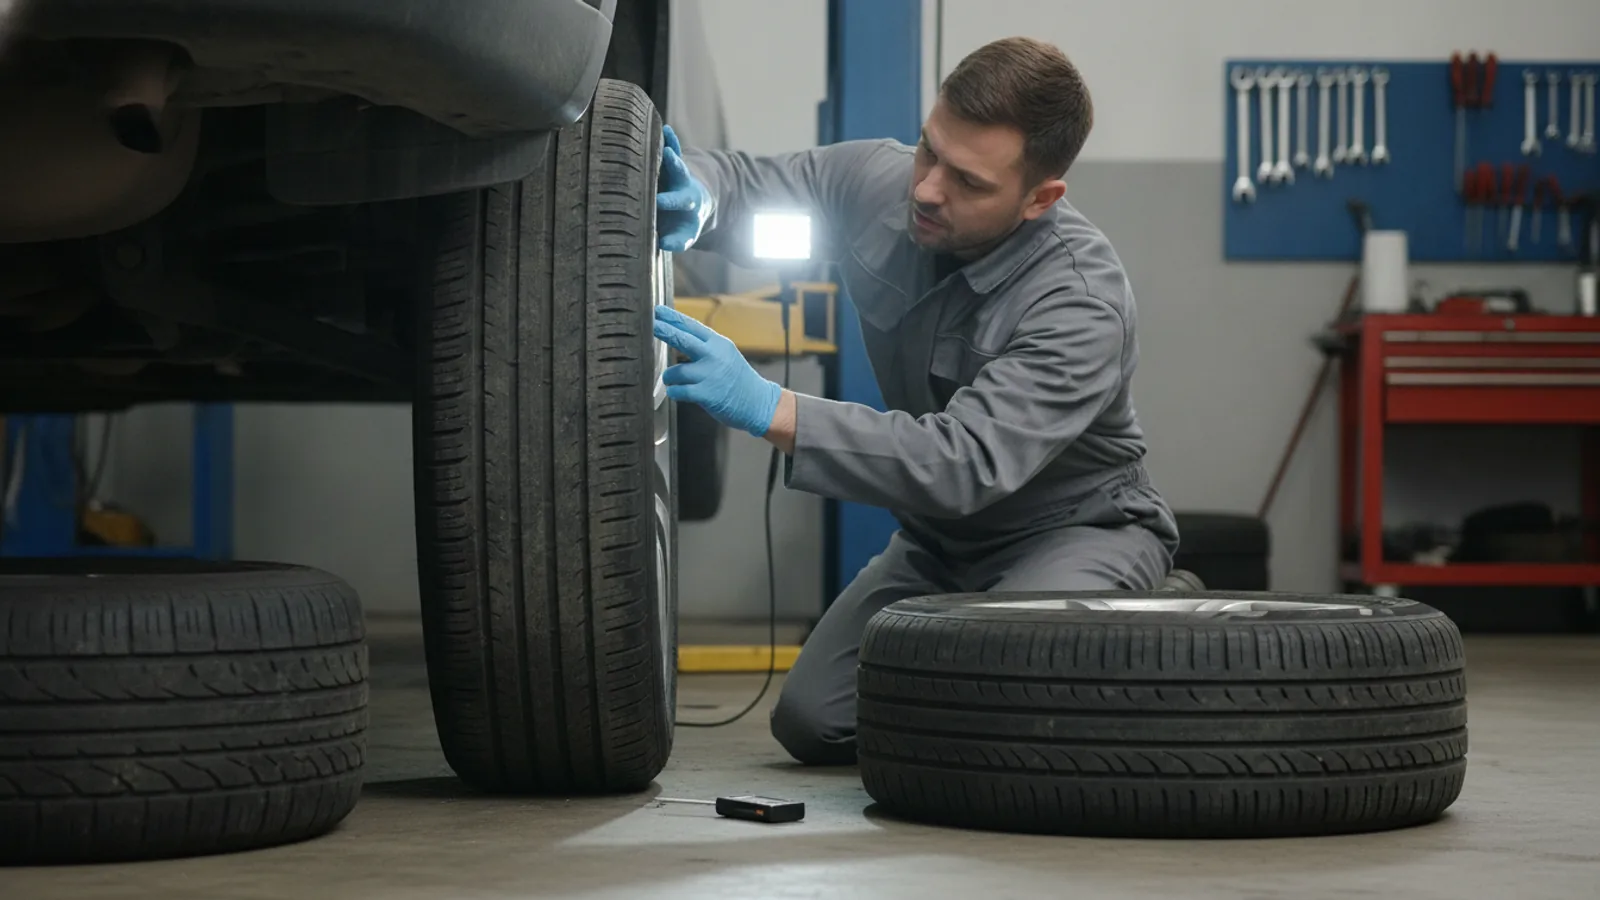
Begin by examining each tire for signs of pothole damage. Look for sidewall bulges, cuts, cracks, or bubbles on the rubber, as these indicate structural damage. Check the tread for uneven wear patterns: if the inner or outer edge of a tire appears more worn than the center, that's a classic sign of a toe or camber issue. Also, press your palm along the tread to feel for any flat spots or scalloped edges. A bulging sidewall can be dangerous because it weakens the tire's ability to hold air and may cause a blowout. If you spot any of these, the tire needs immediate replacement. For a more accurate check, run your hand over the tread in both directions; you're feeling for a 'sawtooth' pattern. This visual inspection is your first line of defense because it can catch problems early, before they lead to a more expensive repair or a dangerous situation. Remember, a tire with any structural damage should not be driven on, and you'll need to address that before thinking about alignment.
Check Tire Pressure
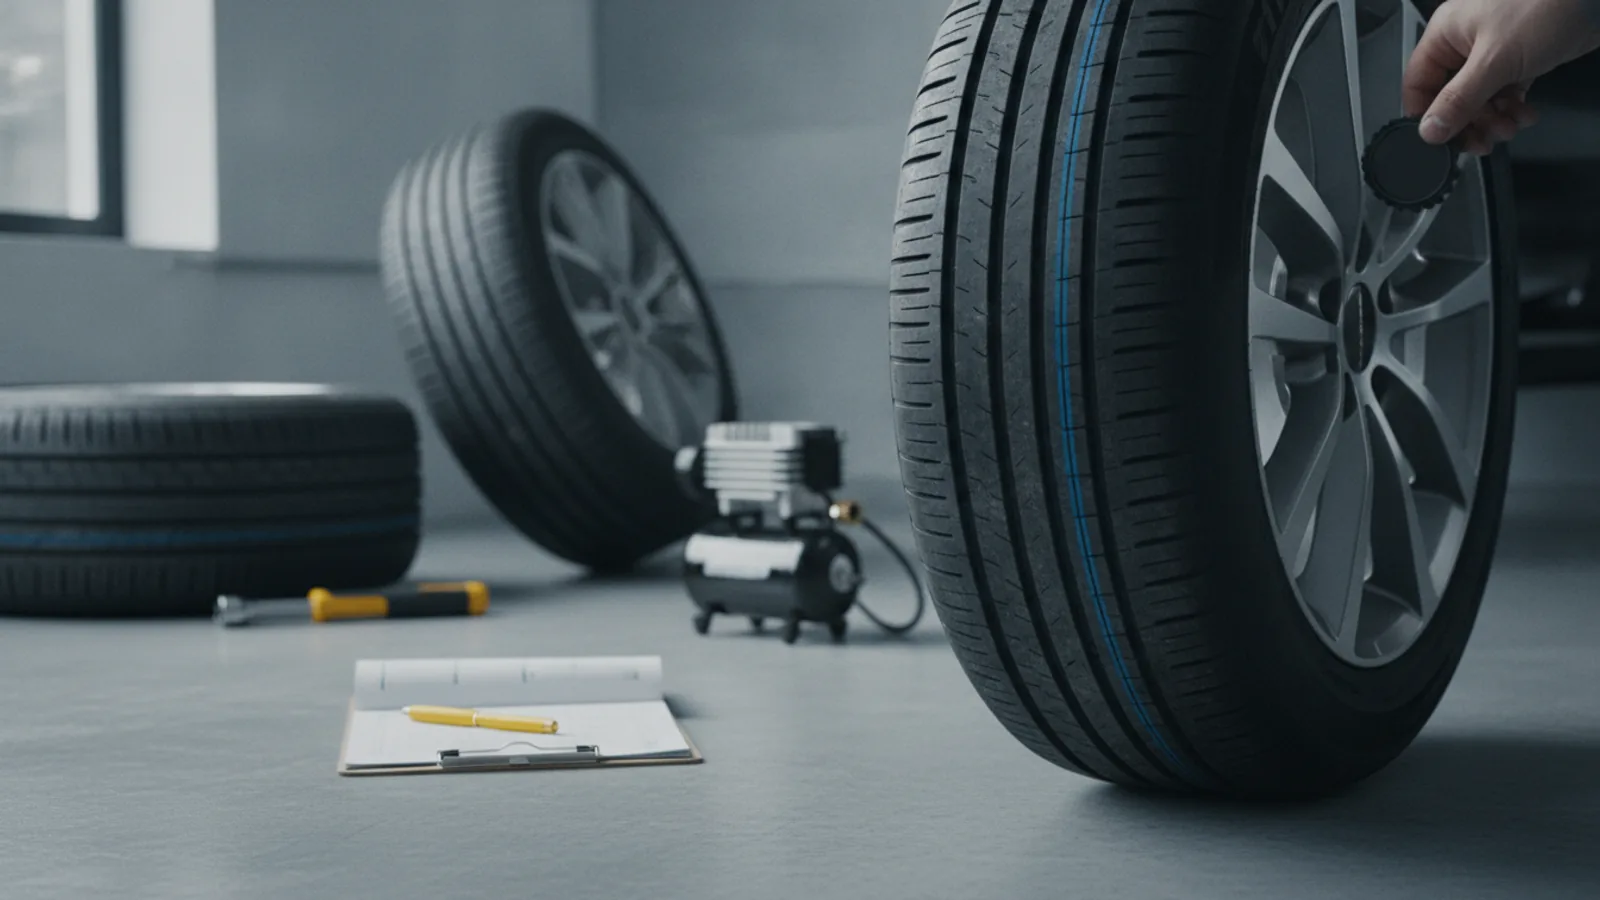
Proper tire pressure is essential for an accurate alignment check. Use a reliable gauge to measure the pressure in all four tires when they are cold (ideally in the morning or after a long rest). Compare the readings to the values listed in your owner's manual or on the sticker inside the driver's door frame. If any tire is underinflated, inflate it to the recommended level before proceeding. Incorrect pressure can cause the vehicle to pull to one side, mimicking alignment symptoms. Also, a tire that's losing air may have a slow puncture caused by the pothole impact. Overinflated tires are also bad, as they reduce grip and lead to center tread wear. During this step, also listen for any hissing sounds that might indicate a leak. The reason this matters is simple: you cannot properly judge alignment if your tire pressures are off, because a soft tire effectively changes the wheel's geometry. By ensuring correct pressure, you eliminate this variable and get a true picture of whether alignment is actually needed.
Perform a Steering Center Test
Take your vehicle for a short, straight drive on a flat, empty road. Find a spot with no traffic and make sure you have room to drive in a straight line for at least 30 meters. Accelerate to a moderate, safe speed (like 40 km/h) and then let the steering wheel return to its natural position as you drive straight. If the car drifts to one side or the steering wheel doesn't sit perfectly centered when you're going straight, that's a strong indicator of a misalignment. Specifically, if you have to hold the wheel at an angle to keep the car moving straight, your front toe settings are likely off. If the car pulls to the left or right even when the wheel is straight, you may have a camber or caster problem. Also, gently shake the steering wheel side to side; if there's excessive play, it could be related to worn suspension components rather than just alignment. This test is crucial because misalignment not only causes unnecessary tire wear but also forces you to constantly correct steering, which makes driving tiring and less responsive. A simple observation here can save you from a more expensive tire replacement later.
Measure Toe-In with Tape
To do a basic home check of toe alignment, you'll need a tape measure and chalk. Park on a flat surface and ensure the tires are straight. Measure the distance between the center of the front and rear of the front tire's tread faces. Mark the same point on each tire using chalk. Use the tape measure to get the front measurement and the rear measurement. Typically, the front should be slightly narrower than the rear by about 1 to 3 millimeters, which is called toe-in. If the difference is much greater or the opposite (toe-out), your alignment is off. Repeat the measurement a couple of times for accuracy. Since you're measuring from the tread, ensure the tires are cold to avoid expansion. This measurement tells you the toe angle, which is the most commonly affected alignment angle in a pothole hit. A small adjustment can dramatically improve tire life and handling, so this measurement helps you know if a professional alignment is necessary. If you find a difference of more than 5 millimeters, it's time to book a service.
Do a Pull Test on Pulling
Another practical test is the 'hands-off' pull test, but do it only in a safe, empty area. Drive at a low speed, take your hands off the wheel briefly, and see if the car veers to one side. If it pulls left or right, that's a sign of camber or caster misalignment. To differentiate between the two, note when the pull happens: if it's constant and immediate, it could be camber; if it worsens with speed, it might be caster. Also, check if the steering wheel returns to center after turning a corner; if it's sluggish, that points to caster issues. Be certain to do this test on a flat road, because a crowned surface can make the car drift naturally. This step is important because a pull is not always due to alignment; it could be a brake issue or a tire imbalance. By testing in isolation, you gather more data. If your car pulls consistently even on a flat road, you have a good reason to seek a professional alignment. Just remember to keep your hands near the wheel to quickly regain control.
Visit a Professional for a Precision Check
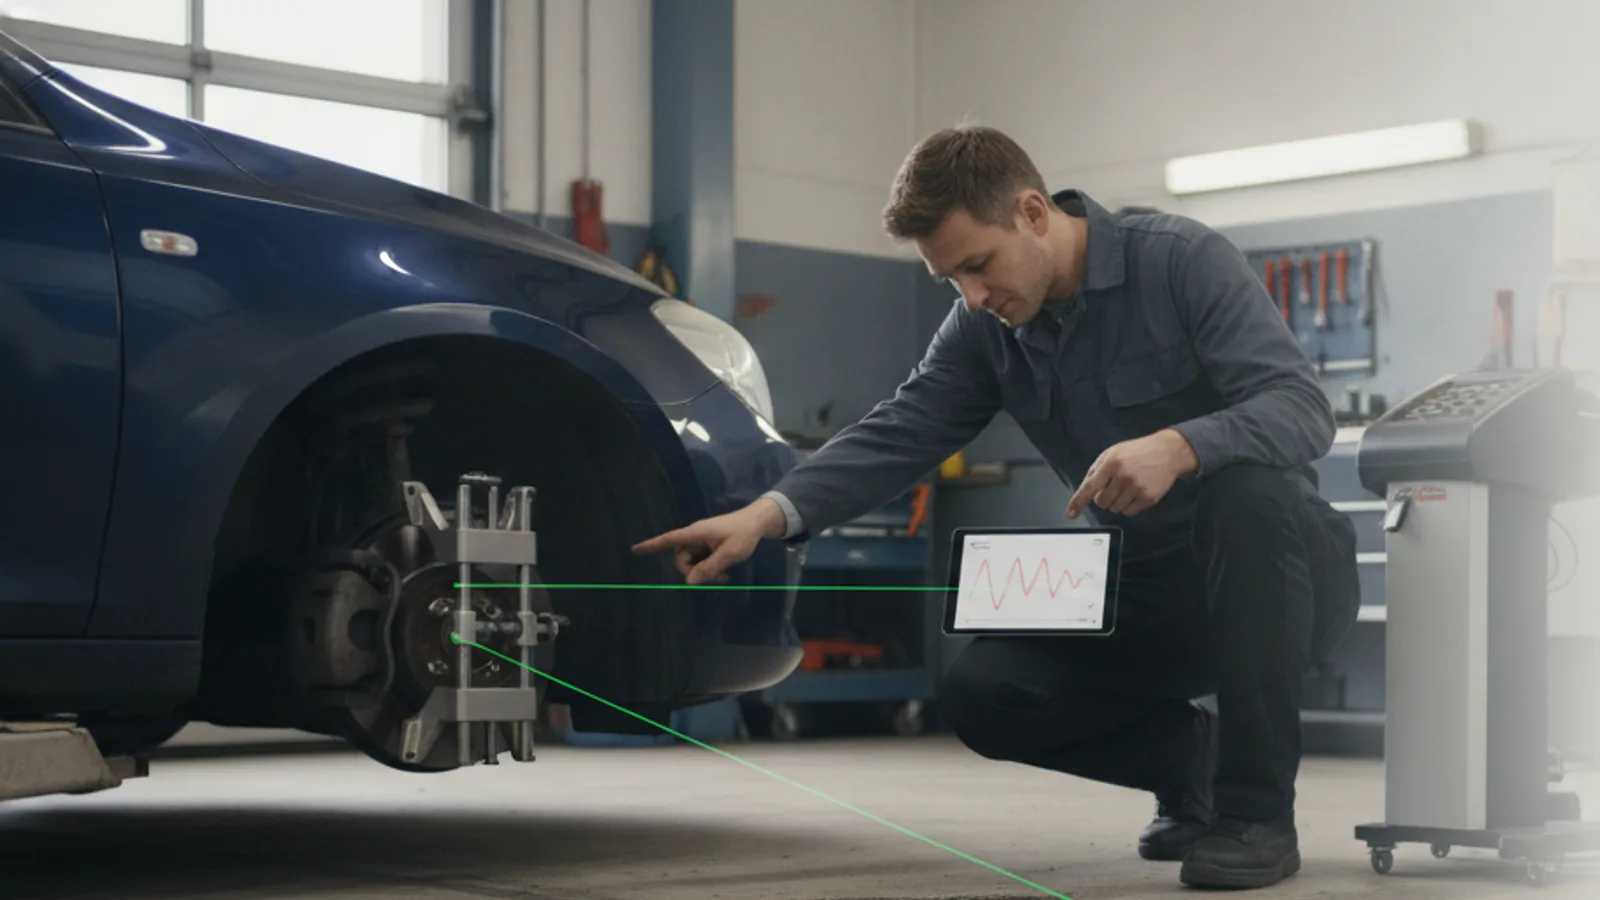
After your DIY checks, if you find any indication of misalignment—uneven tire wear, steering wheel off-center, or a pull—schedule a professional alignment. A shop uses sophisticated electronic equipment to measure all angles (camber, caster, toe) with high precision. They can also check your suspension components for damage, like bent control arms or worn ball joints, which are common in pothole hits. While you can do a visual inspection at home, a precise machine measurement is the only way to know exact specifications for your vehicle. The technician will also adjust the angles according to the manufacturer's specifications, which you cannot do at home. Remember to ask for a printout of the before and after readings; that verifies the work. This step is crucial because even a small misalignment can cause rapid tire wear and reduce fuel efficiency. By having it professionally fixed, you ensure your vehicle's handling matches its design, keeping you safer and saving money in the long run. Always check that the shop uses a reputable alignment system and that the technician explains the results.
Quick Reference
| Situation | Action | Why it helps |
|---|---|---|
| Steering wheel is off-center while driving straight | Check tire pressures first, then drive on a flat road and note how much the wheel is off-center. If it's more than 10 degrees, book a professional alignment. | An off-center steering wheel typically indicates toe misalignment, which will cause uneven tire wear and reduced handling precision. |
| Vehicle pulls consistently to one side on a flat road | After confirming tire pressures are even, perform a hands-off test at low speed. If the pull persists, have a professional check camber and caster angles and inspect suspension components. | A persistent pull suggests camber or caster misalignment or possible suspension damage, both of which require specialized equipment to diagnose accurately. |
| Uneven wear on the inside or outside edge of a tire | Use a tread depth gauge to measure the edge and center of the tire. If the difference is more than 2 mm, get a full alignment and also ask for a tire rotation. | Uneven edge wear is a classic sign of camber misalignment, and continuing to drive on it will quickly ruin the tire and affect safety. |
Common Issues
- Tire sidewall bulge after pothole: Do not drive on it. Replace the tire immediately because a bulge weakens the sidewall and can lead to a blowout. Check the others as well.
- You measure toe but get inconsistent readings: Re-check your measurement points and ensure the car is on level ground with the steering wheel locked straight. If still inconsistent, have a professional do the alignment, as DIY methods have limitations.
- Alignment seems fine, but car still pulls: Inspect brakes for dragging or sticking, and check for a tire with a shifted belt or separation. Swap the front tires side to side; if the pull direction changes, it's a tire issue, not alignment.
Advanced Tips
- If you're handy, you can measure camber accurately using a digital angle gauge placed against the wheel rim (after removing the hubcap), but ensure the car is on a level surface to get a reliable reading.
- After any wheel alignment, always ask for the alignment specs sheet and keep it for your records; it helps you track changes over time.
- Consider purchasing a portable tire pressure monitoring system; these are inexpensive and help you detect slow leaks that may come from pothole damage.
Final Checklist
- Visually inspect all four tires for sidewall damage, bulges, cuts, or uneven tread wear patterns.
- Check and adjust tire pressures to the manufacturer's cold inflation values.
- Test the steering wheel center and vehicle pulling behavior on a flat, safe road.
- If any symptom persists, schedule a professional wheel alignment and get a before/after readout.
FAQ
Can I check alignment at home without special tools?
Yes, you can do a basic visual and measurement check using a tape measure and chalk, as described in this guide. However, home checks can only identify gross misalignment; a professional alignment using precision equipment is the only way to ensure accurate settings.
How often should I have a professional alignment done?
Most vehicle manufacturers recommend an alignment every 10,000 kilometers or during tire rotations. However, after any significant impact like a pothole, it's wise to have it checked immediately, even if you don't notice symptoms.
Will a misalignment cause my steering wheel to vibrate?
Not typically. Vibration is more often caused by a bent wheel or a tire that is out of balance. But a pothole can also damage a wheel, so if you feel vibration, have your tires balanced and check for wheel damage.