A Winter Wheel Care Routine For Salted Roads Checklist For First Time Readers
A practical step-by-step guide to a winter wheel-care routine for salted roads checklist for first-time readers, including preparation, instructions, common issues, tips, and next steps.
A Winter Wheel Care Routine For Salted Roads Checklist For First Time Readers
Winter roads are often salted to melt ice, but that salt spray can corrode your wheels, brake components, and wheel wells if left unchecked. This routine helps first-time readers protect their vehicle through the snowy season with simple, scheduled care that takes about an hour every two to three weeks. You will learn how to rinse away salt, clean the wheels properly, apply a protective coating, and inspect for early damage. The steps are organized in a logical order so that each task builds on the previous one, and the checklist at the end helps you confirm you have not missed anything. This is not a one-time fix; it is a recurring habit that keeps your wheels looking good and prevents costly repairs later. By following this guide, you will understand exactly why each action matters, what to look for, and how to adjust your routine when temperatures drop significantly.
Fast Answer
- Spray your wheels and undercarriage with water before washing to loosen salt, then use a pH-neutral wheel cleaner and soft brushes to remove brake dust and grime.
- After cleaning, fully dry the wheels and apply a wax or sealant specifically designed for wheels to create a barrier against salt and moisture.
Before You Start
- Gather a bucket, pH-neutral wheel cleaner, a soft-bristled brush, a lug-nut brush, a microfiber towel, and a wheel-safe wax or sealant.
- Park on a flat surface and let the wheels cool completely—never spray cleaner on hot brakes or rotors.
- Move your vehicle to a shaded area if possible, or plan to work when the sun is low, to prevent cleaning products from drying too quickly.
- Put on rubber gloves and safety glasses to protect your skin and eyes from cleaning chemicals and road grime.
Step-by-Step Instructions
Initial Cool Down and Rinse
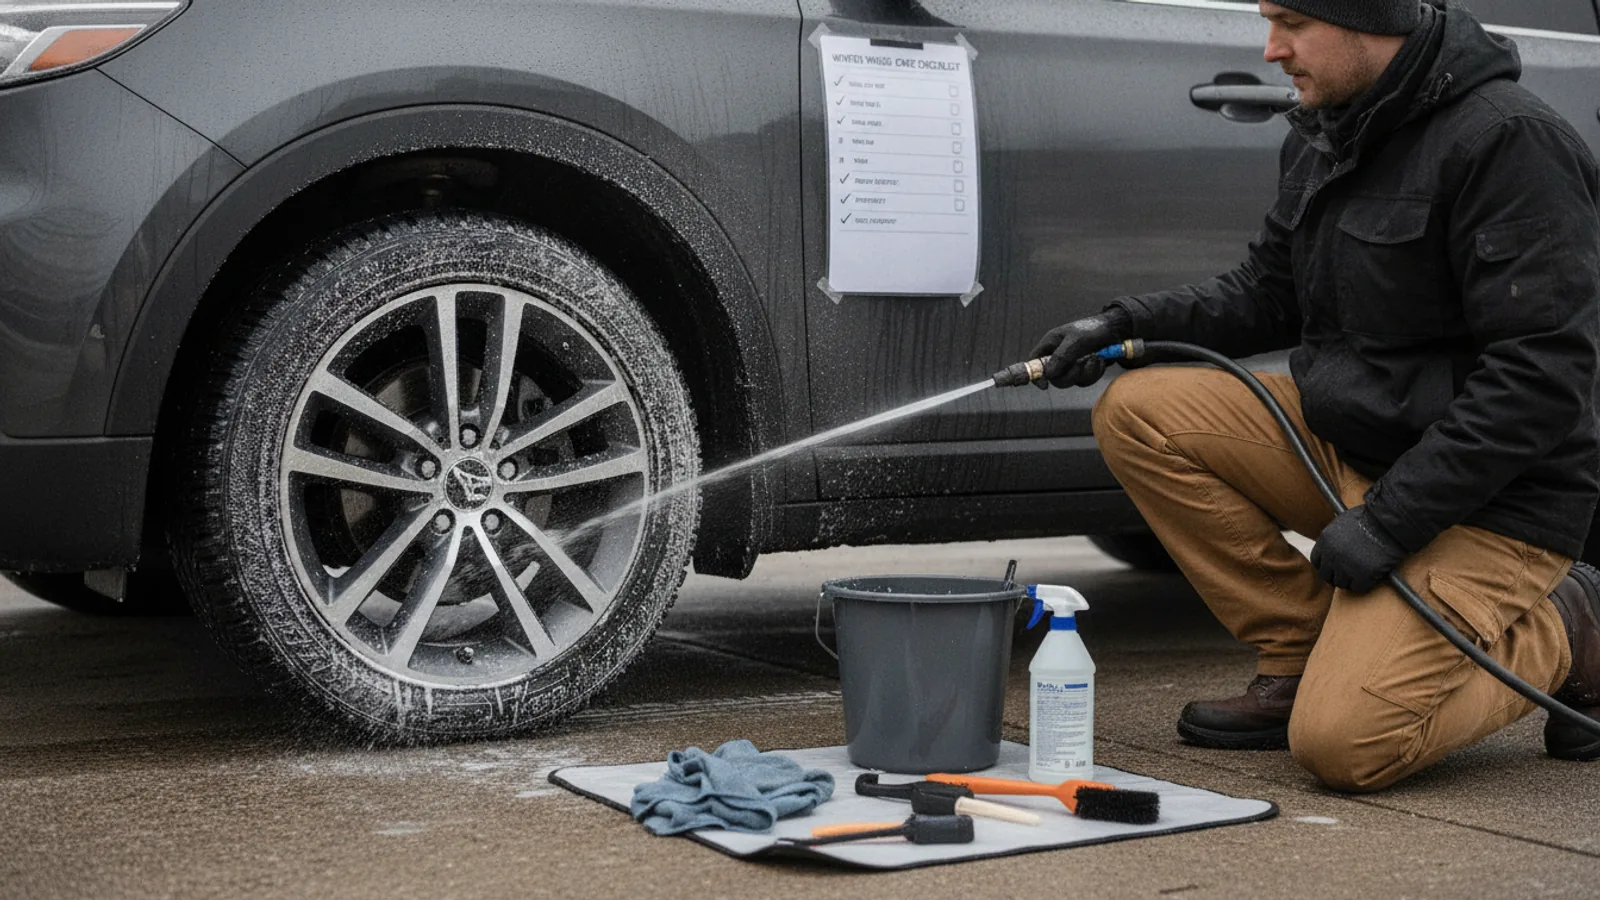
Start by making sure your vehicle has been parked for at least an hour so the wheels and brakes are cool to the touch. This prevents thermal shock and keeps cleaning products from evaporating too quickly. Then, use a garden hose with a regular nozzle (not a pressure washer) to thoroughly rinse each wheel and the wheel wells. Aim the water to knock off loose salt, dirt, and debris, moving from the top of the wheel down to the tire. Pay extra attention to the inner rim and the areas behind the spokes where salt tends to hide. This initial rinse is crucial because it removes the bulk of the abrasive particles before you begin scrubbing, which reduces the risk of scratching the wheel's surface. Do not skip this step, even if the wheels look clean; salt crystals can be invisible at first glance.
Apply pH-Neutral Wheel Cleaner
Choose a cleaner labeled specifically for wheels and tires that has a pH between 7 and 9, meaning it is neutral or slightly alkaline. Spray the cleaner liberally onto one wheel at a time, covering the entire face, spokes, and brake area. Let the cleaner dwell for two to three minutes so it can break down brake dust and road grime—but do not let it dry completely on the surface. If the spray starts to look like it is drying, rewet the wheel with water. Use a soft-bristled brush to gently agitate the entire wheel, starting with the face and then moving into the crevices with a smaller brush. The goal is to lift dirt without scratching the clear coat. Work the brush in circular motions, and be careful around any sensors or valves. After scrubbing, rinse the wheel thoroughly with clean water. Repeat for each wheel, but never let the cleaner dry on the wheel—always rinse before moving on.
Clean the Tires and Wheel Wells
Use a separate brush or a tire brush to scrub the sidewalls of your tires, removing any oily or greasy film that collects dirt and salt. You can use the same pH-neutral cleaner, but make sure the brush is not the same one used for the wheel face to avoid cross-contamination. Then, spray the wheel wells—the area behind the tires—with water and use a long-handled brush to loosen any caked-on salt and mud. Rinse this area thoroughly, as salt can accumulate there and promote rust. This step is often overlooked, but the wheel wells are directly exposed to salted spray, and trapped salt accelerates corrosion of suspension components. After cleaning, give the tire sidewalls a final rinse. While you are at it, check the tires for any obvious cuts or bulges, as winter conditions can be harsh on rubber.
Dry the Wheels Completely
After rinsing, it is vital to dry every surface of the wheel thoroughly. Use a clean, soft microfiber towel to wipe down the wheel face, spokes, and rim edges. You can also use an air compressor or a leaf blower on low setting to blow water out of harder-to-reach areas like the lug nut holes and behind the spokes. Pay close attention to the crevices where water droplets can linger; if left to air-dry, these droplets can leave mineral spots and, more importantly, keep salt dissolved against the metal, which promotes corrosion. Drying immediately after rinsing is your best defense against water spots and early rust. Take your time and go over each wheel twice to ensure no moisture remains. If you notice any areas that are difficult to dry, use a compressed air canister designed for electronics, but be careful not to freeze the spray.
Apply a Protective Wax or Sealant
Once the wheels are clean and completely dry, apply a thin layer of a wheel-specific wax or sealant. These products create a protective barrier that fills microscopic pores in the clear coat or metal, making it harder for salt and moisture to stick. Use a foam applicator pad to apply the product in a thin, even layer, following the manufacturer's instructions for application time—usually you apply it, let it haze, then buff it off with a clean microfiber cloth. Do not forget to apply the product to the inner rims if you can reach them, though it is okay to skip the brake rotor; just avoid getting wax on the braking surface. This barrier will make future cleaning easier, as salt and dirt will be less likely to cling. Reapply the wax after every third wash, or once a month, to maintain protection throughout the winter.
Record Your Routine and Inspect
Keep a simple log of when you performed the wheel care and how the wheels looked. This helps you notice patterns, such as excessive rust or discoloration. After you finish each wheel, spend a moment inspecting the lug nuts, the wheel center caps, and the surrounding fender area for any signs of bubbling paint, rust spots, or cracks. Also, check the brake calipers for any unusual wear or corrosion, as salt accelerates wear on braking components. If you spot any issues, address them early—for example, touch up painted surfaces with a matching paint pen. Recording your routine also makes it easier to plan the next cleaning, aiming for every two to three weeks, or more often if you drive on heavily salted roads frequently. This final check ensures that your effort in cleaning has not missed a developing problem.
Quick Reference
| Situation | Action | Why it helps |
|---|---|---|
| You notice white residue on your wheels after the road has dried | Rinse the wheels with water immediately, then wash with pH-neutral cleaner and dry thoroughly. | The white residue is crystallized salt, which is highly corrosive and should be removed quickly to prevent damage. |
| The temperature is below freezing and you cannot use water | Wait for a milder day, but if you must clean, use a waterless wheel cleaner and microfiber towels, working in a garage. | Water will freeze on the surface and may cause damage or create a slipping hazard; a waterless product lifts salt safely. |
| After cleaning, you see small rust spots or brake dust stains that will not come off | Use an iron-fallout remover specifically for wheels, apply as directed, then rinse and re-apply your protective wax. | Brake dust contains iron particles that bond to the wheel; a dedicated remover dissolves these particles safely without scratching. |
Common Issues
- Wheel cleaner leaves white streaks or spots on the rim: Rinse the wheel immediately with plenty of clean water, then dry with a microfiber towel. If streaks persist, wash with a diluted vinegar solution (one part vinegar to three parts water) then rinse and dry.
- Wheels become extremely dirty again within a few days: Increase the frequency of your rinse-only wash to every few days, and apply a more durable sealant or ceramic coating designed for wheels. Also, consider cleaning the wheel wells more thoroughly, as they can throw salt back onto the wheels.
- Rust appears on the inner rim or around lug nuts: Clean the area with a fine steel wool (for aluminum) or a rust remover safe for your wheel type, then apply a rust inhibitor and touch-up paint. If rust is severe, consult a professional to assess the wheel's integrity.
Advanced Tips
- After the final rinse, use a leaf blower to force water out from behind the spokes and around the lug nuts, preventing moisture from hiding there.
- Keep a dedicated travel spray bottle filled with water and a drop of pH-neutral soap to spot-clean wheels during the week if they get splashed with salt.
- When storing your winter wheels for the season, clean them thoroughly, let them dry completely, and store them in a cool, dry place away from direct sunlight to prevent cracking or fading.
Final Checklist
- Verify that the wheels have not been cleaned in temperatures below freezing unless in a garage.
- Confirm that you used a pH-neutral cleaner and did not let it dry on the wheel.
- Ensure each wheel is completely dry before applying any protective product.
- Check that all lug nuts are tight and that there are no signs of damage to the wheel or tire sidewalls.
FAQ
How often should I clean my wheels in winter?
Aim to clean your wheels every two to three weeks, but if you drive on roads that are heavily salted, do it every week. Pay attention to visible salt spray: if you see white residue, clean soon. Regular rinsing with plain water between full washes can also help, especially after a fresh snowstorm.
Can I use dish soap to clean my wheels?
No, household dish soaps are too harsh and can strip the protective coating from your wheels. They are designed for dishes, not automotive finishes. Always use a cleaner specifically formulated for wheels and tires, which will be gentle yet effective at removing brake dust and salt without damaging clear coat.
Is it necessary to wax my wheels in winter?
Yes, a dedicated wheel wax or sealant is highly recommended because it creates a layer of protection that prevents salt and moisture from contacting the wheel's surface directly. This makes cleaning easier and reduces the risk of corrosion. Apply it after cleaning and reapply every month or so for best results.