What To Check Before Checking Wheel Alignment After Pothole Damage
A practical step-by-step guide to what to check before checking wheel alignment after pothole damage, including preparation, instructions, common issues, tips, and next steps.
What To Check Before Checking Wheel Alignment After Pothole Damage
After hitting a pothole, many drivers immediately book a wheel alignment, but a proper pre-alignment inspection can prevent wasted time and money. This guide walks through essential checks—from tire condition to suspension components—to ensure your vehicle is ready for a successful alignment. By following these steps, you can identify hidden damage, avoid premature tire wear, and ensure the alignment actually corrects the problem.
Fast Answer
- Inspect every tire for bubbles, bulges, cuts, or uneven wear; replace any damaged tire before alignment, as misalignment or wheel damage can cause vibration and prevent accurate readings.
- Check wheel rims for bends, cracks, or dents by spinning each wheel; a bent rim cannot be aligned correctly and will affect steering and tire wear.
Before You Start
- Gather a tire pressure gauge, a lug wrench, a flashlight, and a straightedge or ruler for measuring tread depth and inspecting components.
- Park the vehicle on a flat, level surface and engage the parking brake to ensure safe and stable measurements.
- Let the vehicle sit for at least two hours after driving so tires and suspension parts cool to normal operating temperature.
- Review the owner's manual for specific tire pressure recommendations and suspension system details for your vehicle.
Step-by-Step Instructions
Inspect Tire Condition and Pressure
Start by checking the air pressure in all four tires with a reliable gauge while the tires are cold. Compare each reading to the pressure listed on the sticker inside the driver's door frame or in your owner's manual; do not use the maximum pressure molded into the sidewall. Note any significant difference between tires. Next, visually examine each tire for bulges, bubbles, cuts, cracks, or objects embedded in the tread. Run your hand along the tread surface to feel for uneven wear like scalloped dips or bald spots. Use a tread depth gauge or the penny test to measure remaining tread; if any tire has less than 2/32 inch (or 1.6 mm) of tread, it must be replaced before alignment. Damaged tires can cause vibrations that mimic alignment problems and will prevent accurate alignment readings. Replace any tire that shows damage or is worn beyond safe limits, and re-check pressure after installation. Properly inflated, undamaged tires provide a stable base for the alignment process.
Check Wheel Rims for Damage
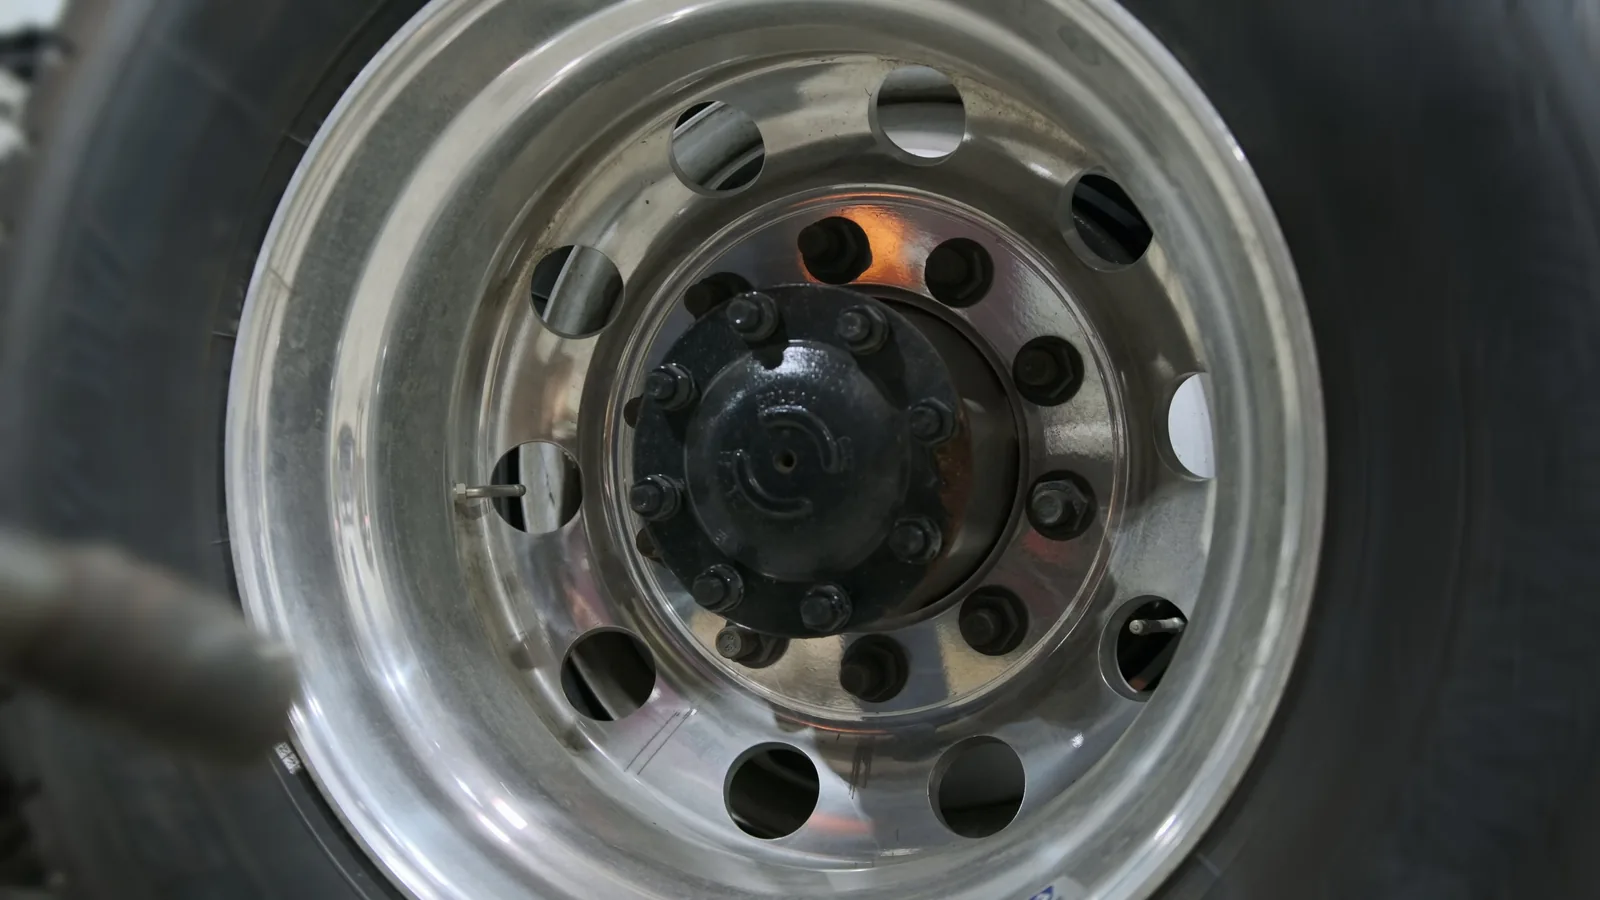
With the vehicle on a flat surface and securely supported, examine each wheel rim for obvious bends, cracks, dents, or missing chunks. Spin each wheel slowly and watch the rim's outer edge as it rotates; any wobble or deviation from a perfect circle indicates a bend. Use a straightedge across the rim's face to check for flat spots. Also inspect the area where the tire bead seats against the rim for corrosion or damage. A bent rim can cause vibration, poor tire wear, and will ruin an otherwise perfect alignment. If you find any damage, the rim must be repaired or replaced before proceeding. You can also check for balance issues: if a wheel has a heavy spot, it will vibrate, but that is separate from alignment. Remember that rims are made of aluminum or steel; aluminum rims can crack, while steel rims may bend. Both can be repaired professionally if the damage is minor, but severe damage requires replacement. Do not attempt to straighten a rim yourself—take it to a specialist.
Assess Suspension Components
Get under the vehicle (using proper jack stands) and inspect the key suspension parts that affect alignment: control arms, ball joints, tie rod ends, and sway bar links. Look for cracked or torn rubber boots on ball joints and tie rod ends, which allow dirt and water to enter and cause wear. Grab each tie rod and try to move it; if there is excessive play, it indicates a worn joint that will make alignment impossible. Check the control arm bushings for cracks or separation from the metal sleeve. Also check for leaking shock absorbers or struts—fluid on the outside indicates they are failing. Test each corner of the vehicle by pushing down and releasing; if it bounces more than once or twice, the shock/strut may be weak. Any loose or damaged component must be repaired or replaced before alignment, as worn parts cause the alignment angles to change even after the technician adjusts them. The goal is a solid, non-flexing suspension that will hold the alignment settings. If you are not sure what to look for, consult a professional.
Verify Steering Linkage Integrity
Check the steering rack or steering box for any play or leaks. With the engine off, have a helper turn the steering wheel while you watch the tie rods and rack; the movement should be immediate and without any clunking. Feel for excessive free play in the steering wheel by moving it gently left and right; more than about 1 inch of play at the rim indicates a problem. Inspect the steering column universal joints and the intermediate shaft for looseness. Leaking fluid from the power steering system can cause steering problems that mimic alignment issues. Also verify that the steering wheel is centered when driving straight; if it is off-center, it may be a sign of a bent steering component or an alignment issue. If any of these components are worn or damaged, they must be replaced before alignment. The steering linkage directly affects toe and caster settings, so any looseness will prevent accurate adjustments. If you find excessive play, it's best to take your vehicle to a mechanic for repair.
Test Drive and Observe Handling
Take the vehicle for a short test drive on a straight, flat road. Drive at a moderate speed, around 30-40 mph, and then release the steering wheel briefly to see if the vehicle pulls to one side; note the severity. Listen for any unusual noises like clunking, grinding, or vibration from the front end. Pay attention to how the vehicle handles around turns—does it feel loose or wander? Also check if the steering wheel returns to center after a turn; if not, it could indicate a caster problem. Any of these symptoms can point to suspension damage from the pothole. If you notice any of these issues, it is critical to have a thorough inspection by a professional before aligning, as alignment alone will not fix underlying mechanical issues. Jot down any observations to share with your technician, as these clues help them pinpoint the cause. The test drive also allows you to feel if there is a vibration that suggests a bent wheel or tire issue.
Document Existing Alignment Symptoms
Before taking your car to the alignment shop, document exactly what symptoms you are experiencing. Write down whether the vehicle pulls left or right, if the steering wheel is off-center, or if you notice uneven tire wear on specific tires. Also note any unusual sounds or vibrations and when they occur. Take a close-up photo of each tire tread so you can compare wear patterns later. Record the date and mileage of the pothole incident. This information helps the technician diagnose the root cause and also gives you a baseline to verify that the alignment fixed the problem. After the alignment, you can compare your notes to see if the symptoms are resolved. If you don't document, you may forget subtle symptoms, making it harder to evaluate the effectiveness of the repair. Even if you will have the alignment done by a professional, your detailed notes allow them to pinpoint the exact cause and avoid unnecessary part replacements.
Quick Reference
| Situation | Action | Why it helps |
|---|---|---|
| You see a bubble or bulge on the sidewall of a tire after hitting a pothole. | Do not drive on the tire; replace it immediately or install the spare and go to a tire shop. A bubble means the internal structure is compromised and could cause a blowout. | A damaged sidewall cannot be repaired and poses a serious safety risk; driving on it could lead to a sudden tire failure. |
| The steering wheel is off-center when driving straight on a flat road. | Have the alignment checked first, but before that, ensure that the suspension components are in good condition. A qualified technician can verify if the off-center wheel is due to alignment or a bent part. | A misaligned vehicle will cause the steering wheel to be off-center, but a bent tie rod or other part can also cause this. Fixing alignment alone won't help if a part is bent. |
| The vehicle pulls to one side even after a recent alignment. | Inspect brakes for dragging calipers, check tire pressures, and look for uneven tire wear. If those are fine, have a professional check for worn suspension bushings or a shifted subframe. | Brake drag or worn bushings can cause a pull, and these issues will not be corrected by alignment alone. A thorough inspection is needed to identify the true cause. |
Common Issues
- Tire has a slow leak after pothole impact, but no visible damage.: Check the valve stem and the area where the tire meets the rim for leaks. If necessary, remove the tire and have it inspected from the inside for bead damage or a nail. Repair if possible; otherwise, replace.
- Rim has a small bend that is not visible to the eye.: Take the vehicle to a wheel repair specialist who can use a dial indicator to measure runout. If the bend is minor, it can often be straightened; if not, the rim must be replaced to avoid vibration and handling issues.
- Clunking noise when driving over bumps after pothole hit.: Inspect the sway bar links and bushings, which often wear after impacts. If they are loose or damaged, replace them. Also check the ball joints and tie rod ends for play.
Advanced Tips
- After the alignment, ask for a printout of the before and after alignment angles; this gives you a clear record and helps you monitor future changes.
- If you live in an area with many potholes, consider upgrading to wheels and tires with a taller sidewall to better absorb impacts and reduce the risk of damage.
- Regularly rotate your tires and have the alignment checked every 12,000 miles or at the first sign of uneven wear to catch problems early.
Final Checklist
- All tires are properly inflated and have no visible damage or excessive wear.
- Wheel rims are free of bends, cracks, or dents, and rotate smoothly.
- Suspension components show no wear, looseness, or leaks, and have intact rubber boots.
- Steering linkage is tight, with no excessive play or fluid leaks.
FAQ
How often should I get a wheel alignment after hitting a pothole?
You should have the alignment checked immediately after any significant pothole impact, even if the car seems to drive fine. Many shops offer a free alignment check, and taking advantage of it can catch small issues before they cause uneven tire wear. At minimum, inspect your tires and suspension yourself first, and then visit a shop if you notice any pulling, vibration, or uneven wear.
Can a pothole damage the suspension without visible symptoms?
Yes, a pothole can cause internal damage that doesn't present obvious symptoms at first. For example, a tire's internal belts may break, or a suspension bushing may crack but not show outward signs until later. This is why a professional inspection is recommended—they can detect subtle issues using specialized tools that you cannot access at home.
Is it okay to drive on a slightly bent rim?
It is not advisable. A bent rim can cause vibration, lead to poor tire contact and wear, and put extra stress on suspension components. Even a small bend can worsen over time. If you suspect a bent rim, have it inspected by a wheel specialist, who can verify if straightening is possible or if replacement is needed.