What To Check Before A Winter Wheel Care Routine For Salted Roads
A practical step-by-step guide to what to check before a winter wheel-care routine for salted roads, including preparation, instructions, common issues, tips, and next steps.
What To Check Before A Winter Wheel Care Routine For Salted Roads
Before starting a winter wheel-care routine on salted roads, you need to inspect brake components, check wheel bolts, assess tire condition, clean the wheels thoroughly, and apply a protective sealant. This guide provides a step-by-step process to prevent corrosion, ensure safety, and maintain wheel integrity throughout the harsh winter season.
Fast Answer
- At minimum, check tire tread depth and pressure before any winter wheel care; proper tread and inflation directly affect safety on salted, slippery roads.
- Before applying any protectant, clean the wheels to remove salt and grime, and inspect for existing rust or damage; this ensures the protectant bonds well and prevents further corrosion.
Before You Start
- Gather a bucket, pH-neutral wheel cleaner, soft-bristle brush, microfiber towels, and a wheel sealant or wax specifically safe for your wheel finish.
- Ensure the wheels are cool to the touch; cleaning hot wheels can cause cleaner to dry too quickly, leaving residues and reducing cleaning effectiveness.
- Park on a level surface and engage the parking brake; this prevents the vehicle from moving during inspection and maintenance.
- Read your vehicle owner's manual for any wheel-specific care instructions, such as recommended cleaning products or torque specifications for lug nuts.
Step-by-Step Instructions
Inspect Brake Components Before Cleaning
Begin by visually inspecting the brake rotor, caliper, and surrounding areas for any signs of excessive rust, wear, or damage. Look for deep scoring on the rotor surface, which can indicate worn brake pads, or any leaks around the caliper. Use a flashlight to check the inner side of the wheel where salt spray accumulates. If you notice any fluid, a sticky residue, or unusual play in moving parts, do not proceed with the routine; schedule a professional brake inspection. Why does this matter? Salt accelerates corrosion, and a compromised brake system is a safety hazard. Catching an issue before cleaning prevents you from accidentally washing away evidence of a problem and ensures your brakes are safe for winter driving.
Check Wheel Bolts and Lug Nut Torque
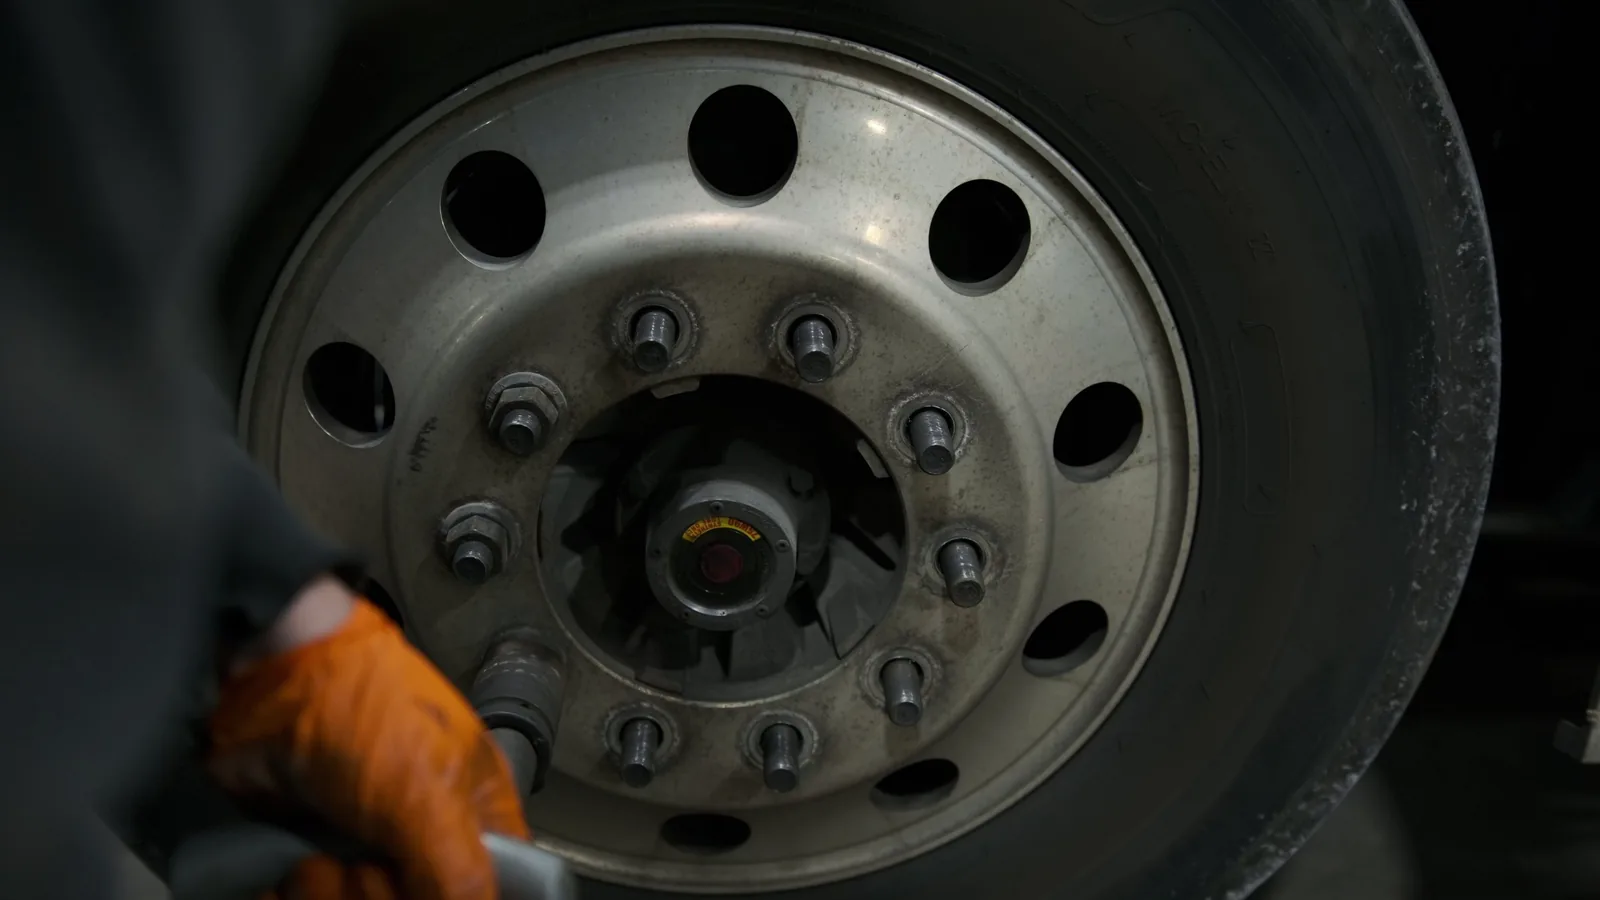
Using a torque wrench, verify that each wheel bolt is tightened to the vehicle manufacturer's recommended specification. Do not rely on feel; use the specific torque number found in your owner's manual. If you don't have a torque wrench, at least attempt to tighten each bolt with a lug wrench to ensure none are loose, but note that this is less accurate. Work in a star or crisscross pattern to apply even pressure. After torqueing, re-check after a short drive to ensure the wheels are seated properly. Checking bolt torque is vital because salted roads and temperature fluctuations can cause bolts to loosen. A loose wheel can lead to vibration, uneven tire wear, and potentially a wheel detaching—a catastrophic failure. This simple check adds safety and peace of mind.
Assess Tire Tread Depth and Condition
Use a tread depth gauge to measure the tread across the tire, including the inner, center, and outer edges. The legal minimum in many areas is 1.6 millimeters, but for winter driving on salted roads, it's wise to replace tires at 4 millimeters for better grip. Also inspect the tire sidewalls for cracks, bulges, or embedded objects like stones or nails. Check the tire pressure when the tires are cold, and compare it to the pressure listed on the driver's side door jamb. Proper tread depth ensures water and slush are channeled away, reducing hydroplaning risk. Worn tires are more susceptible to salt damage because the protective compound is thinner. Adequate tread and correct pressure also improve fuel efficiency and prolong tire life.
Rinse Wheels to Remove Loose Salt and Debris
Start by thoroughly rinsing each wheel with a strong stream of water from a hose. Aim the water at the wheel from various angles to dislodge loose salt, dirt, and road grime, particularly in the crevices between spokes and around the brake caliper. Pay extra attention to the inner rim and the back of the wheel. Do not use a pressure washer set on a narrow jet, as it can force water into sensitive areas like wheel bearings or electrical connections. The purpose of this pre-rinse is to remove the bulk of abrasive particles before you apply any cleaning product. If you skip this step, when you later wipe the wheel, you risk grinding salt and grit into the finish, causing micro-scratches that become permanent.
Clean Wheels with pH-Neutral Cleaner
Spray a pH-neutral wheel cleaner generously over the entire wheel surface, including the tire sidewall. Allow the cleaner to dwell for the time recommended on the product label (usually 3–5 minutes) so it can break down brake dust and oily film. Then, using a soft-bristle brush or a microfiber mitt, gently agitate the cleaner in areas with heavy buildup, such as around lug nuts and the barrel. Work from top to bottom to prevent drips from dirty areas to clean ones. After scrubbing, rinse thoroughly with clean water, ensuring no soap residue remains. Why this step matters: Salt left on the wheel reacts with moisture and oxygen, creating an electrolyte that accelerates galvanic corrosion. A pH-neutral cleaner safely removes these contaminants without harming protective coatings.
Dry, Inspect, and Apply Protective Sealant
Dry the wheels completely using clean, dry microfiber towels. This is crucial because water spots can become etched into the finish if left to air-dry. After drying, inspect the wheel surface under good lighting for any remaining brake dust, tar, or signs of rust. If you find stubborn spots, repeat the cleaning step or use a clay bar (for smooth finishes) to remove embedded contaminants. Once the wheel is perfectly clean and dry, apply a wheel sealant or a coat of wax designed for wheels. Follow the product instructions—typically, you rub a small amount onto a foam applicator and work it into the surface, let it haze, then buff it off. This protection acts as a barrier against salt and brake dust, making future cleaning easier.
Quick Reference
| Situation | Action | Why it helps |
|---|---|---|
| You notice a small rust spot on the wheel rim after a wash. | Clean the area with a pH-neutral cleaner, dry it, then apply a rust converter or touch-up paint specifically for wheels to stop the corrosion from spreading. | Salt on the road accelerates rust, and a small spot can quickly eat through the rim and compromise the wheel's strength, leading to air leaks or structural failure. |
| During inspection, you find a wheel bolt that is loose and torques more than the spec allows. | Do not drive the car. Re-torque the bolt to the manufacturer's specification using a torque wrench, and re-check after a short drive to confirm the wheel is seated properly. | An improperly torqued wheel bolt can cause the wheel to wobble, leading to stud fatigue and potential catastrophic failure, especially on rough salted roads. |
| Your tire tread depth gauge reads 3 millimeters in the middle of the tire, but the edges look even. | Plan to replace the tires within the next few weeks, and keep speeds modest in wet conditions; for winter, consider replacing now to ensure adequate grip on snow and slush. | While 3mm is above the legal limit, it does not provide enough grip on ice or in slush, and salt can degrade the tire rubber faster, reducing performance further. |
Common Issues
- Brake dust is baked onto the wheel and won't come off with regular cleaning.: Use a dedicated iron-removing cleaner that dissolves brake dust particles, then gently scrub with a soft brush. For stubborn spots, carefully use a clay bar; avoid aggressive scraping that could scratch the clear coat.
- Salt residue leaves white, chalky spots on the alloy wheel finish.: Make a paste of baking soda and water, apply it to the affected area, let it sit for a few minutes, then rinse and dry. This neutralizes the salt and lifts the residue without scratching, then reseal the wheel to prevent recurrence.
- Corrosion has started under the clear coat, causing bubbling or peeling.: If the corrosion is localized, sand the area gently with fine-grit sandpaper, clean, and apply a matching automotive primer and paint. If widespread, seek professional wheel refinishing or consider replacing the wheel, as the structural integrity may be compromised.
Advanced Tips
- After cleaning, apply a ceramic-based wheel coating for more durable protection; these products bond at a molecular level and can last for months, resisting harsh winter conditions.
- Every week during winter, do a quick rinse of the wheels (even without soap) to remove salt buildup; this simple habit drastically reduces the risk of corrosion.
- Store a spray bottle of quick-detailing spray in the car to wipe down wheels after short trips; this allows you to remove fresh salt before it sits and causes damage.
Final Checklist
- Verify that brake rotors and calipers show no signs of excessive corrosion or fluid leaks.
- Confirm all wheel bolts are torqued to the manufacturer's recommended specification.
- Check tire tread depth (aim for at least 4mm for winter) and adjust tire pressure to the cold weather spec.
- Clean wheels with pH-neutral cleaner, dry thoroughly, and apply a protective sealant or wax.
FAQ
How often should I do a deep wheel cleaning during winter after driving on salted roads?
Ideally, you should do a complete wheel cleaning routine at least once a month, or more often if you frequently drive on heavily salted roads. However, a simple weekly rinse of the wheels with plain water (no soap) can significantly reduce salt accumulation. For best results, apply a protective sealant after each deep clean, which makes it easier to rinse off salt between treatments.
Can I use dish soap to clean my wheels?
No, you should avoid using dish soap because it is often alkaline and can strip the protective coating on your wheels. Over time, it can also damage rubber sealants on the tire bead. Instead, choose a pH-neutral wheel cleaner specifically designed for automotive wheels. These products safely remove brake dust and salt without harming the wheel finish or tire rubber.
Is it necessary to remove the wheel for cleaning and inspection?
It's not strictly necessary every time, but removing the wheel allows for a thorough inspection of the inner barrel and backside, where corrosion often starts unnoticed. If you have the time and equipment (jack, jack stands, and a torque wrench), removing a wheel at least once before winter and once after is highly recommended. This also gives you a chance to check the wheel hub for rust.