What To Check Before A Safe Alloy Wheel Cleaning Routine
A practical step-by-step guide to what to check before a safe alloy-wheel cleaning routine, including preparation, instructions, common issues, tips, and next steps.
What To Check Before A Safe Alloy Wheel Cleaning Routine
Before you begin cleaning alloy wheels, it is essential to perform a quick but thorough inspection to avoid damaging the finish, braking components, or tire sidewalls. This guide walks you through a safe pre-cleaning routine that includes checking wheel temperature, brake dust acidity, cracks or damage, hubcap fit, and the type of brake pads in use. By following these checks, you'll choose the right cleaning method and products, prevent corrosion, and maintain the structural integrity of your wheels. The routine is suitable for most vehicles and can be completed in under ten minutes.
Fast Answer
- Check that the wheels are cool to the touch and not hot from driving; hot wheels cause cleaning products to dry too quickly and may damage the finish.
- Inspect the wheel surface for cracks, chips, or peeling clear coat, and note any excessive brake dust, which may require a dedicated wheel cleaner.
Before You Start
- Park the vehicle on a level surface and engage the parking brake to prevent any movement while you work around the wheels.
- Gather cleaning supplies: a dedicated wheel cleaner, a soft-bristled brush, a microfiber towel, and a hose or bucket of water; avoid harsh household cleaners.
- Check the wheel temperature by placing the back of your hand on the tire sidewall near the rim; it should not feel warm or hot.
- Review the vehicle owner's manual for any specific wheel cleaning recommendations or warnings, especially if wheels are coated or painted.
Step-by-Step Instructions
Cool Down and Park Safely
Begin by ensuring the vehicle has been parked for at least 30 minutes after the last drive, so the wheels have had time to cool to ambient temperature. Place the car on a level surface and engage the parking brake firmly. If you must clean on a slope, chock the front and rear wheels with blocks to prevent any rolling. A cool wheel prevents water and cleaning agents from evaporating too quickly, which can leave streaks or hard water spots. It also reduces the risk of thermal shock to the metal. While you wait, inspect the area around the vehicle for loose debris or sharp objects that could scratch the wheels during cleaning. This preparation creates a safe environment and avoids damage before you even pick up a brush.
Inspect Wheel Surface for Damage
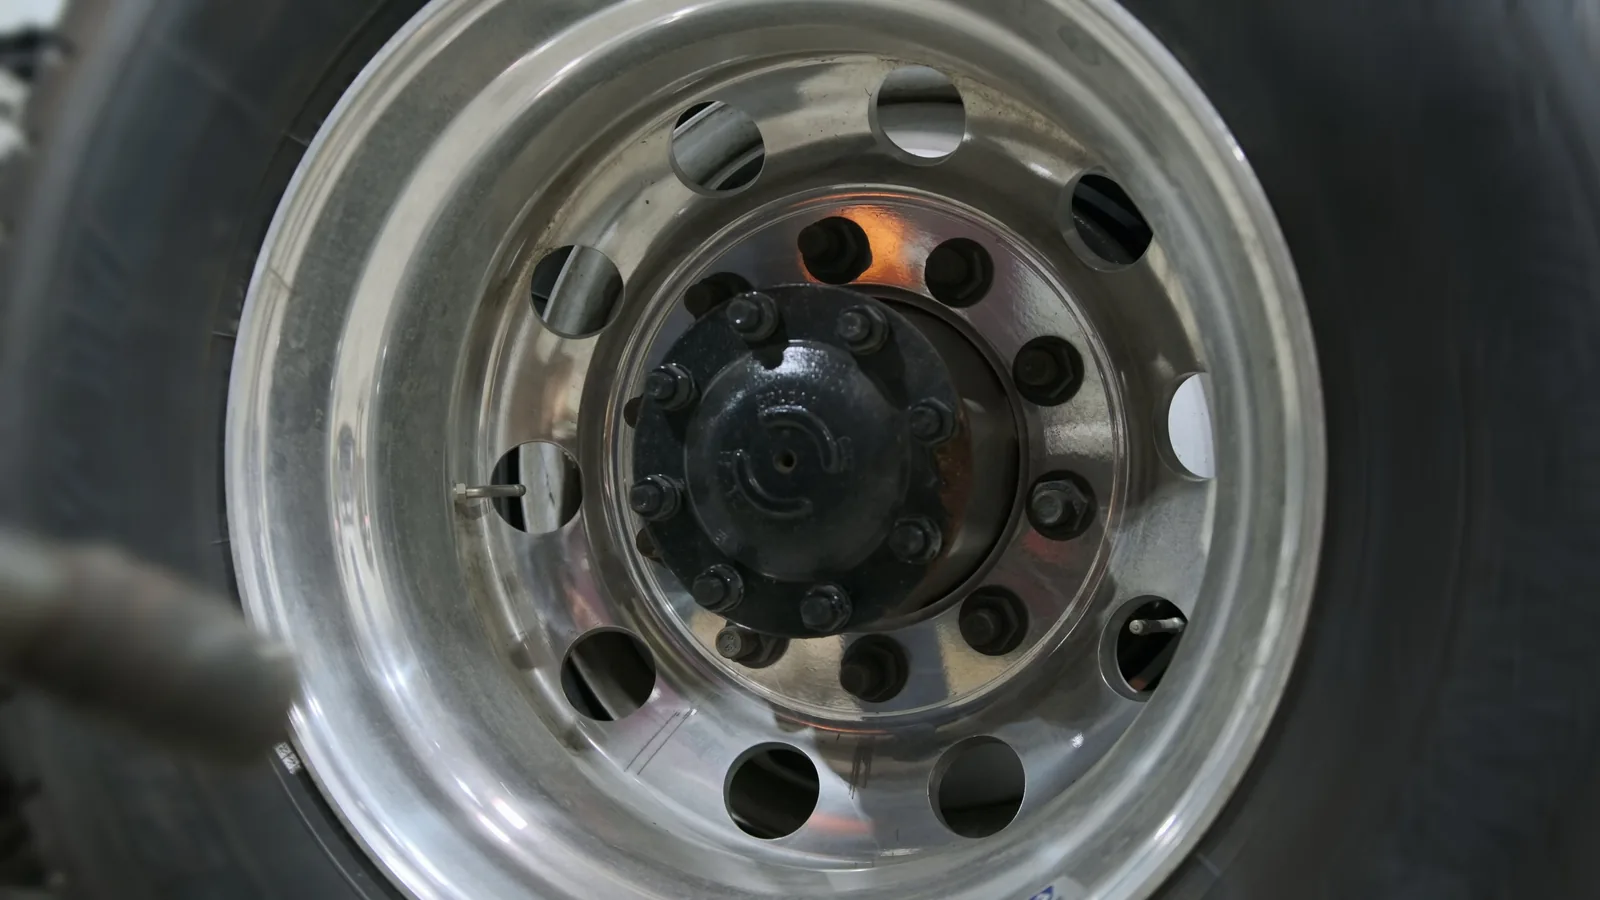
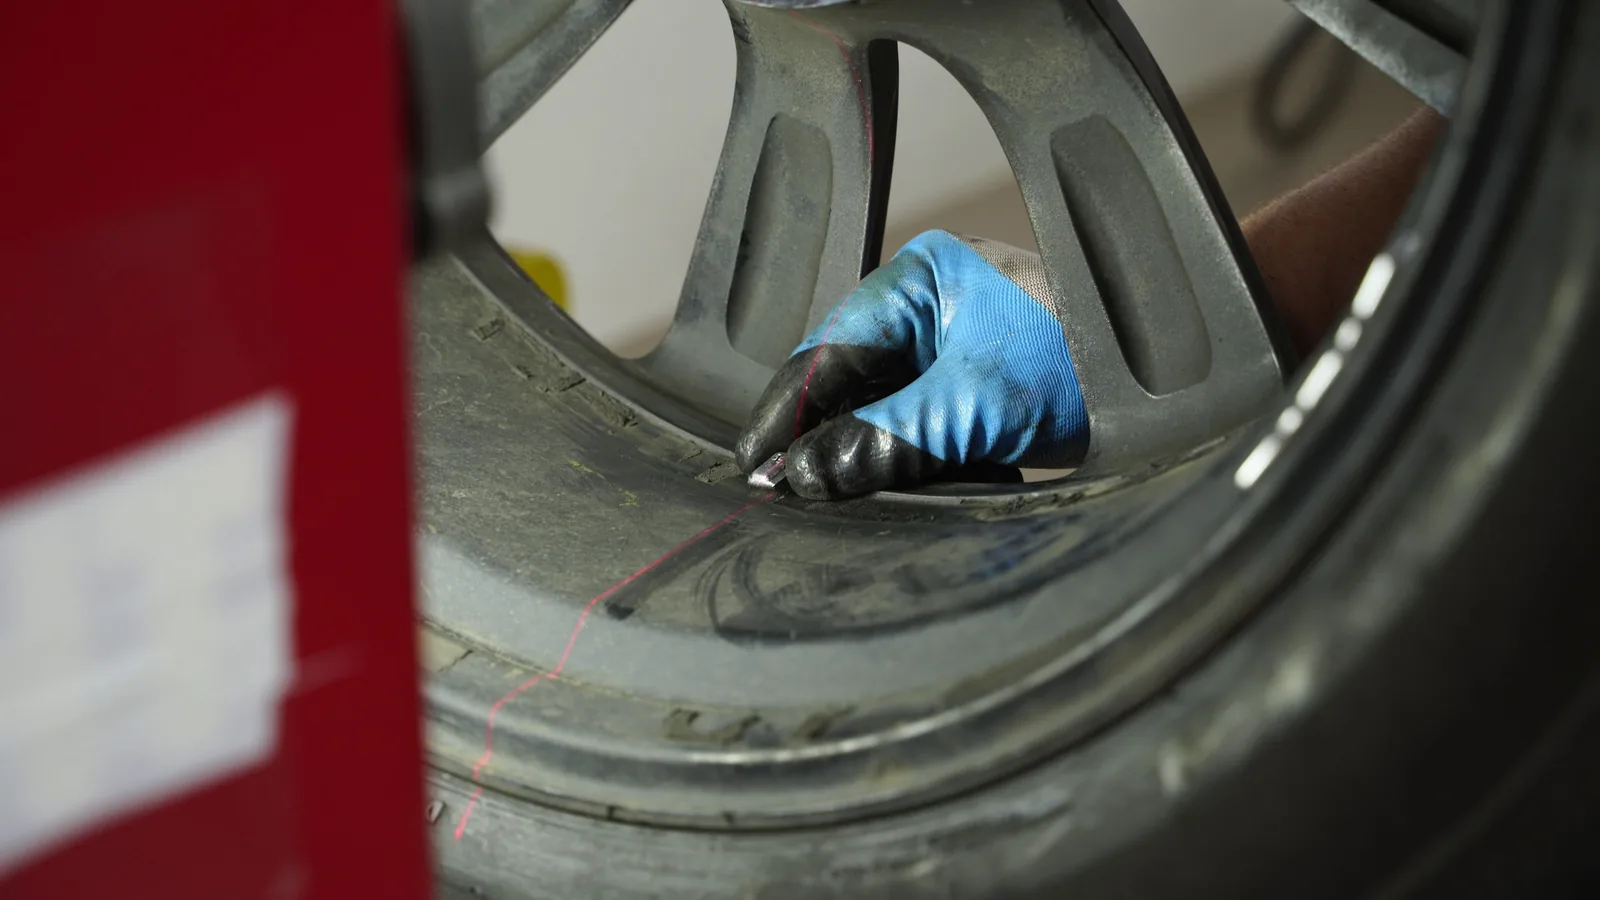
Carefully examine each wheel for visible cracks, chips, scratches, or areas where the clear coat has peeled away. Run your fingers gently along the rim edge and the spokes to feel for rough spots or nicks. Also, check the tire sidewall for cuts or bulges, as these may indicate impact damage. If you find any significant cracks or structural issues, do not clean the wheel with any chemical cleaner; instead, have the wheel inspected by a professional. Cleaning a damaged wheel can worsen the issue by allowing moisture to penetrate beneath the finish, leading to corrosion. Also, note any peeling clear coat, as this may require special care to avoid lifting more of the coating. This inspection helps you decide whether to proceed with standard cleaning or seek professional advice.
Assess Brake Dust and Grime Level
Look at the amount of brake dust on the wheel face and inside the barrel. Brake dust appears as a fine, dark powder that can be acidic and corrosive if left to sit. Touch it (wearing gloves) to see if it feels gritty or sticky. If the layer is thick, you may need a dedicated acid-free wheel cleaner formulated to dissolve brake dust without harming the wheel finish. If the wheel has been recently cleaned and only has light dust, a milder soap will suffice. Also, notice the color of the dust: black dust may come from organic brake pads, while reddish-brown dust may indicate rust from rotor wear. This observation helps you choose the right cleaner and technique, ensuring effective removal without excessive scrubbing that could scratch the surface.
Check Hubcap and Lug Nut Fit
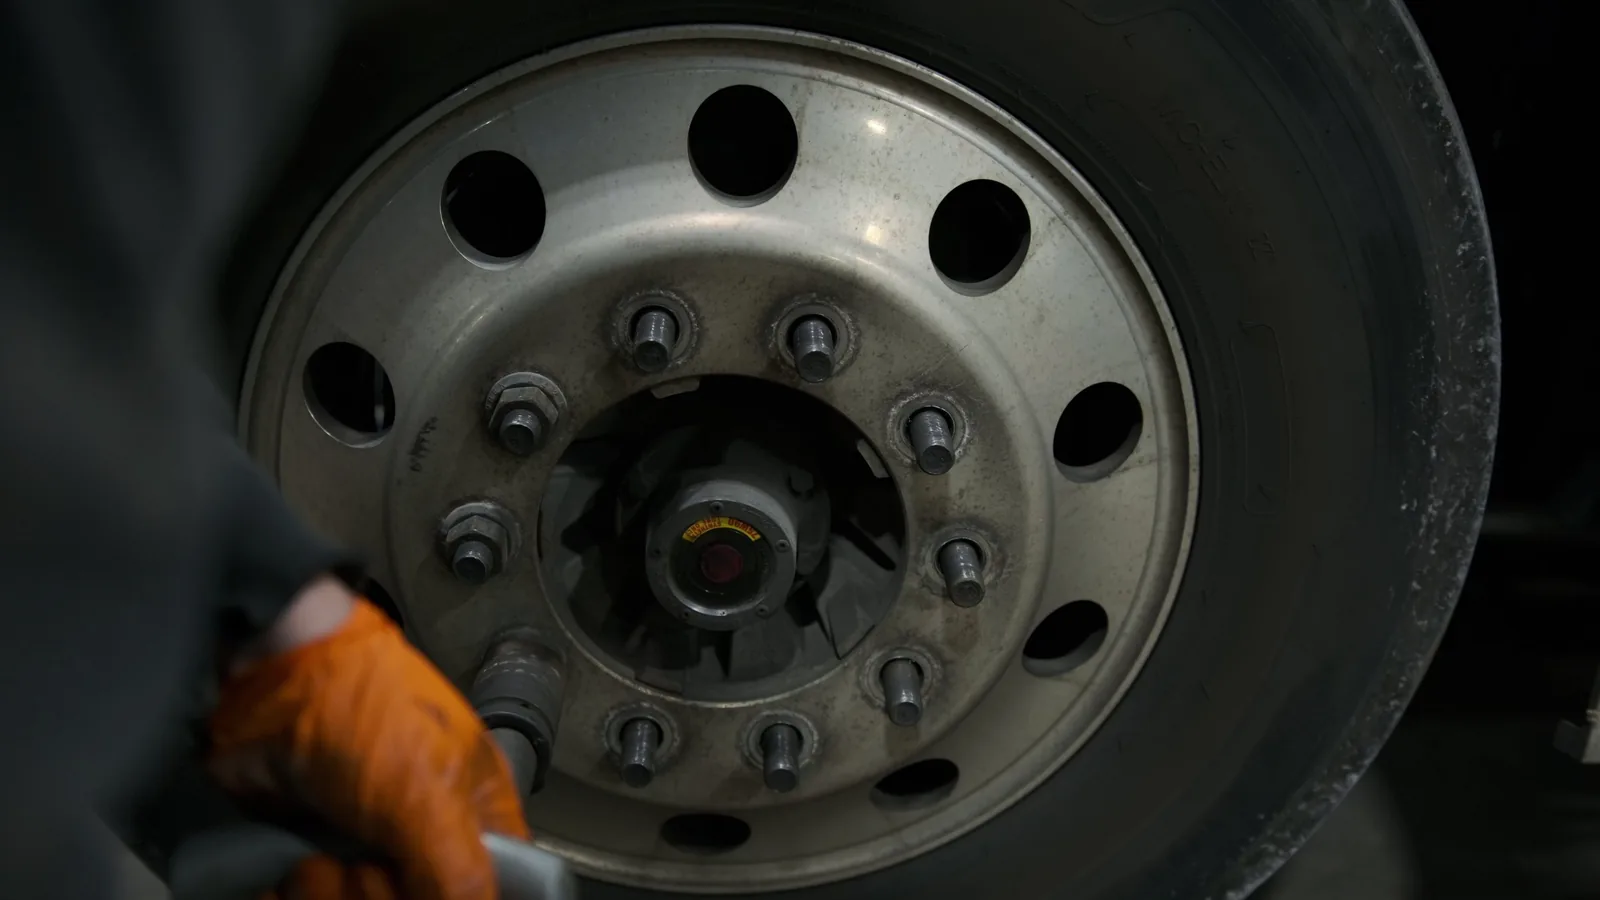
Inspect the hubcaps or center caps to ensure they are snug and not loose or cracked. Also, verify that lug nuts are tight according to your vehicle's specifications; do not attempt to tighten them with a wrench during cleaning, but note if any are obviously loose. If a hubcap is loose or appears damaged, address that before cleaning, as water and cleaner could penetrate behind it and cause corrosion. Additionally, if the wheel has exposed lug nuts, be careful when cleaning around them to avoid pushing dirt into the threads. This check prevents moisture from getting into the wheel mounting area, which can lead to brake issues or wheel rust. A secure fit also avoids vibrations while driving, but that's not part of the cleaning routine itself.
Review Brake Pad Type (if visible)
If you can see the brake pads through the wheel spokes, take note of their composition. Ceramic brake pads produce less dust and are generally less corrosive, while metallic pads produce more dust that can be more acidic. Some vehicles have signs or markings that indicate the pad type, or you may know from your maintenance records. If unsure, contact your service provider for guidance. This information matters because it influences the cleaning frequency and the type of cleaner you should use. For metallic pads that produce heavy dust, a stronger cleaner may be necessary, but it must still be safe for your wheel's finish. adjust your cleaning routine accordingly to prevent premature wear of the wheel's protective coating.
Select Appropriate Cleaning Products
Based on your inspections, choose a wheel cleaner that matches the condition of your wheels. For a light dust, a pH-neutral soap and water mixture is safe. For heavy brake dust, select a cleaner specifically labeled as 'acid-free' and 'safe for alloy wheels.' Check the label for instructions on dwell time and whether the product should be diluted. Also, gather a soft-bristled brush with nylon bristles, as metal brushes can scratch the wheel. Have a microfiber towel for drying. Before starting, verify that the cleaner is compatible with your wheel finish; if in doubt, consult your vehicle's manual or a professional. This selection ensures that you remove dirt effectively without damaging the protective clear coat or painted surface. Taking time here avoids costly mistakes.
Quick Reference
| Situation | Action | Why it helps |
|---|---|---|
| Wheels are hot immediately after driving. | Wait at least 30 minutes for the wheels to cool to the touch before rinsing with water or applying any cleaner. | Stopping the cooling process abruptly can cause thermal shock, leading to microcracks in the alloy wheel and warping of brake rotors. |
| Visible cracks or chips in the wheel surface. | Avoid chemical cleaning; instead, rinse gently with plain water and have the wheel inspected by a professional tire or wheel specialist. | Chemicals can penetrate behind a compromised surface, accelerating corrosion and possibly weakening the wheel structure. |
| Heavy brake dust buildup that is gritty and dark. | Use an acid-free alloy wheel cleaner specifically designed for brake dust, and allow it to dwell for the time printed on the label before agitating with a soft brush. | Regular car soap may not dissolve acidic metallic dust, leaving corrosive particles that can pit the wheel finish over time. |
Common Issues
- Water spots left after washing wheels.: Dry the wheels immediately after rinsing using a clean microfiber towel; if spots persist, use a mixture of white vinegar and water (1 part vinegar to 3 parts water) to gently wipe them off, then rinse thoroughly.
- Difficulty removing stubborn brake dust.: Soak the affected area with a dedicated acid-free wheel cleaner, wait the full dwell time, then use a soft brush with firm but gentle pressure. If dust remains, repeat the process rather than scrubbing hard, as aggressive scrubbing can scratch the finish.
- Clear coat peeling or flaking on the wheel.: Do not use abrasive cleaners or brushes on peeling clear coat. Wash gently with mild soap and water, then have the wheel professionally refinished to prevent further corrosion and discoloration.
Advanced Tips
- Apply a thin coat of automotive-grade wheel sealant after cleaning and drying; this creates a barrier that helps repel brake dust and makes future cleaning easier.
- Use two buckets during cleaning: one for the soapy water and one for clean rinsing water; this prevents dirt from being reintroduced to the wheel, reducing the risk of scratches.
- If you live in an area with very hard water, consider using a filtered water rinse or a water deionizer to avoid mineral deposits that can etch the wheel surface over time.
Final Checklist
- Ensure the wheels are completely cool before starting any cleaning.
- Inspect all wheels for cracks, chips, or lifting clear coat and note any areas needing special attention.
- Choose a cleaning product that is acid-free and safe for your wheel finish, and test it in an inconspicuous spot.
- Gather appropriate tools: soft-bristle brush, microfiber towels, and a hose with adjustable spray; avoid metal tools.
FAQ
How long should I wait before cleaning wheels after driving?
Always allow at least 30 minutes for the wheels to cool down completely. Touching the wheel rim with your hand (carefully) should confirm it feels cool, not warm. This prevents thermal shock and helps cleaning products work effectively without evaporating too quickly.
Can I use dish soap to clean alloy wheels?
It is not recommended to use dish soap because it is often too harsh and can strip protective waxes or sealants from the wheel finish. Instead, use a mild pH-neutral car wash soap or a dedicated wheel cleaner that is acid-free and safe for alloy wheels.
What should I do if I notice rust spots on my alloy wheels?
If you see small rust spots, it might be from iron particles embedded in the wheel surface. You can use a iron remover or a clay bar after washing. If the rust is extensive or appears to be from the wheel itself, have it inspected by a professional, as it could indicate a structural issue.