How To Choose A Winter Wheel Care Routine For Salted Roads
A practical step-by-step guide to how to choose a winter wheel-care routine for salted roads, including preparation, instructions, common issues, tips, and next steps.
How To Choose A Winter Wheel Care Routine For Salted Roads
Choose a winter wheel-care routine for salted roads to protect wheels from corrosion, brake dust buildup, and finish damage. This guide explains how to prep, wash, protect, and maintain wheels through harsh winter conditions, including a weekly schedule, product choices, and quick fixes for common salt-related issues.
Fast Answer
- Use a pH-neutral wheel cleaner and a soft brush weekly to remove salt and brake dust, then apply a wax or sealant to create a protective barrier.
- Check wheel condition after every wash, look for rust or pitting, and reapply protectant every few weeks to maintain coverage through winter.
Before You Start
- Gather a pH-neutral wheel cleaner, a soft-bristled brush, a microfiber towel, and a wheel-safe wax or sealant.
- Ensure wheels are cool to the touch before washing; hot wheels can cause cleaners to evaporate too quickly and streak.
- Find a shaded area or work when the sun is not directly on the wheels to prevent cleaning products from drying before rinsing.
- Ready a hose or bucket of water for rinsing, and confirm you have enough time to wash and dry completely.
Step-by-Step Instructions
Rinse Wheels to Remove Loose Salt
Begin by thoroughly rinsing each wheel with plain water to dislodge loose salt, dirt, and grime. Use a steady stream from a hose or a clean bucket of water. Work from the top of the wheel downward, covering the face, spokes, and inner rim. This initial rinse prevents abrasive particles from scratching the finish when you later apply a cleaner. Pay special attention to areas where salt tends to accumulate, such as around lug nuts and brake calipers. You should see dirty water running off; if it runs clear quickly, you have removed most loose debris. After rinsing, take a moment to inspect the wheel for any large buildup that might need extra soaking later. Do not let the wheel dry without a proper wash, as salt residue can start to corrode the metal within hours. A good rinse sets the stage for a safe and effective cleaning session.
Apply pH-Neutral Wheel Cleaner
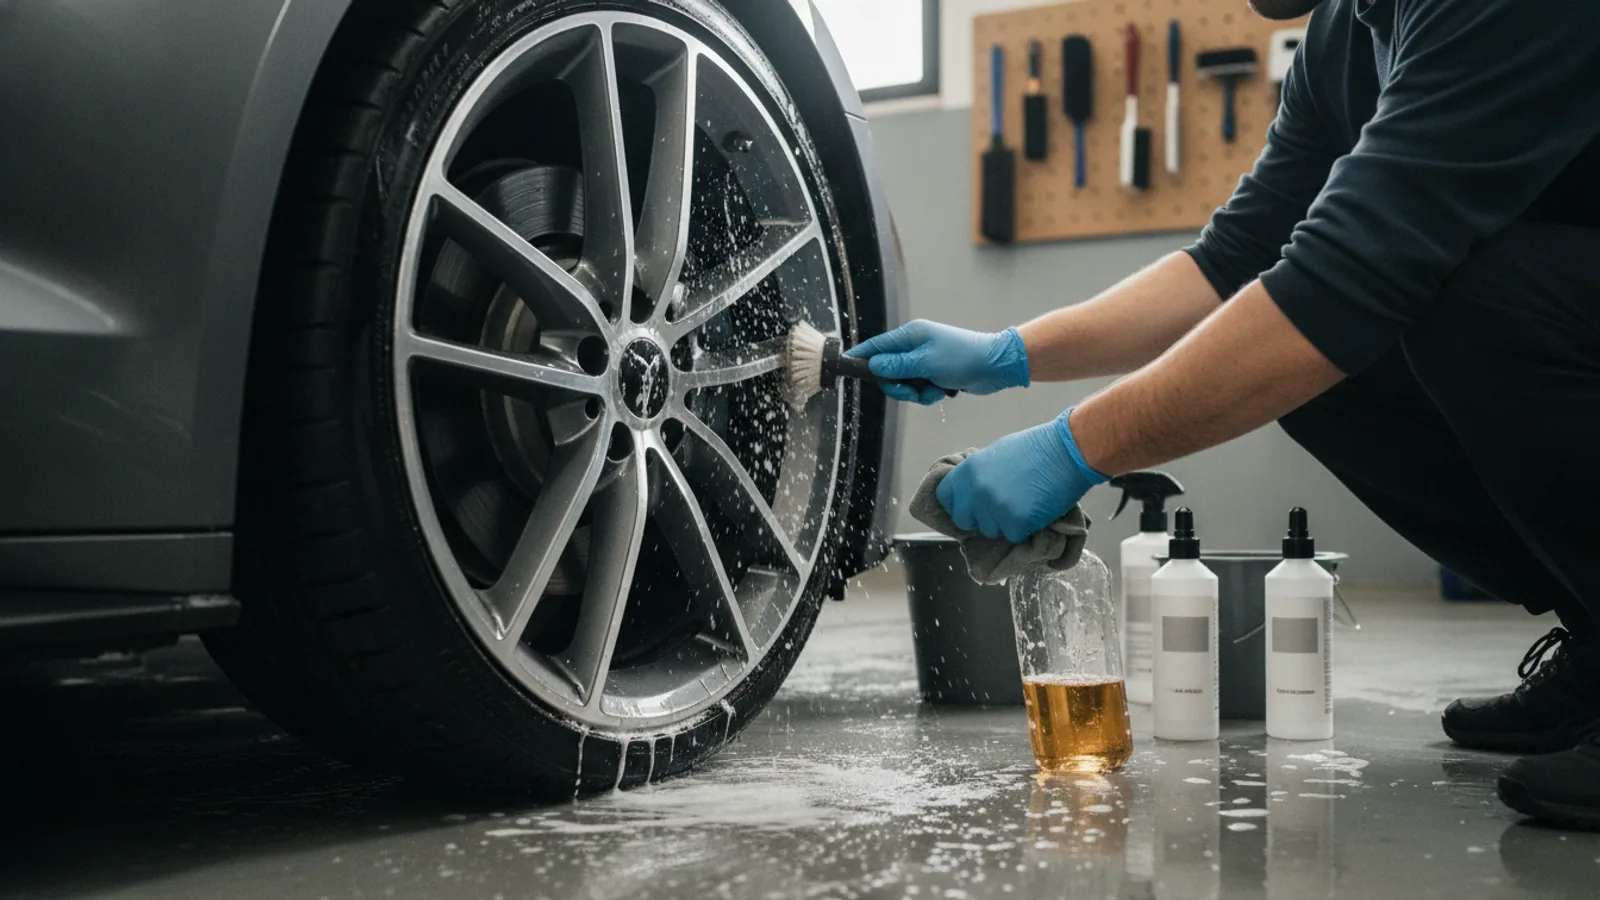
Choose a pH-neutral wheel cleaner that is safe for your wheel finish and brake components. Spray the cleaner generously onto the entire wheel surface, including the inner barrel and calipers. Do not use acidic or alkaline heavy-duty cleaners that can damage protective coatings. Allow the cleaner to dwell for the time specified on the product label, usually a few minutes, but never let it dry. While it dwells, it breaks down brake dust and salt residue. If the cleaner starts to dry, mist the wheel with water to keep it wet. After the dwell period, use a soft-bristled brush to agitate the cleaner over the face and into crevices. Work gently to lift embedded dirt without scratching. You will see a foamy or discolored run-off indicating that the cleaner is pulling away contaminants. Rinse thoroughly with water to remove all cleaner residue. This step is essential because leftover cleaner can be corrosive if left on the wheel.
Scrub with Soft Brush for Embedded Salt
After applying the cleaner, use a soft-bristled brush to scrub the entire wheel, focusing on detailed areas like lug nuts, valve stems, and around the barrel. Dip the brush in a bucket of clean water to rinse it frequently as you work. Start from the center cap and move outward in circular motions, applying moderate pressure. Do not use a wire brush or any metal tool that can leave scratches. The goal is to dislodge salt crystals that have bonded to the surface. For stubborn spots, let the cleaner soak longer or use a soft detailing brush with finer bristles. After scrubbing each wheel, rinse it thoroughly with water to wash away all loosened grime. Check the wheel by running a clean finger over the surface; it should feel smooth, not gritty. If you still feel grit, repeat the cleaning process. This ensures no salt remains to cause corrosion later.
Rinse and Dry Wheels Completely
Rinse each wheel with a strong stream of clean water to remove all soap and loosened dirt. Pay special attention to the tire sidewall and inside the wheel well. After rinsing, dry the wheels immediately with a clean, soft microfiber towel. Do not let them air-dry, as water spots and mineral residue can form, and lingering moisture can accelerate salt damage. Start by patting the wheel face dry, then move to the inner barrel and calipers. Use a second dry microfiber towel if the first becomes too wet. Ensure every crevice, especially around the lug nuts and valve stem, is completely dry. You can use compressed air to blow out water from tight spaces if available. Once dry, inspect the wheel for any remaining salt crust, which appears as white or dull spots. If found, re-clean those areas. A completely dry wheel is ready for protective coating and will maximize the next step's effectiveness.
Apply Protective Wax or Sealant
Once the wheel is clean and dry, apply a layer of wheel-specific wax or a polymer sealant to create a protective barrier against salt and brake dust. Choose a product designed for wheels to ensure it bonds well to your finish. Apply the product with a foam applicator pad or a soft cloth, working in a thin, even layer over the face, spokes, and barrel. Do not apply to the braking surface or tire tread. Allow the product to cure for the time specified on the label, usually a few minutes, then buff off with a clean microfiber towel. The coating will fill microscopic pores and create a slick surface that makes future cleaning easier and reduces salt adhesion. This barrier also helps protect against corrosion and UV fading. For best protection, apply two thin coats, letting the first dry slightly before the second. After application, the wheel should have a glossy, water-beading finish. Reapply every few weeks or after aggressive washes.
Maintain a Weekly Cleaning Schedule
To keep wheels protected all winter, establish a weekly cleaning routine. Ideally, wash your wheels at least once a week, or more often if you drive on heavily salted roads daily. A quick rinse and spray with a waterless wheel cleaner can suffice between deeper cleans, but a full scrub should be done weekly. Use your established cleaning products and techniques, and always reapply a protective layer after every four to six washes or whenever water stops beading. This schedule prevents salt from accumulating and reduces the frequency of needing harsh chemicals. Keep a dedicated bucket, brush, and towels for wheels to avoid cross-contamination. By sticking to this routine, you will catch early signs of corrosion, such as tiny rust spots, before they become major issues. Consistency is key because salt damage is cumulative and can degrade even high-quality finishes over a single season.
Quick Reference
| Situation | Action | Why it helps |
|---|---|---|
| Light salt dust on wheels after a dry road drive | Rinse wheels with water and wipe with a microfiber towel soaked in a waterless wheel cleaner. | Removes loose salt without a full wash, reducing corrosion risk and keeping protectant intact. |
| Heavy salt buildup from several days of driving on salted slush | Perform a full deep clean with pH-neutral cleaner, soft brush, rinse, dry, and reapply a wax or sealant. | Heavy buildup requires agitation to remove bonded salt, and a fresh protectant restores barrier protection. |
| Water no longer beads on the wheel after a wash | Clean the wheel thoroughly and apply a fresh coat of wheel wax or sealant immediately. | Loss of beading indicates the protective layer is worn thin, leaving the wheel vulnerable to salt and corrosion. |
Common Issues
- Rust spots forming on the wheel rim: Clean off surface rust with a fine abrasive pad, then apply a rust inhibitor and touch-up paint if needed. For bare metal, consider a wheel refinish to prevent further corrosion.
- Brake dust residue sticking to wheel despite cleaning: Use a dedicated iron remover spray that dissolves brake dust particles, then rinse thoroughly and apply a fresh layer of sealant to make future cleaning easier.
- Water spots after drying in cold weather: Wipe the wheel with a damp microfiber towel, then dry immediately with a clean, dry towel. To prevent spots, dry the wheels in a garage or during the warmest part of the day.
Advanced Tips
- Consider using a ceramic coating designed for wheels for a longer-lasting protective layer that withstands repeated salt exposure.
- During extreme cold, use a quick-detailer spray after a rinse to remove moisture and add a temporary protective film.
- Inspect wheel lug torque periodically after winter cleaning, as salt can cause slight changes in metal surface, ensuring proper torque helps maintain safety.
Final Checklist
- Gather all necessary cleaning supplies and protection products before starting.
- Wash and dry your wheels thoroughly to remove all salt and grime.
- Apply a protective wax or sealant to create a barrier against winter salt.
- Schedule a weekly wheel cleaning and reapply protectant every few weeks to maintain coverage.
FAQ
How often should I apply wheel wax or sealant in winter?
Reapply every 2 to 4 weeks, depending on how often you drive and how heavily roads are salted. You can also check if water beads on the wheel after washing; if not, it's time to reapply.
Can I use dish soap to clean my wheels in winter?
Dish soap can strip protective coatings and may be too harsh for some wheel finishes. Use a pH-neutral wheel cleaner specifically formulated for automotive surfaces to safely remove salt and brake dust without damaging the finish.
Is it safe to pressure wash wheels in freezing temperatures?
Yes, but be cautious. Pressure washing can effectively remove salt, but avoid using hot water on cold wheels, as thermal shock can crack finishes. Use cold water and dry the wheels immediately to prevent ice and water spots.