How To Choose A Safe Alloy Wheel Cleaning Routine
A practical step-by-step guide to how to choose a safe alloy-wheel cleaning routine, including preparation, instructions, common issues, tips, and next steps.
How To Choose A Safe Alloy Wheel Cleaning Routine
Choosing a safe alloy-wheel cleaning routine means using the right pH-neutral products, soft tools, and a gentle technique that protects the wheel's clear coat and finish. This guide covers preparation, step-by-step cleaning, drying, and sealing, along with troubleshooting common issues and advanced tips for maintaining wheels in various conditions.
Fast Answer
- Use a pH-neutral wheel cleaner, a soft microfiber mitt, and separate brushes for painted barrels and delicate areas.
- Always rinse wheels with cool water before washing, and never clean hot wheels or use harsh acidic cleaners that can damage the finish.
Before You Start
- Park the vehicle in a shaded area to prevent cleaning products from drying quickly in direct sunlight, which can leave residue and make removal harder.
- Let the wheels cool completely if the vehicle has been driven recently; heat can cause cleaners to evaporate quickly and potentially harm the finish.
- Gather a pH-neutral wheel cleaner, a soft-bristle brush (for barrels), a microfiber mitt, and a separate microfiber towel for drying to avoid contamination.
- Check the wheel condition for cracks, heavy scratches, or peeling clear coat and address these issues before starting a full cleaning routine to prevent further damage.
Step-by-Step Instructions
Rinse the Wheels Thoroughly
Begin by rinsing each wheel with a strong jet of water from a hose, starting from the top and working downward. This removes loose dirt, brake dust, and road grime that could scratch the surface later. Make sure to spray inside the wheel wells and around the spokes to dislodge any trapped debris. Continue rinsing for at least one minute per wheel, or until the water runs clear with no visible particles. This initial rinse is crucial because washing a dirty wheel with only a mitt can embed grit into the paint or clear coat, causing fine scratches that diminish shine. A thorough rinse also helps soften stubborn contaminants, making the cleaning steps more effective and reducing the effort needed. After the initial rinse, inspect the wheel to ensure no large debris remains, then proceed to the next step with a cleaner surface.
Apply a pH-Neutral Wheel Cleaner
Choose a wheel cleaner that is specifically labeled pH-neutral, as these are safe for most factory and aftermarket finishes. Spray the cleaner evenly over the entire wheel, covering the face, spokes, and barrel. Follow the product instructions for dwell time, typically 3 to 5 minutes, allowing the cleaner to break down brake dust without drying. If the wheel is heavily soiled, you can agitate the cleaner with a soft brush before rinsing, but avoid letting it dry. This step is essential because pH-neutral formulas effectively lift grime without etching the clear coat or alloy, which can happen with acidic cleaners. Letting the solution sit gives it time to loosen the bonded brake dust, making the next brushing step more effective. Always reapply if the cleaner begins to dry, and ensure you cover every area, including lug nuts and crevices, for consistent results.
Agitate with Soft Brushes and a Mitt
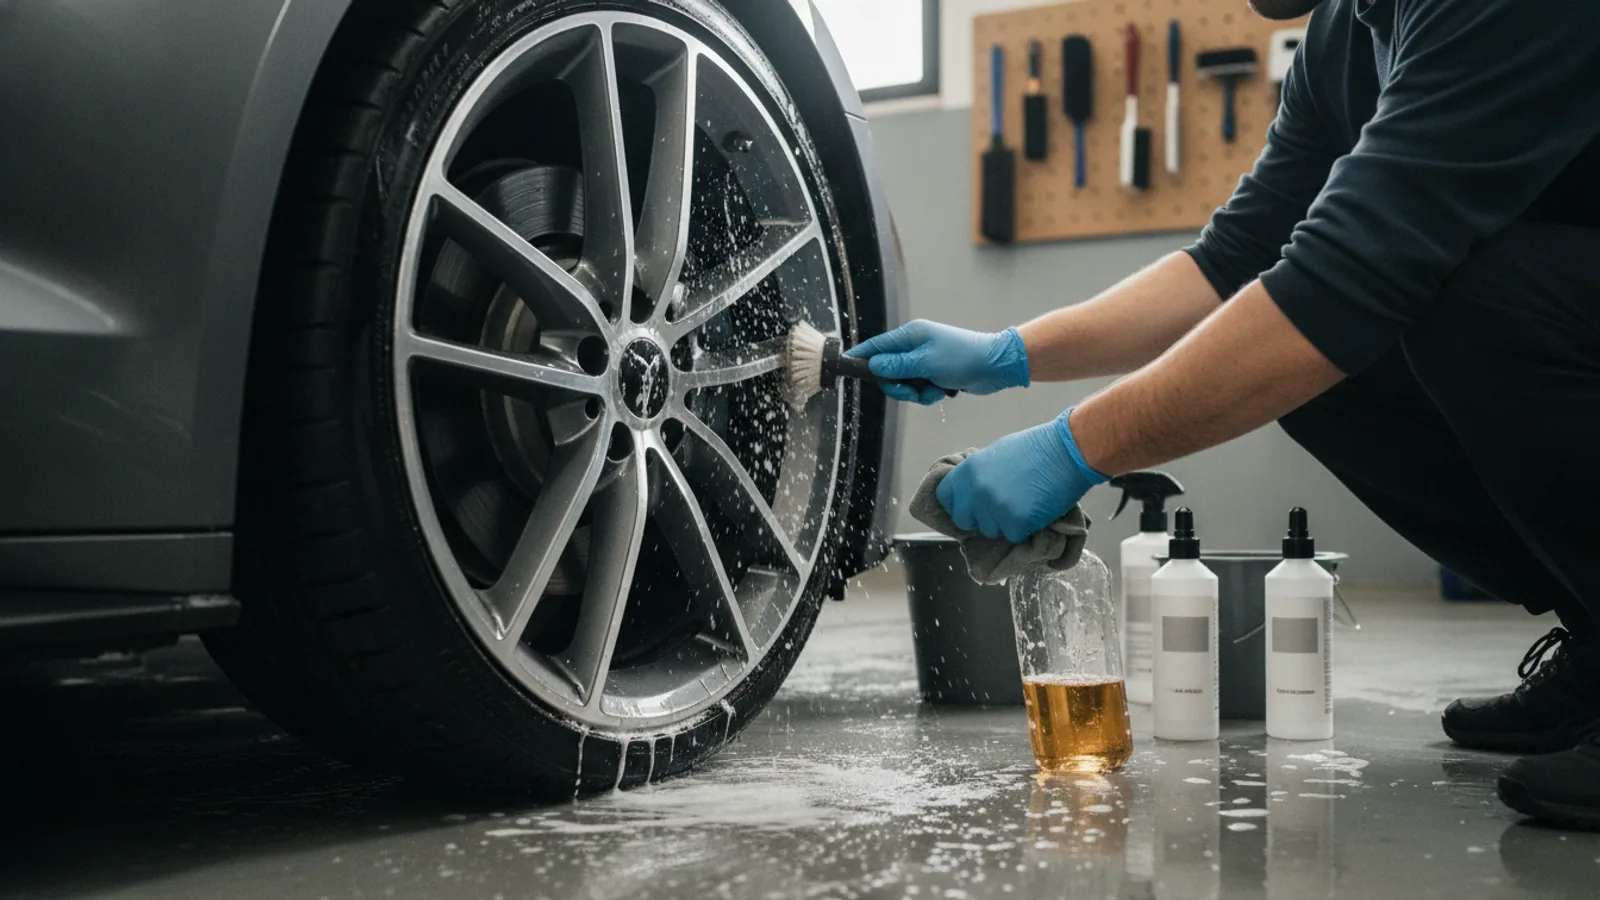
Use a soft-bristle brush for the wheel face and a separate, softer brush for intricate areas like between spokes and around lug nuts. Dip the brush in clean water or use the wheel cleaner solution to avoid dragging dry particles. Gently scrub the wheel in a back-and-forth motion, paying extra attention to areas where brake dust accumulates. For flat surfaces, use a microfiber cleaning mitt to avoid scratching the finish. Work from top to bottom, and rinse frequently to remove dislodged dirt. This agitation is critical because even a good cleaner needs physical action to lift stubborn deposits off the surface. The soft brushes and mitt prevent micro-scratches that occur with abrasive pads or stiff bristles. Take your time to cover every area, including the barrel, and avoid applying heavy pressure that could force dirt into fine pores of the metal or damage protective coatings.
Rinse Again to Remove All Residue
After agitating, thoroughly rinse the wheel with plenty of clean water, starting from the top and moving downward. Make sure to spray inside the barrel and behind spokes to wash away any remaining cleaner and loosened dirt. Continue rinsing until no soapy residue or particles are visible. This second rinse is vital because leftover cleaner can dry on the wheel, leaving a dull film or chemical spots that are difficult to remove. It also prevents any acidic or alkaline residue from reacting with the wheel's finish over time. Use a gentle stream to avoid splashing yourself or creating unnecessary water spots, and ensure the wheel is completely free of foam before drying. If the water sheets off evenly without beading, it indicates a clean surface; if it still shows grime, repeat the cleaning steps as needed before moving on.
Dry the Wheels with a Clean Microfiber Towel
Using a clean, dry microfiber towel, gently dry the wheel immediately after the final rinse. Pat the surface dry rather than wiping harshly to avoid scratching. Start with the face, then move to the spokes, and finally dry the rim edges and barrels. Use a separate soft towel for areas near the brake calipers to avoid transferring any stubborn contaminants. Drying quickly is important because water left on the wheel can cause mineral spots or water spots, especially in hard water areas, and can also promote oxidation or corrosion over time. A thorough dry also helps you inspect the wheel for any remaining blemishes or missed spots. If you notice any residue after drying, you may need to re-clean that area carefully. Make sure the wheel is completely dry before applying any protective products or sealants.
Apply a Wheel Sealant or Wax for Protection
Once the wheel is clean and dry, apply a wheel-specific sealant or a carnauba wax designed for wheels. Follow the product directions, typically applying a thin, even layer with a foam applicator or soft cloth. Let it haze, then buff with a clean microfiber towel. Some products require curing time before exposure to moisture, so allow adequate time. This protective layer helps repel brake dust, brake dust chemicals, and road grime, making future cleaning easier and reducing the frequency of deep cleans. It also adds a layer of sacrifice against acid and environmental contaminants. Even if your wheel has a clear coat, a sealant can extend its life. Reapply every few weeks or as recommended by the product, and always ensure the wheel is fully dry before applying to avoid trapping moisture.
Quick Reference
| Situation | Action | Why it helps |
|---|---|---|
| When you notice brake dust buildup on the wheel face after a few days of driving. | Rinse the wheel with water and use a pH-neutral quick detailer spray with a microfiber cloth to wipe off the dust without a full wash. | Quick detailer lifts the dust safely without scrubbing, reducing the risk of scratching and keeping the finish polished between deep cleans. |
| If you see water spots after rinsing because of hard water. | Dry the wheel immediately with a soft microfiber towel after rinsing, and use a water spot remover if needed for stubborn spots. | Quick drying prevents mineral deposits from etching into the clear coat, avoiding permanent white spots or dullness. |
| When you are about to park outdoors in dusty conditions overnight. | Rinse the wheels with plain water and dry them with a microfiber towel before parking, then apply a dry dusting spray to repel new dust. | Removing loose dust and adding a protective layer minimizes the chance of dust bonding to the surface, simplifying morning cleaning. |
Common Issues
- Brake dust that is baked on and doesn't come off with normal washing.: Use a dedicated iron remover spray (a pH-neutral iron remover) and let it dwell according to instructions, then gently agitate with a soft brush and rinse thoroughly. This dissolves the iron particles without harming the finish.
- Water spots or mineral staining after cleaning with hard water.: Use a gentle water spot remover made for car paint or wheels, apply it with a soft cloth, and work it into the spots. Rinse and dry immediately. For stubborn spots, a clay bar with lubricant can help lift embedded minerals.
- Micro-scratches on the wheel surface due to using abrasive brushes or dirty mitts.: Stop using abrasive tools and switch to soft microfiber mitts and synthetic brushes. If scratches are already present, a compound designed for clear coat (or a metal polish for bare alloy) can be applied carefully, but always test in an inconspicuous spot.
Advanced Tips
- Use a separate set of brushes for painted wheels and bare alloy wheels to avoid cross-contamination of micro-abrasives from different finishes.
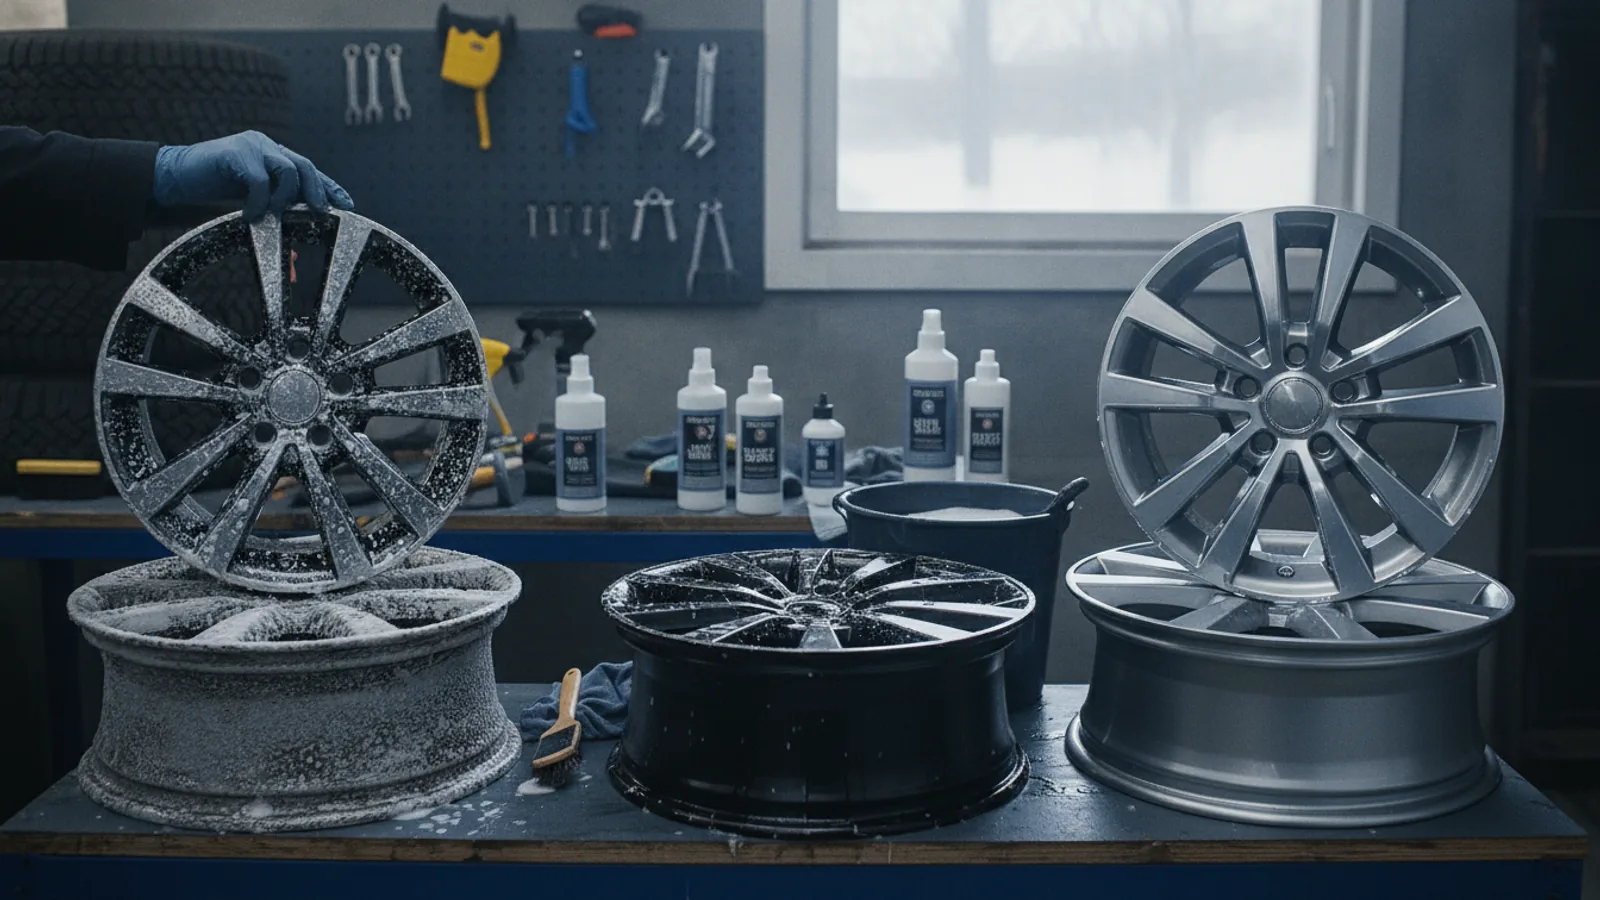
- Consider using a foam pre-wash product that clings to the wheel and lifts dirt before you agitate, reducing the risk of abrasive particles scratching the surface.
- Inspect your wheel's protective coating (clear coat or powder coat) periodically and address any nicks or chips early to prevent corrosion, using a touch-up kit that matches your wheel's finish if available.
Final Checklist
- Have you gathered pH-neutral wheel cleaner, soft brushes, microfiber mitts, and towels?
- Did you allow the wheels to cool if the car was driven recently?
- Did you rinse thoroughly before and after cleaning to remove all loose dirt and residue?
- Is the wheel fully dry and protected with a wheel sealant to keep it safe between cleanings?
FAQ
Can I use dish soap to clean my alloy wheels?
It is best to avoid dish soap because it can strip any protective wax or sealant on your wheels and may contain degreasers that are too harsh for clear coats. Use a pH-neutral wheel cleaner specifically designed for wheels to protect the finish and make cleaning effective.
How often should I clean my alloy wheels?
The frequency depends on how often you drive and the conditions. A safe routine is to do a proper wash with pH-neutral cleaner every two weeks, and use a quick rinse or quick detailer once a week to keep brake dust from building up. Adjust based on how dusty your brakes are and local weather.
Is it safe to use a pressure washer on alloy wheels?
Yes, but use a wide spray pattern and keep the nozzle at least a foot away from the wheel to avoid concentrating the water pressure in one spot. Avoid directing the jet at the valve stem or near the tire bead. Use a gentle setting and maintain distance to prevent forcing water into sensitive areas or damaging the finish.