Common Mistakes When Planning A Winter Wheel Care Routine For Salted Roads
A practical step-by-step guide to common mistakes when planning a winter wheel-care routine for salted roads, including preparation, instructions, common issues, tips, and next steps.
Common Mistakes When Planning A Winter Wheel Care Routine For Salted Roads
Planning a winter wheel-care routine for salted roads requires more than a simple wash. Many drivers make mistakes that lead to corrosion, damaged wheels, and reduced safety. This guide covers the most common planning errors—such as choosing the wrong cleaning products, ignoring temperature constraints, neglecting protective coatings, and failing to schedule regular maintenance—and provides a practical, step-by-step routine to keep your wheels in top condition through winter.
Fast Answer
- Start with a rinse to remove loose salt and grit before applying any cleaning product, as dry wiping can grind salt into the wheel surface.
- Use a pH-neutral, non-acidic wheel cleaner specifically designed for your wheel type, and never clean hot wheels or in direct sunlight.
Before You Start
- Before you begin, ensure the wheels are cool to the touch, as cleaning hot brakes or wheels can cause cleaning agents to dry too quickly and leave residue.
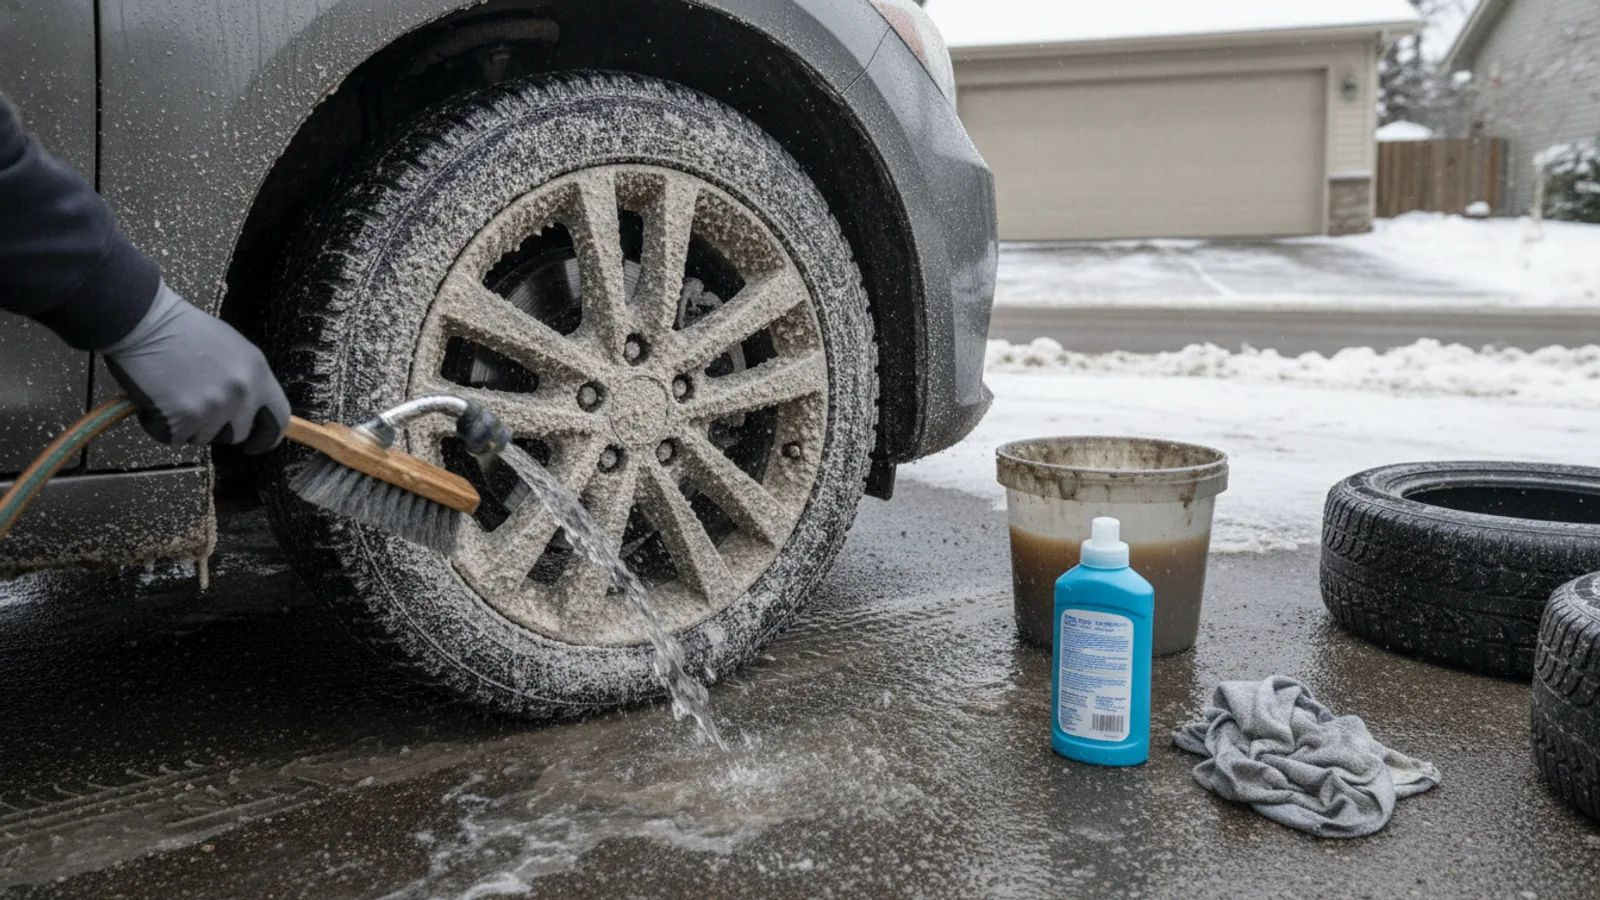
- Gather your supplies: pH-neutral wheel cleaner, two buckets (one for soapy water, one for rinsing), a soft-bristle brush, a microfiber wash mitt, and a separate microfiber towel for drying.
- Check the weather forecast and plan to wash your wheels when the temperature is above freezing, ideally above 40°F, to prevent water from freezing on the surface.
- If you have aftermarket or coated wheels, consult the manufacturer's care instructions to confirm which cleaners and brushes are safe, as improper products can void warranties.
Step-by-Step Instructions
Start with a thorough pre-rinse to remove loose debris
Begin by rinsing each wheel with a gentle stream of water from a hose (no nozzle on high pressure). This initial rinse removes loose salt, mud, and grit that would otherwise scratch the finish when you apply a cleaner. Work from the top of the wheel downward, making sure to spray the barrel and behind the spokes. A thorough pre-rinse also helps to soften caked-on grime, making the next steps more effective. Take your time—this step is often rushed, but it is the foundation of preventing scratches. After rinsing, inspect the wheel for any stubborn areas that may need more attention later.
Prepare your cleaning solutions and buckets
Fill one bucket with soapy water using a pH-neutral automotive shampoo, and fill the other with clean rinse water. The two-bucket method prevents grit from being transferred back onto the wheel. Always mix the cleaner according to the product's label—using too much can leave a residue, and using too little may not cut through salt. Place the buckets near the wheel you are working on, but not directly under it to avoid splashing. Before proceeding, confirm that the cleaner is safe for your wheel's finish (e.g., painted, clear-coated, powder-coated, or alloy). If you have chrome or anodized wheels, you may need a specialized cleaner. This preparation prevents the risk of using a contaminated brush or mitt on your wheels.
Apply the pH-neutral cleaner to each wheel
Working one wheel at a time, spray the wheel cleaner liberally over the entire wheel surface, including the spokes, barrel, and brake caliper area. Avoid spraying directly onto hot brakes; if you have been driving, wait for the wheel to cool. Let the cleaner dwell for the recommended time (usually 2-5 minutes) to break down salt and brake dust. Do not let the cleaner dry on the surface. Use a soft-bristle brush to gently agitate the surface, starting with the face of the wheel, then the spokes, and finally the inner barrel. For intricate areas, use a smaller brush. This ensures the cleaner lifts the salt and grime without you having to scrub hard, which can cause micro-scratches.
Scrub effectively yet gently
Using your wash mitt and the soapy water from the first bucket, scrub the wheel in a back-and-forth motion, not circular, to avoid inducing swirl marks. Work from the top downward, focusing on areas with visible brake dust. For hard-to-remove spots, use a detailing brush with soft, flexible bristles. Rinse your mitt frequently in the rinse bucket to remove trapped dirt. This step physically removes the remaining salt and grime. Take your time, especially around the lug nuts and calipers. A thorough scrub now will prevent corrosive material from sitting on the surface. Remember that aggressive scrubbing with a stiff brush can remove the wheel's protective coating, so always use soft tools.
Rinse completely to remove all cleaner and residue
After scrubbing, rinse the wheel thoroughly with a steady, moderate stream of water. Start from the top and work down, making sure to rinse inside the barrel and behind the wheel. Any leftover cleaner or loosened grime can leave stains or attract more dirt. Use your fingers to feel for any slippery residue left on the surface—if it feels soapy, rinse again. Pay close attention to the lug nut area and the valve stem. The goal is to have a clean, residue-free surface. If you have a pressure washer, you can use it at low pressure, but keep the nozzle at least 12 inches away from the wheel to avoid forcing water into sensitive areas.
Dry the wheels immediately to prevent water spots
Use a clean, dry microfiber towel to dry the wheel thoroughly, including all crevices and the barrel. Do not let the wheels air-dry, as winter road treatments and mineral deposits can leave unsightly spots and contribute to corrosion. Start by drying the face of the wheel, then use a smaller cloth to reach inside the spokes and around the lug nuts. Check for any missed spots, especially around the hub area. If you have a designated wheel-drying towel, use it—but never use the same towel on paint, as it may pick up brake dust and transfer it. Drying also helps you inspect the wheel for any new chips or scratches that may have occurred during the cleaning process.
Quick Reference
| Situation | Action | Why it helps |
|---|---|---|
| You notice white, powdery residue on your wheels after a salt-heavy drive. | As soon as the wheels are cool, rinse them with a hose to remove loose salt, then wash with a pH-neutral cleaner using the two-bucket method. | White residue is dried salt; rinsing quickly prevents the salt from crystallizing and causing corrosion, and a proper wash removes all corrosive particles. |
| The temperature is below freezing and you need to clean your wheels. | If possible, move the vehicle into a heated garage or wait for a warmer day. If you must wash outside, use cold water and a cleaner that won't freeze, and dry the wheels immediately. | Cleaning in freezing temperatures can cause water to freeze on the surface, trapping salt and leading to corrosion, and some cleaners may not activate properly in cold. |
| You have aftermarket or coated wheels and you're unsure about cleaners. | Check the wheel manufacturer's care instructions and use only pH-neutral, non-acidic cleaners. Test any cleaner on a small hidden area before using on the entire wheel. | Some cleaners contain acids or abrasives that can damage aftermarket coatings or finishes, voiding warranties and causing aesthetic and structural damage. |
Common Issues
- Wheels appear with small rust spots or pitting after winter.: Use a clay bar or a dedicated iron remover to remove embedded particles. If pitting is severe, have the wheels professionally refinished or coated with a corrosion inhibitor. In the future, apply a ceramic or wax sealant before winter.
- Cleaning products leave a film or residue on the wheel surface.: Inspect the cleaner's dilution ratio; you may be using too much. Increase rinsing time and use a wheel-specific shampoo. If residue persists, use a foam cannon or citrus degreaser safe for wheels, then rinse thoroughly.
- Brake dust is baked onto the wheels and won't come off with regular washing.: Use a specialized brake dust remover that is safe for your wheel type. Apply generously, let it dwell, then agitate with a soft brush. For stubborn spots, repeat the process. Regular maintenance after each drive prevents buildup.
Advanced Tips
- Before winter starts, apply two layers of a high-temperature, non-acidic wheel wax or sealant to create a sacrificial layer that prevents salt from direct contact with the wheel's finish.
- Invest in a dedicated set of winter wheels with a durable powder coating, which offers better resistance to salt and road chemicals than painted or bare metal surfaces.
- Consider using a foam cannon with a snow foam or pre-wash to soften salt and grime before even touching the wheel with a mitt, reducing the risk of scratching.
Final Checklist
- Check the weather forecast to ensure temperatures are above freezing and no rain is expected for at least a few hours.
- Gather all supplies: pH-neutral cleaner, two buckets, soft-bristle brushes, microfiber mitts, and a drying towel.
- Pre-rinse wheels to remove loose salt and grit, then wash using the two-bucket method with a pH-neutral cleaner.
- Dry wheels immediately and apply a protective sealant or wax to last through the winter.
FAQ
Can I use dish soap to clean my winter wheels?
Dish soap is generally not recommended because it can strip protective waxes and sealants from your wheels, leaving the metal more vulnerable to salt and moisture. It is also formulated for dishes, not automotive surfaces, and may be too harsh for clear coats. Instead, use a pH-neutral automotive wheel cleaner specifically designed to be safe on various wheel finishes.
How often should I wash my wheels in winter?
Wash your wheels every one to two weeks, or more frequently if you drive on heavily salted roads. The salt and chemical deicers can accelerate corrosion, so the goal is to prevent them from sitting on the surface for extended periods. At minimum, give your wheels a quick rinse after any drive on slushy or salted roads, and do a thorough wash with cleaner every couple of weeks.
Do I need to remove my wheels for a thorough winter cleaning?
It is not necessary for routine maintenance, but removing wheels at the beginning and end of winter allows you to clean the backside, brake calipers, and wheel wells, which often collect the most salt and grime. If you are comfortable with jacking the car safely, you can do this monthly to ensure complete corrosion prevention. However, for most drivers, a thorough wash without removing the wheels is sufficient.